It’s been exactly three years since I posted this picture of Jessica Simpson and told you the good news that ready-to-wear necklines can be altered.

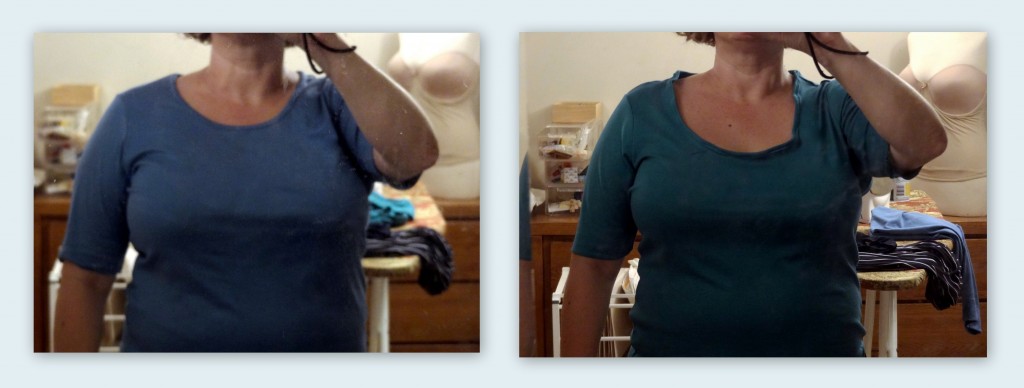
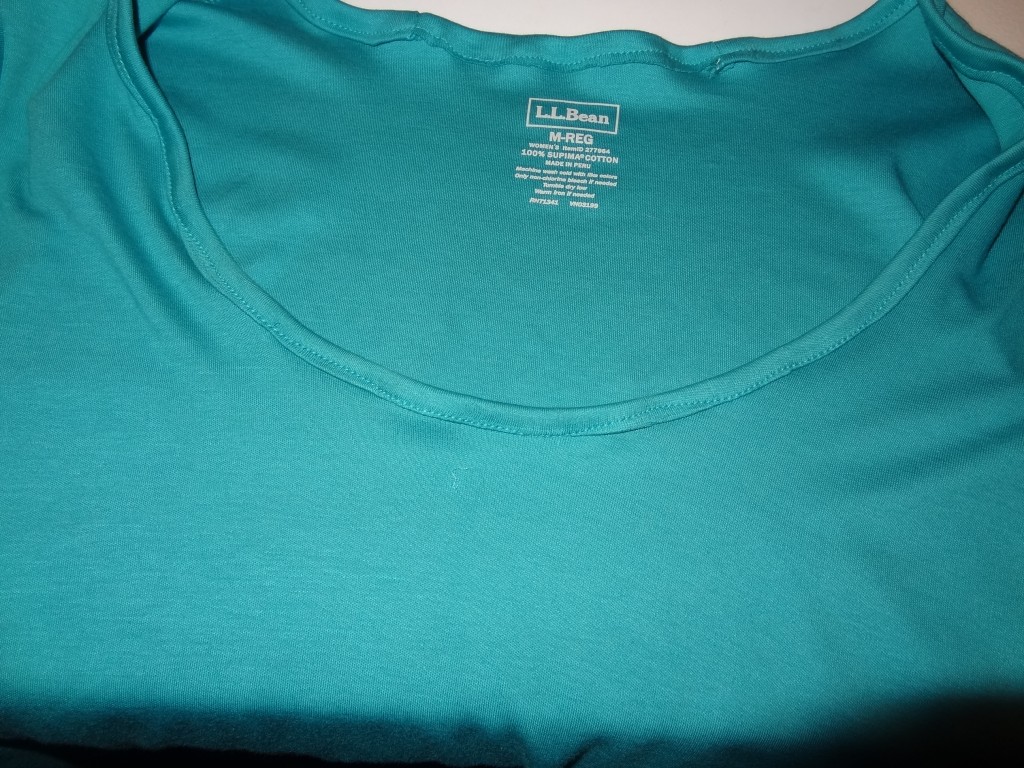
It’s taken me a while, but I’ve finally tried it myself. Tah-dah!
Isn’t it amazing how the lower neckline gives me neckline boobs instead of waistline boobs?
Above are two of the L.L.Bean tee shirts that I described to you in August. I bought them (and another one in red) because it’s hard to find tee shirts with elbow-length sleeves, and L.L.Bean described the neckline as a scoopneck. I tried to tell myself it was scoopy enough–after all, it isn’t a crewneck–but anytime I caught a glimpse of myself in these tees, I felt super frumpy.
So this became my first project on my new (to me) $350 sewing machine. It’s the only thing I’ve done on my machine, making the cost of this alteration $350! Was it worth it? Yes!
I’m only saying that because I know I’ll bring the cost down by using my machine for other alterations (and to sew my own shirts), but this is a pretty simple alteration with a big impact on how I look and feel. Because of that, I would even pay a seamstress to do it for one of three reasons:
- there was something about the tee shirt that wasn’t easy to find anywhere else, e.g., color or pattern, fabric quality, or sleeve length;
- the cost of the tee shirt was low enough to make up for the expense of the alteration;
- a mistake by an amateur like me would render the garment unwearable.
Here is my first alteration tutorial, so take it with a grain of salt and feel free to chime in if you know a better way. By the way, I also cheated because Maria, my new sewing contractor, taught me what to do and then did half of it! She’s also undoing what I did, but I’ll explain more about that at the end. (And yes! I have a wonderful new sewing contractor that I must introduce to you in another Business Briefing. There’s quite a story to share.)
Materials: seam ripper, chalk, sharp scissors, straight pins, matching thread, sewing machine
Steps:
First, remove the facing from the neckline with the seam ripper.
Second, put the tee shirt on and mark where you want the neckline to end. We put the mark just where my cleavage begins.
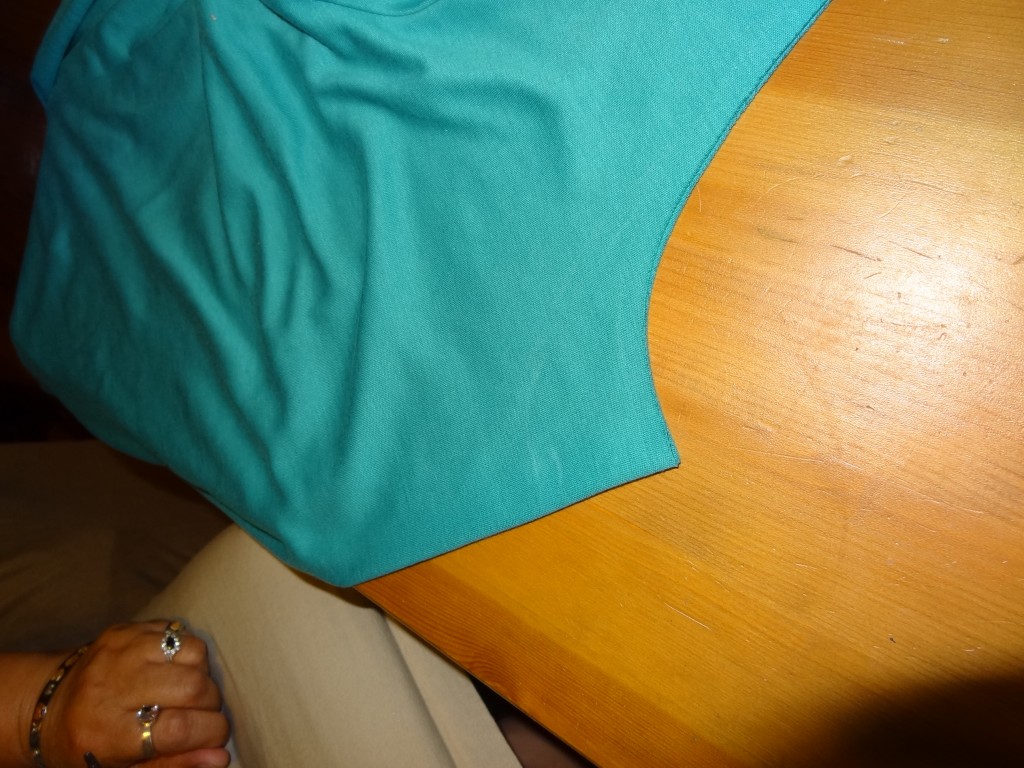
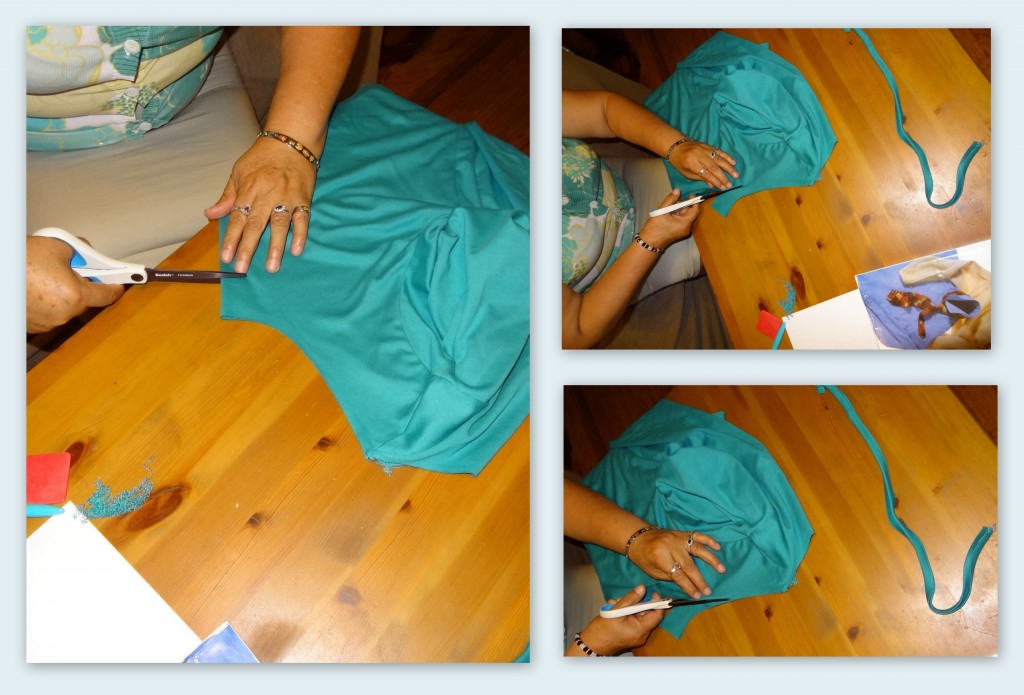
Third, fold the neckline in half (lengthwise) and cut from the mark to create the new depth.
Fourth, use the fabric that you just cut out to create the extra length that you will need for the facing. Warning: it may not be enough! It wasn’t for me, as you’ll see below. When I alter my blue and red tees, I’m going to cut up old tee shirts in contrasting colors instead (unless I can find an exact match at a fabric store).
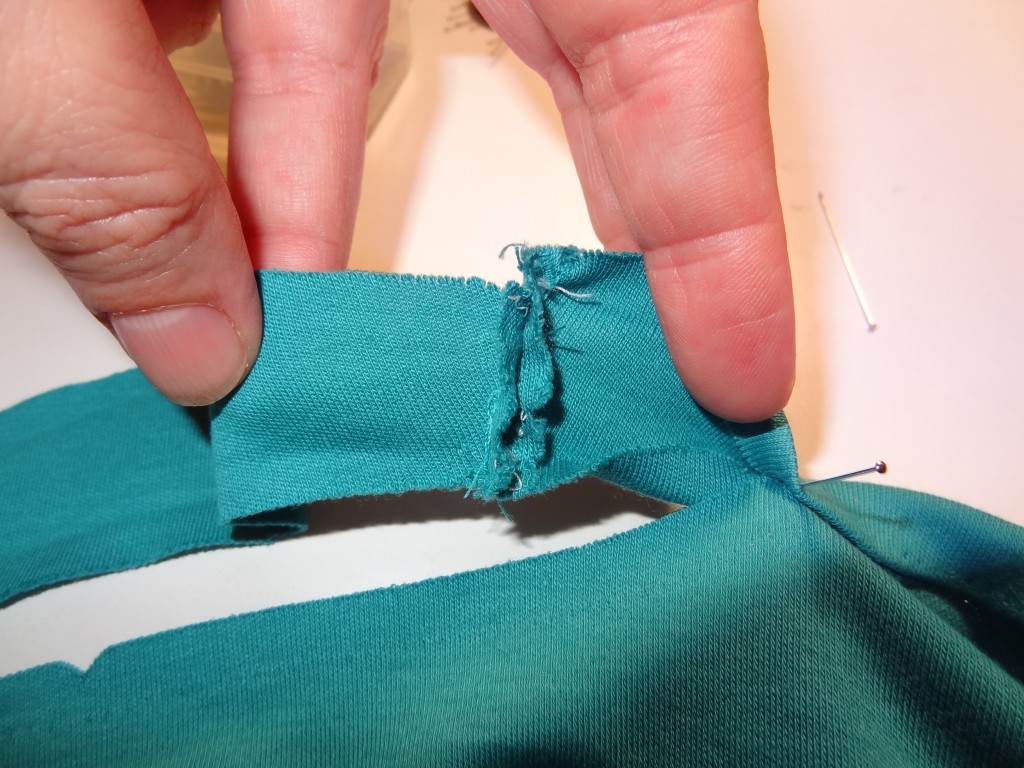
Fifth, attach the “filler” fabric to the rest of the facing. I could go into a long description of what I did since the filler wasn’t as wide as the original facing, but it wasn’t a pretty result, and all of this can be avoided by finding a fabric source that is long enough to replace the original facing in its entirety.
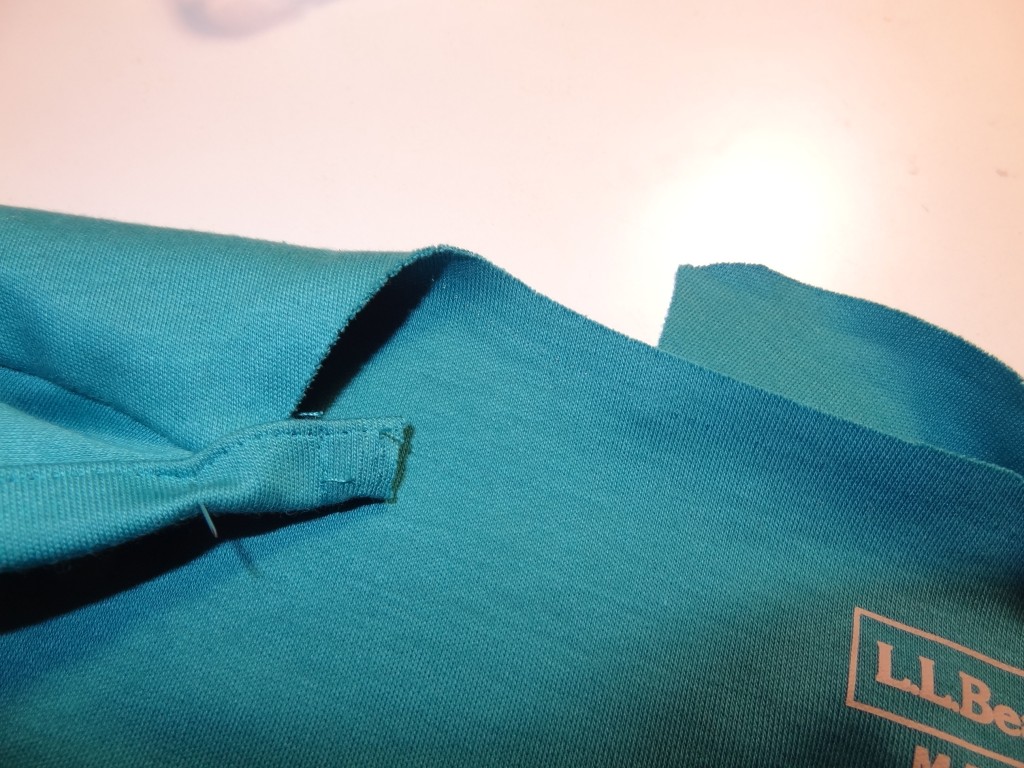
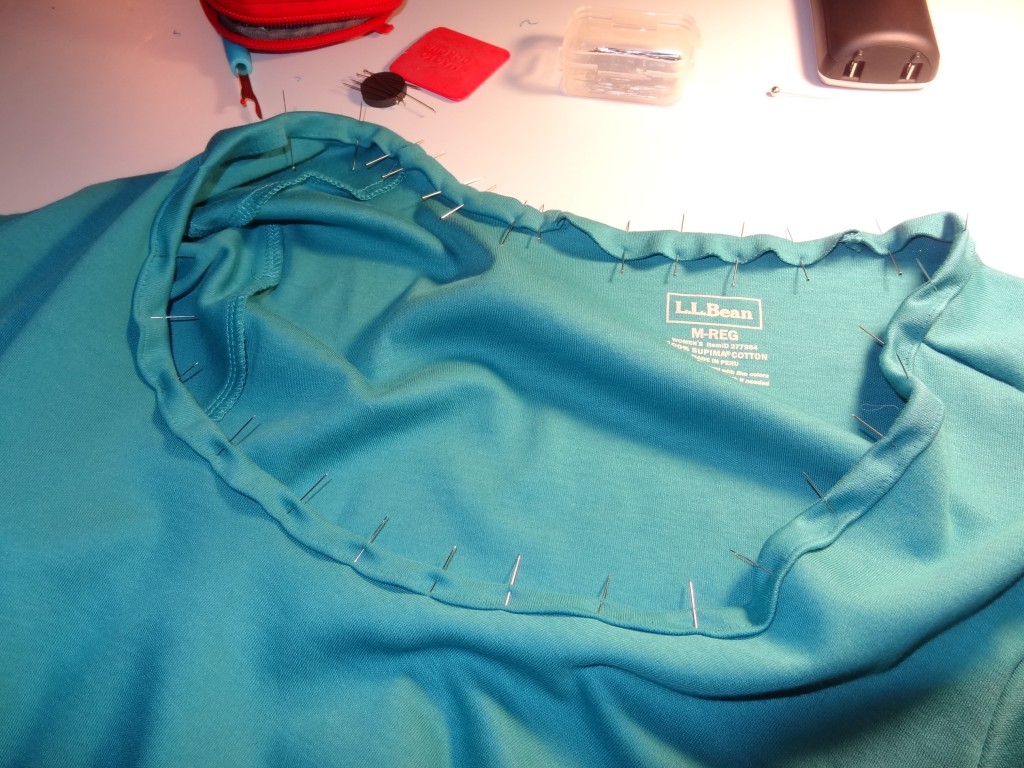
Sixth, pin the facing to the neckline. This is when I realized that I didn’t have enough fabric.
Lucky for me, these elbow sleeves have enormous hems. Unlucky for me, this means re-hemming one of the sleeves, not something I’d bargained for. I marked out the length and width I needed, cut it out, and attached it to the facing.
When I finished pinning, I realized that the seam where I last lengthened the facing didn’t match up with the shoulder seam, so I repinned the whole thing.
Seven, sew.
Obviously, I need a lot of practice! However, even though my seams are very curvy and my neckline doesn’t lie flat, I still prefer the altered version to the original.
When I showed my work to Maria, she said she’d re-do it. It turns out she owns something called a coverstitch machine that makes the job much easier than my straight stitch machine, and she also has a serger to take care of my sleeve hem. This is another reason I’d be tempted to go to a seamstress. They have all the equipment they need, and they know how to use it!
Now that I know I can do this, I’m ready to practice on a few more of my tee shirts with necklines that bug me. Look for me to show you the results. And I’d love to hear (and see!) what you’ve done with dowdy necklines.
