
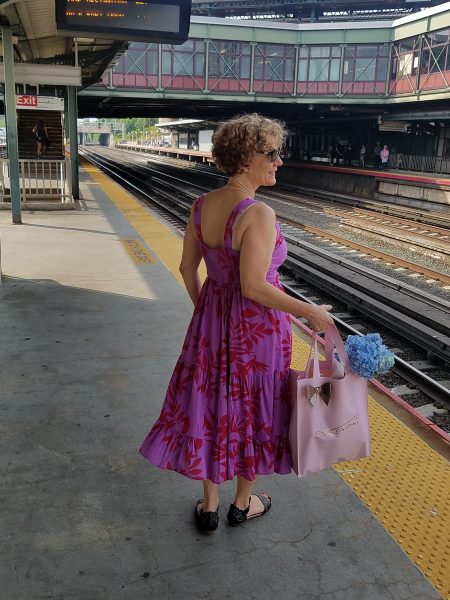
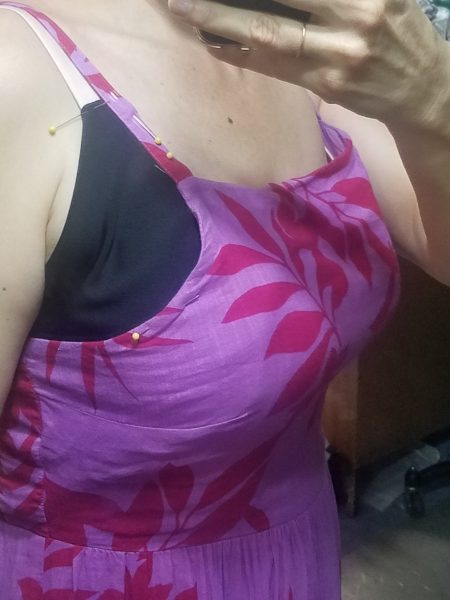
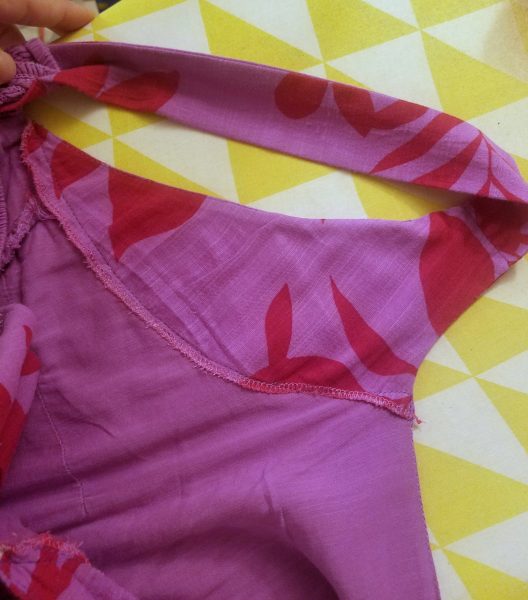
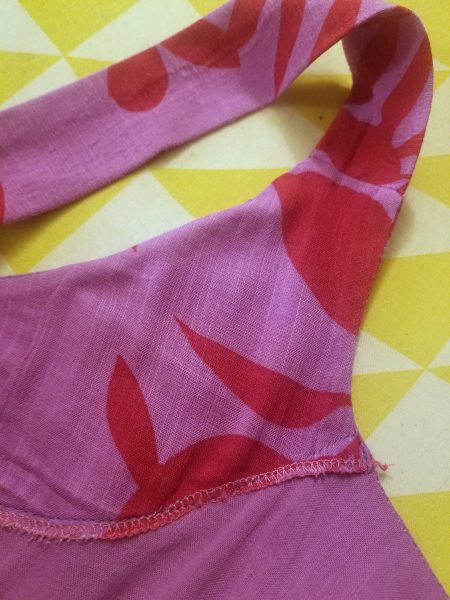
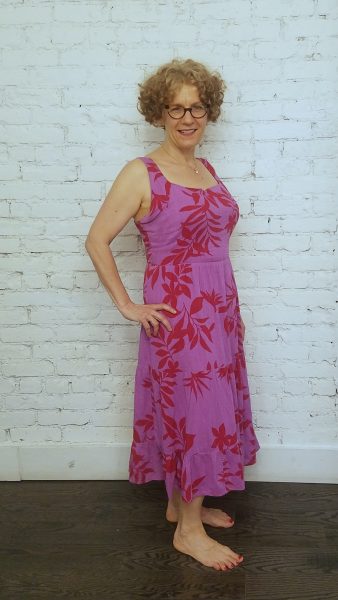
Here’s the final result of the alterations I described yesterday–except my seamstress went the extra mile and not only hid the side of my bra, she changed the straps as well. I thought I would finally have to break down and buy a strapless this summer (and it was going to be the Wacoal Red Carpet if I did*), but it looks like I’m off the hook for another year.
(*This is an affiliate link, but I seriously understand why people love this bra, and I’m going to do a quick mini-review of it soon.)

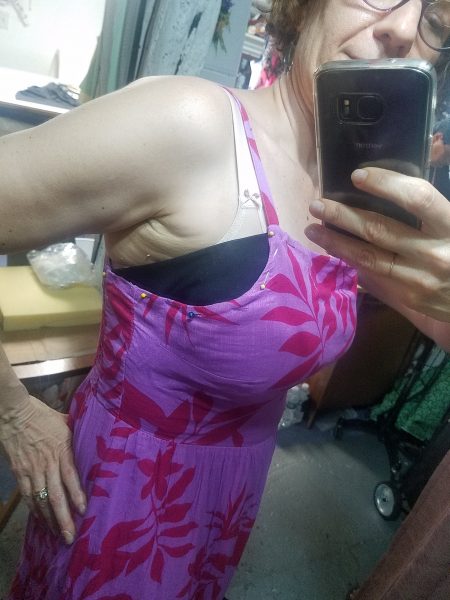
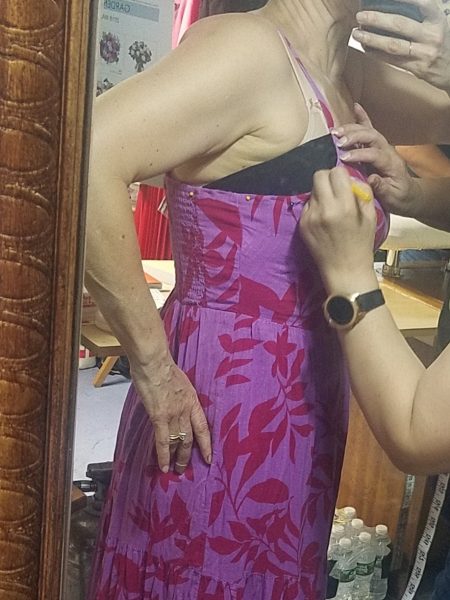
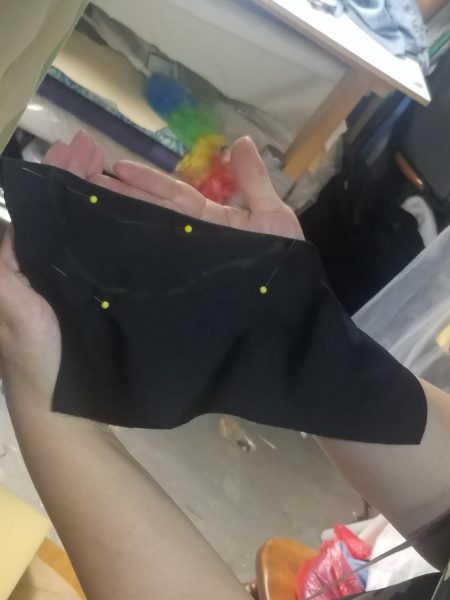
I’m going to walk you through what we almost and actually did. Unfortunately there’s no step-by-step tutorial because my seamstress sewed everything when I wasn’t around to take pictures. But if you already know how to sew, I’m pretty sure you can figure it out. And if you don’t know how to sew, your seamstress can figure it out like mine did!
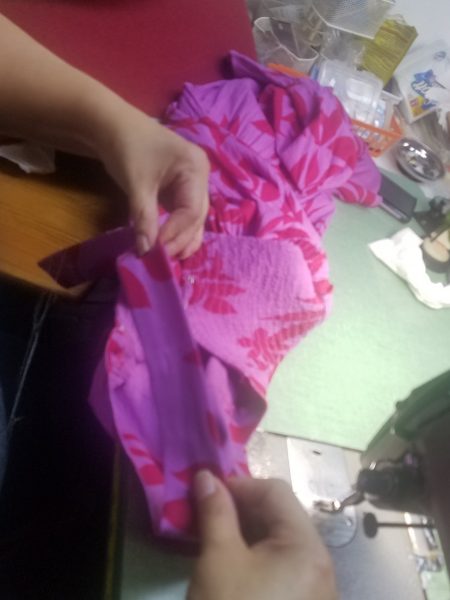
I’ve worn this dress several times now and plan to enjoy it for the rest of the summer. It’s so easy to wear! However, our solution isn’t perfect–mostly because adding so much fabric to the sides seems to have resulted in a wider bodice. This means
- The neckline doesn’t lay taut across my chest. Instead, it’s slightly cowl-like.
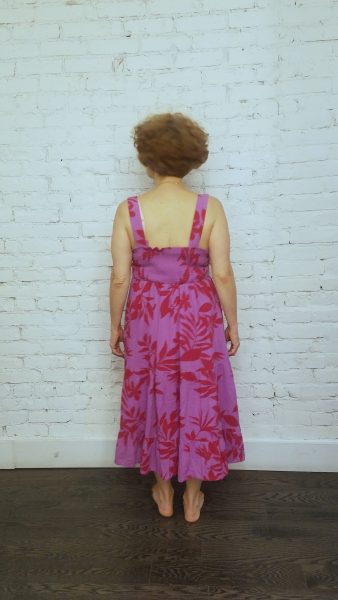
- The straps needed to be placed wide enough apart to cover my bra straps, but I find they tend to slip off my shoulders quite a bit. I shortened them with a safety pin the last time I wore this dress, and that seemed to help. Crossing them in back could be another solution, but then I’d have to wear a bra with a J-hook or a strapless.
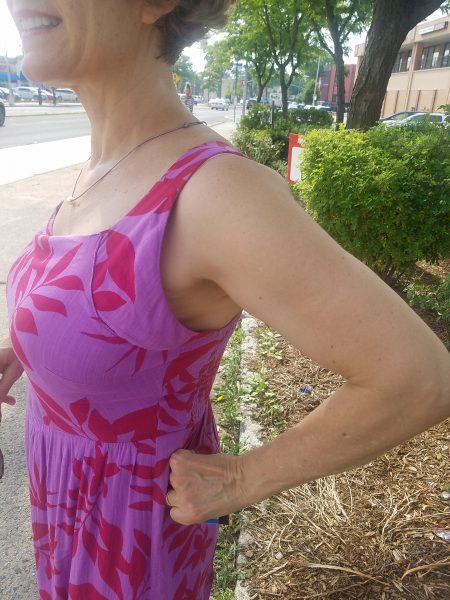
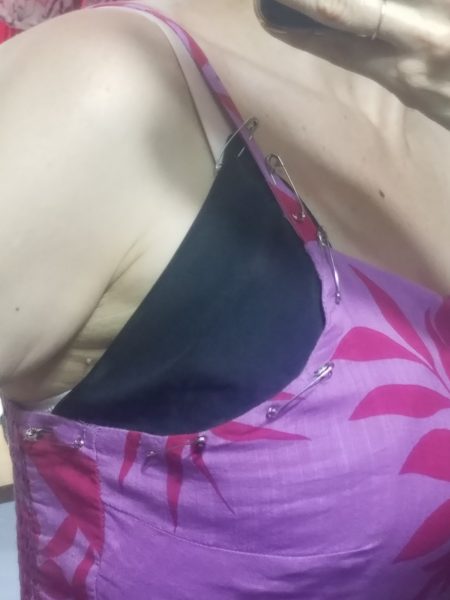
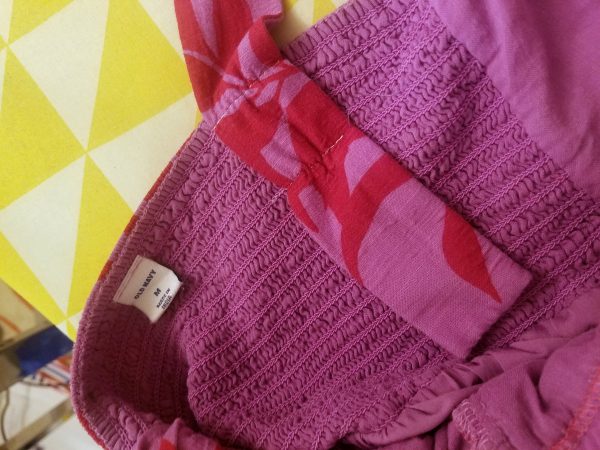
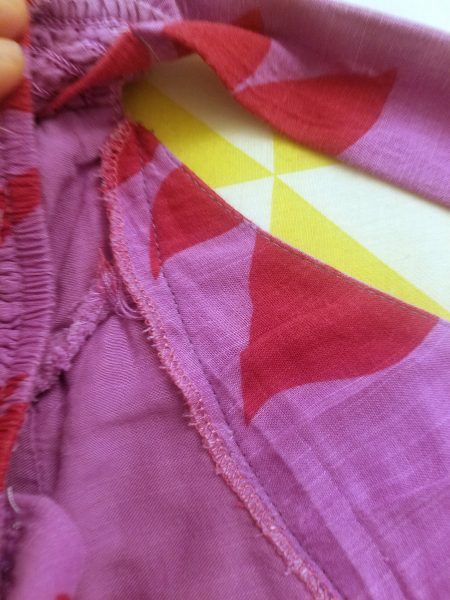
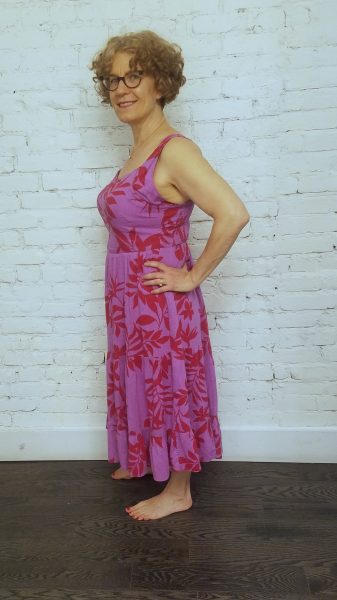
- The piece of fabric that we put in the side does not lay smooth. You can see what I mean in the second photo below. It’s almost like it needs an armhole dart, but pinching out the excess fabric made it weird. Perhaps it needs to be two pieces instead of one so that it can be shaped via a seam.
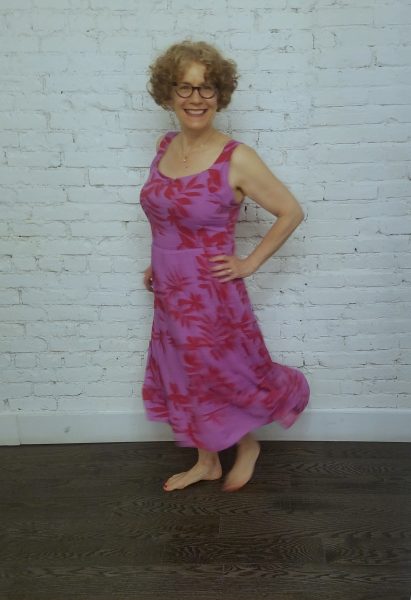
As far as the quality of this Old Navy dress, I accidentally put it in the dryer the other day. It didn’t shrink, but the colors faded a bit. However, for $22 for the dress and $20 for the alterations, I’m super happy with this sundress that’s so bust-friendly I can wear it with a regular bra.
Looking for other bra-hiding armholes for women with fuller busts? Here are two posts that Leila from Curvy Custom Bride wrote on the subject:
2 Comments on A Full Bust Sundress Fix Hides My Bra AND Saves Me from Having to Wear a Strapless!