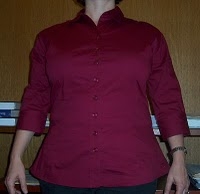
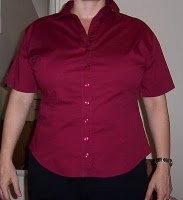
These pictures speak for themselves: A good tailor can make all the difference in the world. Read my complete “before” review here, and my “after” review below.
|
|
The main changes you’ll notice in front are that we
- lopped off the dreadfully fitting sleeves
- shortened the length (simultaneously getting rid of the weird skirt-like sides) and
- took in the waist.
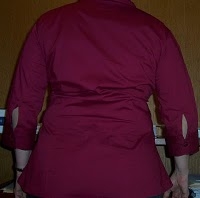
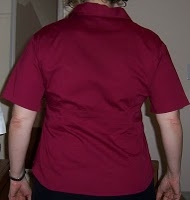
My favorite change is in the back. See what we–okay, what she–did after the jump.
When the tailor took in the waist, she
- took out the side seam
- folded up the excess fabric in the back, creating a seam across the back and carefully matching the darts,
- and then sewed the newly shortened back sides to the front.
Although you can see the seam across the back, I think it looks much better than the folds of extra fabric that, instead of hiding my back flab, added to it.
|
|
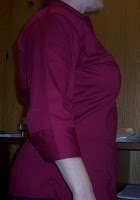
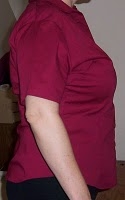
Last but not least, here’s the side view, which reveals the only negative: the side dart placement that I pointed out in my original review. My tailor would have had to reconstruct the entire shirt to make a difference here, and we agreed that it wasn’t worth the cost.
|
“
|
However, the rest of the alterations were definitely worth it. They cost a total of $35, bringing the total price of the shirt to $70 (not including shipping). I’m sure it made a difference that I began with a shirt that was constructed for my figure. Next up, I’ll show you the planned alterations to my Carissa Rose Justina shirt!