Disclosure: Some of the links below are affiliate links, meaning we may earn a commission if you click through and make a purchase, at no additional cost to you.
I’ve really been on a sewing kick during Covid. So far, I’ve made three dresses from vintage patterns (read more here), and I still have plans for one more made out of some silk my parents brought me back from Vietnam (the last vacation they took before the pandemic started!). In the meantime, I discovered the blog Carbon Chic, written by another gal who sews vintage-style dresses.
Carbon Chic is so inspiring, and she uses the cutest fabric prints! As I read through some of her old posts, I noticed she purchases a lot of fabric from Ali Express. I fell in love with this strawberry milkshake dress in particular, so off I went to find my own sweet novelty fabric to make something similar. Ali Express is a bit hard to navigate since they carry basically every product in the world, so here is a direct link to the fabric section. I narrowed it down to cotton and cotton/poly fabrics, and then literally browsed the entire 60 pages of results.
Many of the sellers showcase only one fabric in the main photo, but then have a dozen different prints (some coordinating, some completely random) in the full listing, so if there’s something specific you have in mind, you’re better off searching for its keyword rather than browsing through a million listings as I did.
However, I did find several fabrics that I completely fell in love with! I had to limit myself to three because I only had three projects in mind. My rule is that I’m only allowed to buy fabric for a project, not for a stash. My favorite one was this bright turquoise blue fried egg print:
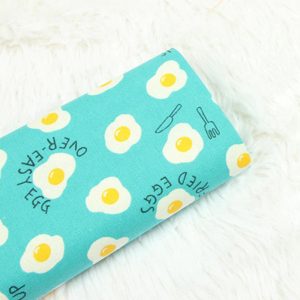
I could tell from the closeup view of the fabric that it had a heavier canvas-like texture rather than being soft and light like a quilting cotton, so I figured it would work best for a structured top (or a tote bag, throw pillows, placemats, curtains, etc.). I also wanted something to break up the print a bit, such as solid trim or a collar. Luckily, I already had a dress pattern that fit these criteria:
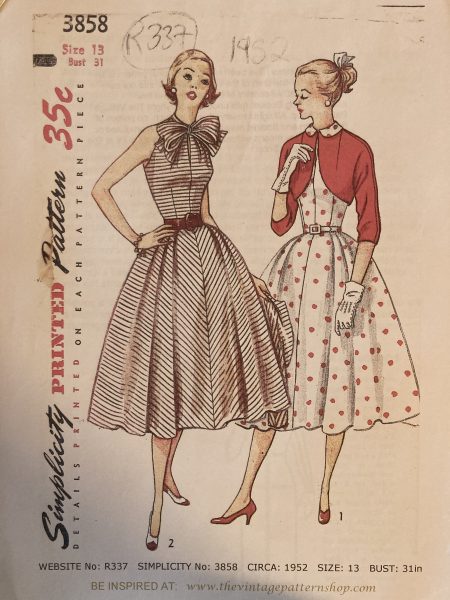
You may recall that this is the pattern I used to sew my avocado dress last spring (you can find the pattern on Etsy). But this time, I planned to use it as a base to create a shirt, with some tweaks.
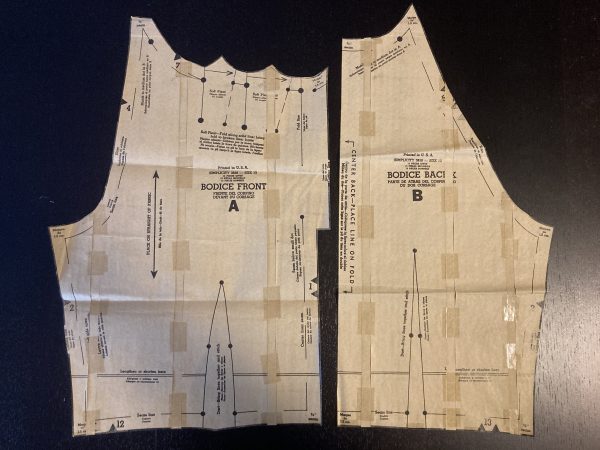
As I waited for the fabric to arrive from China (which took about a month), I worked on a test muslin. It took three of them before I got it perfect. I started out with my original pattern, which I had previously graded up several sizes:
Then I traced it onto brown paper and started by altering the darts to make it curve closely under the bust and down my ribs. It took a couple tries to get the darts exactly right.
Next, I lengthened the top below the waist. Though I anticipate wearing it primarily with high-waist bottoms, I want the option to wear it untucked as well. Plus, even with high-waist bottoms, it takes quite a bit of length to remain tucked in and not pop out the back when I bend.
After making the first (or second?) muslin, I also decided I wanted to move the neck pleats a bit so they would point more straight downward instead of on a diagonal. I further planned to lengthen the distance that they’re sewn in place so they’d be more structured than the soft folds of the avocado dress bodice. Here is the paper pattern with all my marks, things crossed out and re-drawn, extra length taped on, and notes for the next muslin:
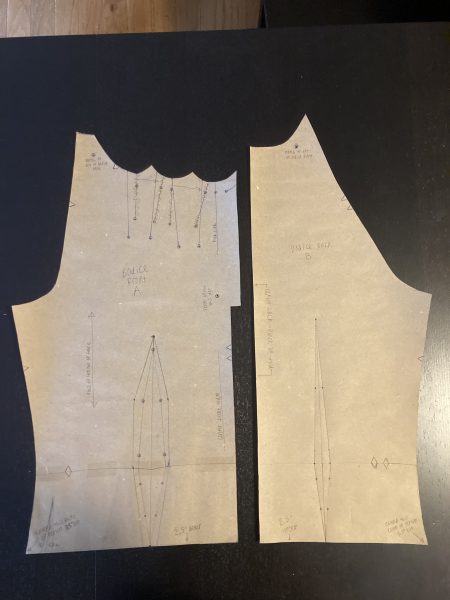
The final changes I made included lengthening the top even further and adding some curvature to the sides beneath the waist so that it would contour to my love handles and not cut into my squish. Here is the final paper pattern:
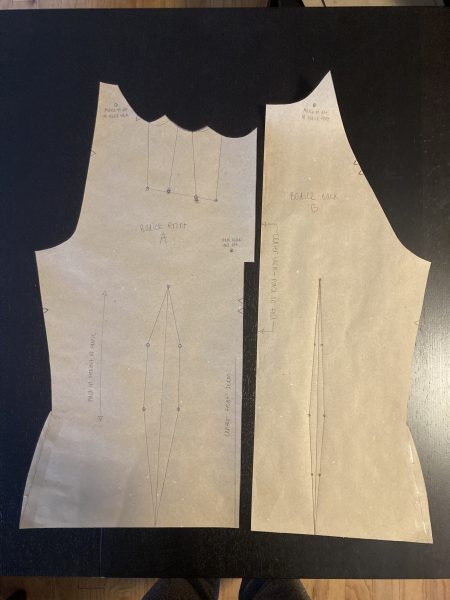
And here is the final muslin. Since I was just testing for fit, there’s no zipper, hemming, finished edges, or collar. But it fit perfectly!
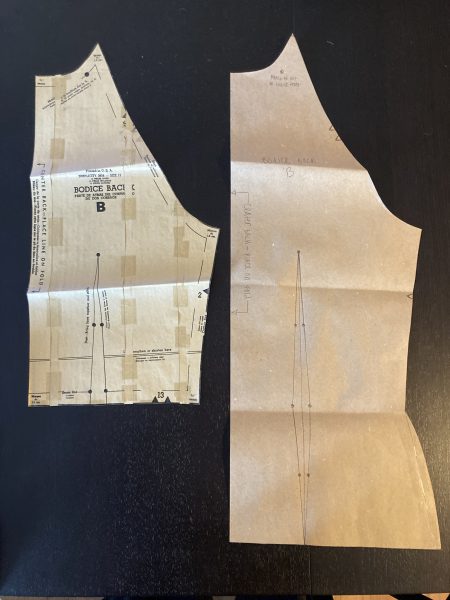
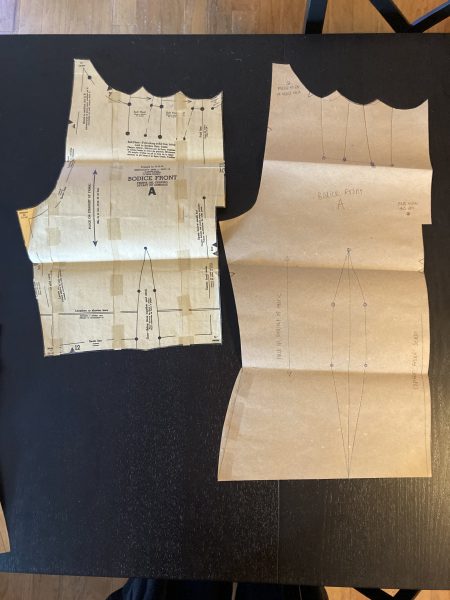
Here is a comparison of the original (graded) pattern and the final design:
Luckily, I didn’t need to make any alterations to the facing or the collar. But if I had needed to do so, it’s quite easy. You just trace the edges of the new pattern onto paper, then cut pieces the same width as the original pattern, following the new shape.
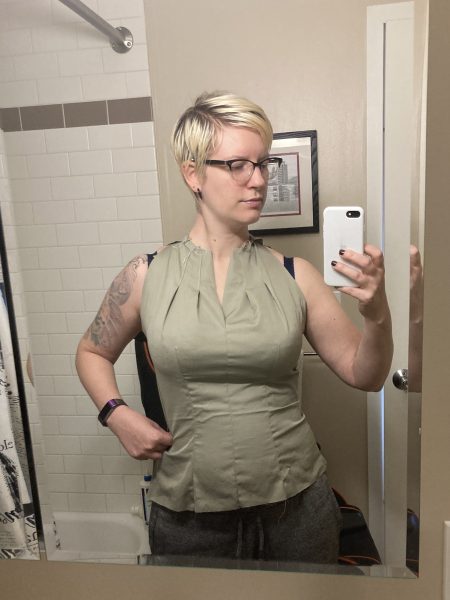
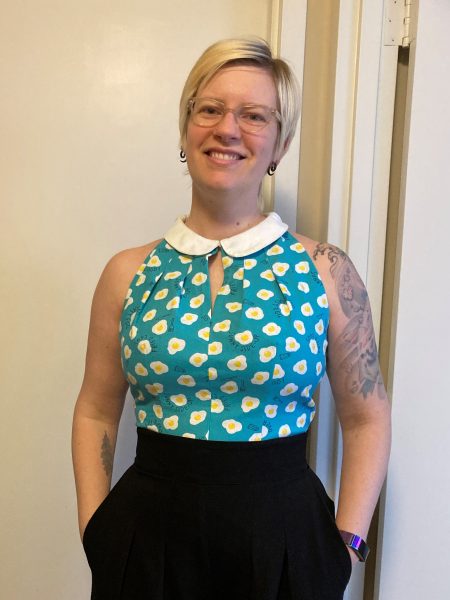
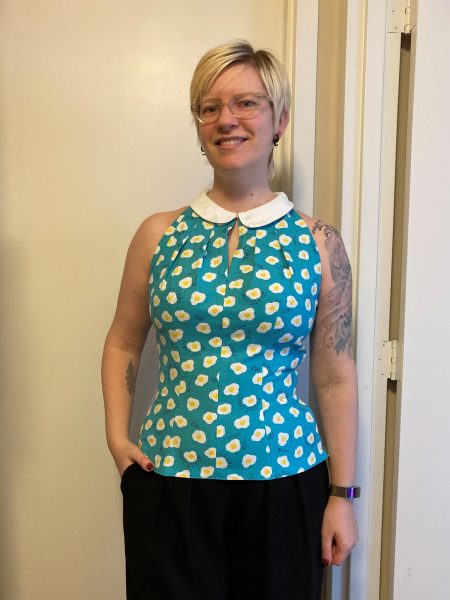
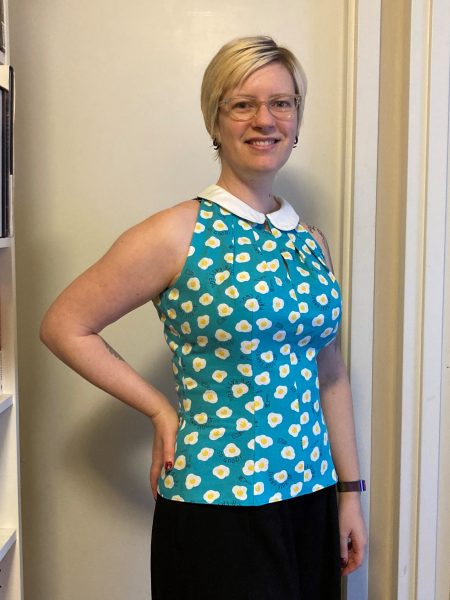
Once the egg fabric arrived, it was a snap to sew up the shirt. I had a little trouble figuring out the collar (I only half followed the instructions when I made the avocado dress, and this time I wanted to do it right…but this thicker fabric was harder to work with), but otherwise everything went smoothly—which I would hope for considering I made three muslins! I finished it with an invisible zipper up the left side.
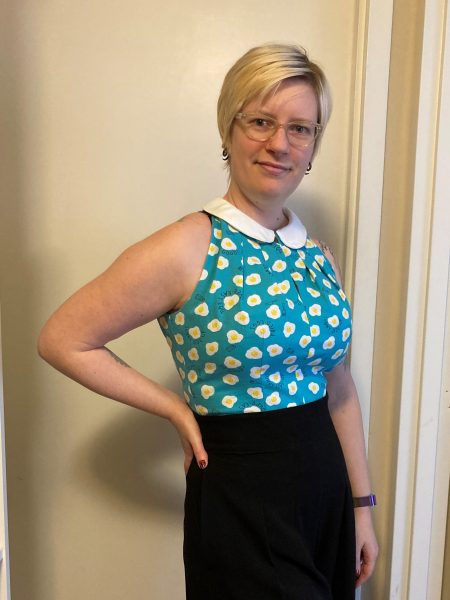
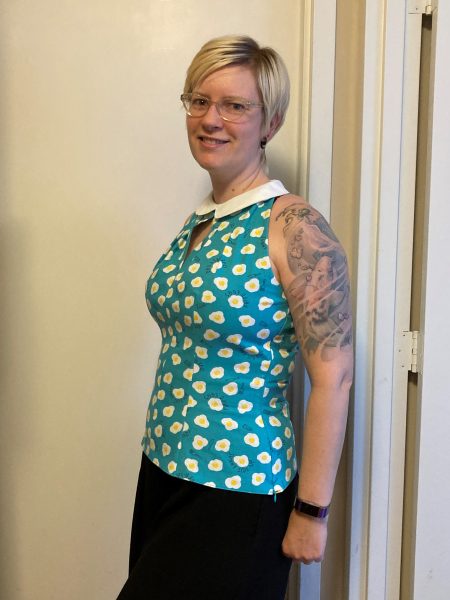
And untucked:
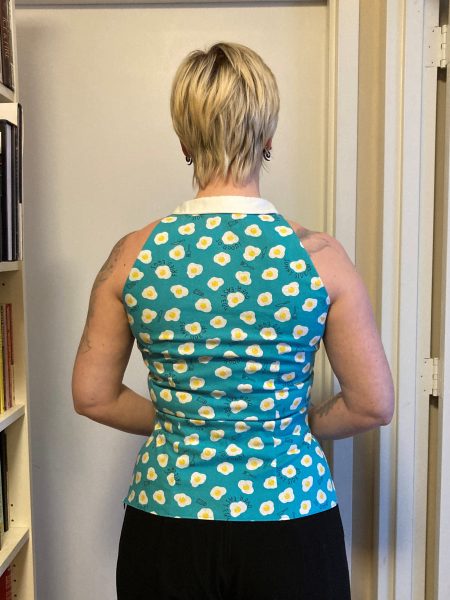
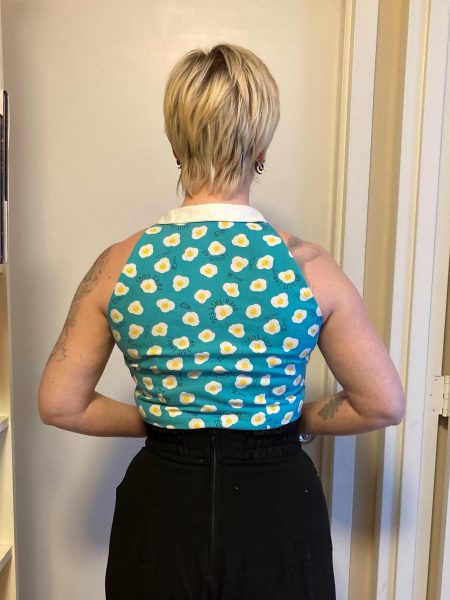
The back is pretty bunched up at the waist. If I make this again, I’ll play around with the back darts to suit my severe S-curve better.
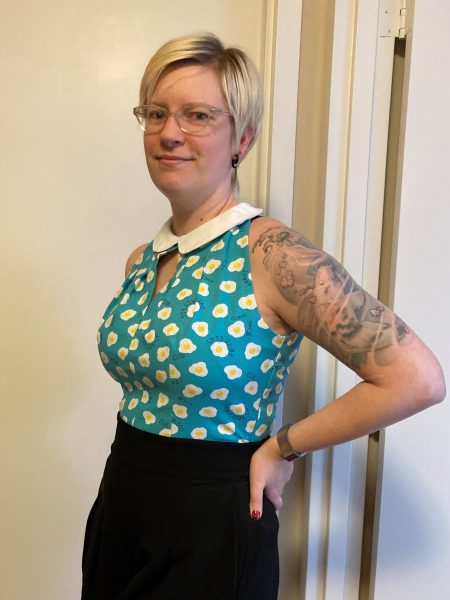
By the way, I’m wearing it with a Bravissimo Alexa bra, which has a modified racerback so the straps are entirely hidden.
Awesome job! Looks fabulous. Another great pattern company you might want to look at is one I’ve been sewing on my pandemic sewing kick – Cashmerette Patterns. They started out in the larger sizes, but have now added smaller sizes – 0 – 32. The thing I LOVE about them is that the cup sizes begin C/D cup and go up to an H cup. The cup sizing is UK sizing. Plus they have a great sizing calculator that helps you determine your size based on high bust and full bust measurements, bra size, etc. Only occasionally do I need to do a FBA. What a difference. To be able to wear woven fabric garments that fit so well. Their new blazer pattern is coming out soon. Here’s the sizing info: https://www.cashmerette.com/pages/sizing
So glad to see a post about sewing. Thanks and keep up the great work.
Mary Ellen, thank you so much for the recommendation! I’ll definitely check it out, and if I try anything I’ll be sure to write about it here.
This is fascinating. I just got a sewing machine for Christmas, and I’m still figuring out how to cut and sew in straight lines!
It definitely takes practice. I started sewing when I was 13 and my mom decided I was too old for her to keep making my Halloween costumes for me. She started by teaching me to make a basic A-line skirt from a pattern.
Wow I’m a huge fan! Incidentally I’m in the process of revising my summer wardrobe, since I have really nothing I can wear without feeling either skimpy or like I’m wearing a potato sack, and I was already looking for something along the lines of a structured slightly vintage-y cut I could sew myself. Seeing this post really was like a godsend for me. I struggle with very similar fit issues as you do, from having similar measurements and shape up to the strong S-curve back, and having a structured top cut to my shape and measurements is a little bit like a life achievement, so I shall enjoy taking your efforts to help when I’m creating my own pattern. Also I’m really looking forward to hearing more about the fruits of your sewing moods. All the results so far look stunning on you! And I very much enjoy the egg fabric. I hope it brings a little bit of sunshine into your life every time you see it 🙂
Thanks so much, Cat! That’s exactly what I hope these posts do–provide some inspiration and a few useful tips 🙂
You look fabulous – and honestly fabulous in the muslin!