Actually, even where there isn’t a waist seam, there may be a way. After I came up with this title, I remembered that we successfully added a back waist seam to a button-down shirt back in 2010 to get rid of the extra pouf that full-busted petites often get in regular garments. However, if a garment already has a waist seam, it’s that much easier. Of course “easier” is relative–I would only trust a skilled tailor or experienced home sewer with the alterations I’m going to show you in this post.
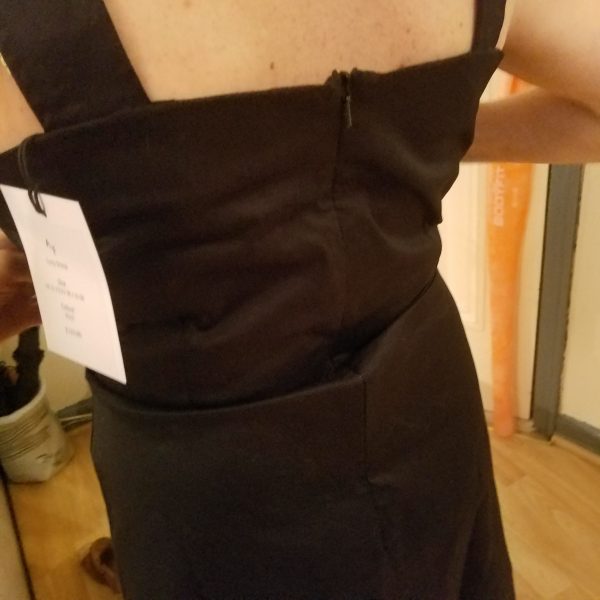
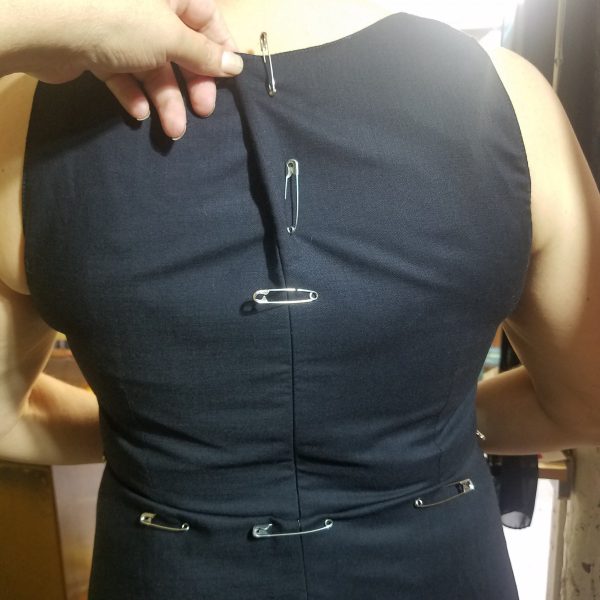
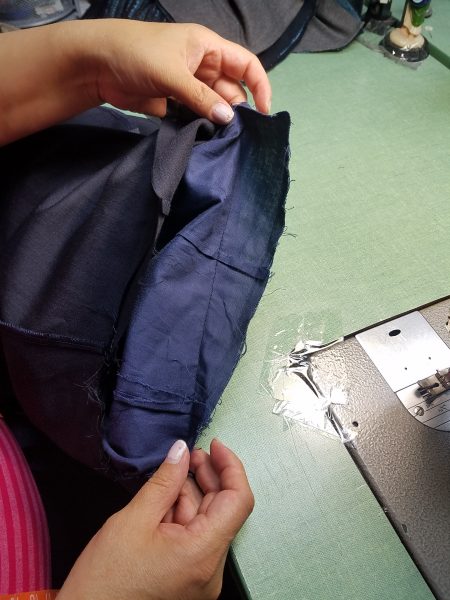
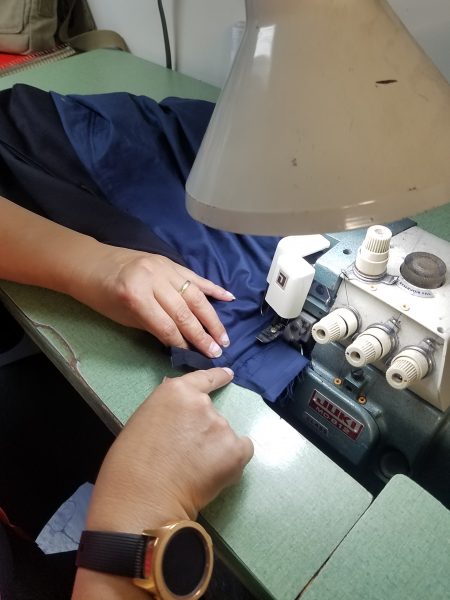
Initially, I didn’t even think it was possible to change the torso length in our dresses until Camille clued me in. “If you have a really good tailor,” she told me, “they can remove the zipper, shorten the waist, and add the zipper back in. But I don’t know that kind of tailor.” Fortunately, I knew that kind of tailor. The next time Camille and I got together, we met at Nancy’s studio in Queens.
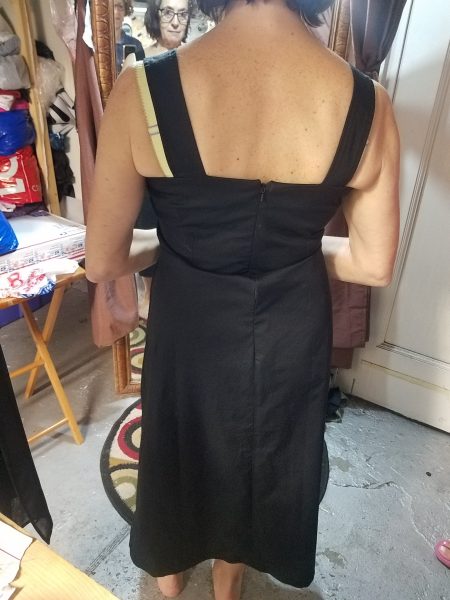
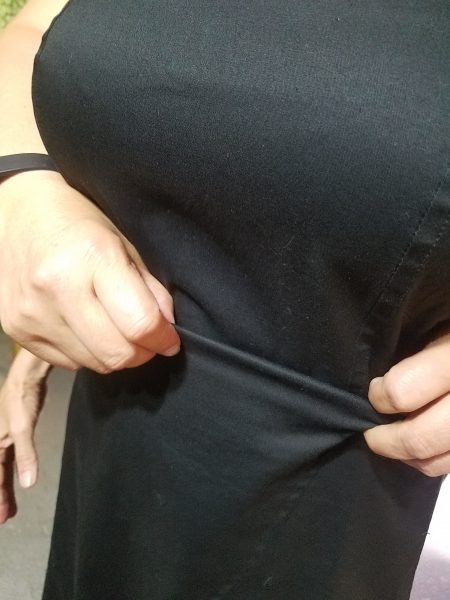
At this point, Camille questioned whether alterations were worth it, or whether it would be better to have something custom made. Personally, I vote for alterations because (1) the designer has already sourced the quality fabric, which can be difficult to find, and (2) the dress completely fits around the bust and waist, something that is difficult to achieve for a large chest without a lot of trial and error–why reinvent the wheel when the designer has already worked through multiple patterns and muslins to achieve this fit?
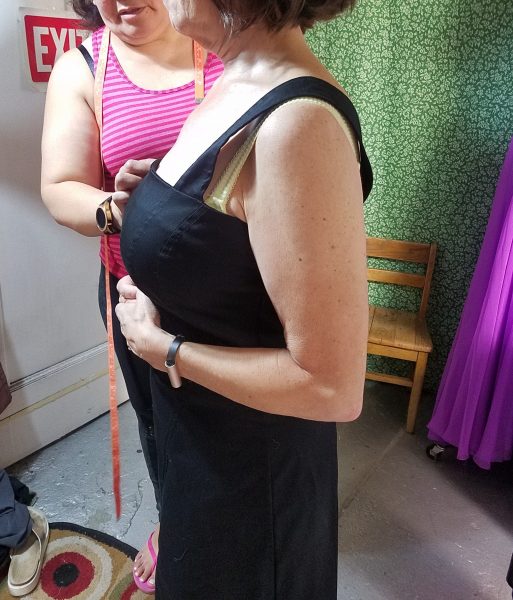
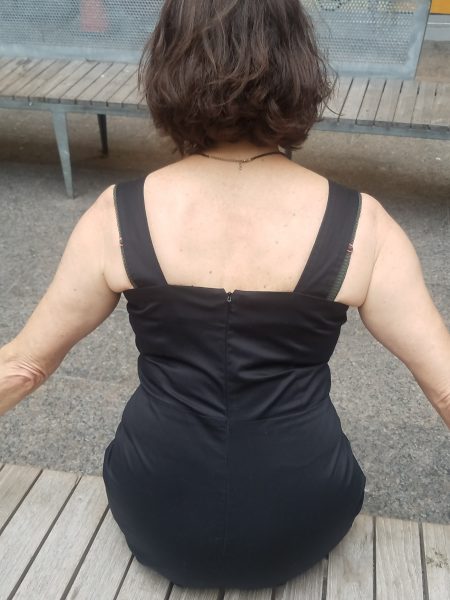
There are so many variables when deciding whether to have something altered. In this case, the dress was gifted, and alterations came to $50 (I’m sure they would have been much more in Manhattan), so it was completely worth it. When we met at Nancy’s studio the following week, Camille was a lot happier with the result! She texted me later that when she looked at photos of the Lucy dress online, she was “so excited to see that it now fits on me exactly as it does on the model.”

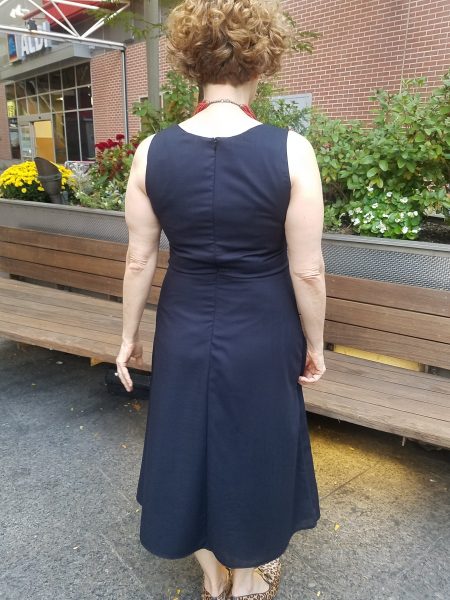
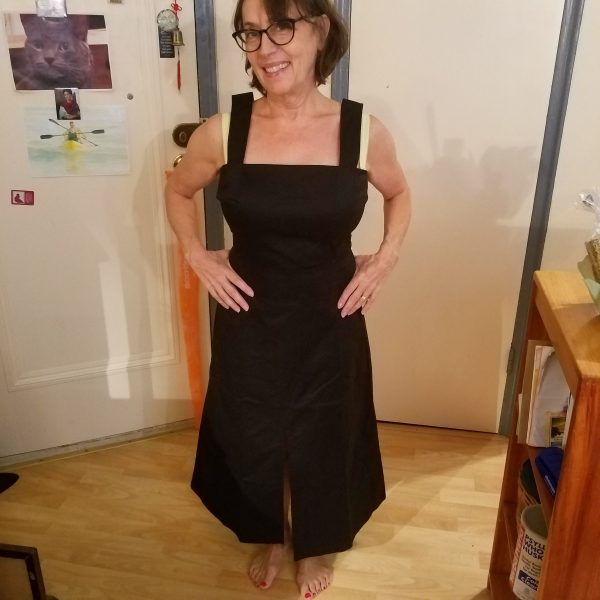
This is what the Amy dress looked like on me before alterations. I was thinking of having it hemmed to the safety pin you see on the skirt. On our second visit to Nancy’s studio, I tried it with kitten heels and decided not to shorten it at all. I couldn’t make up my mind!
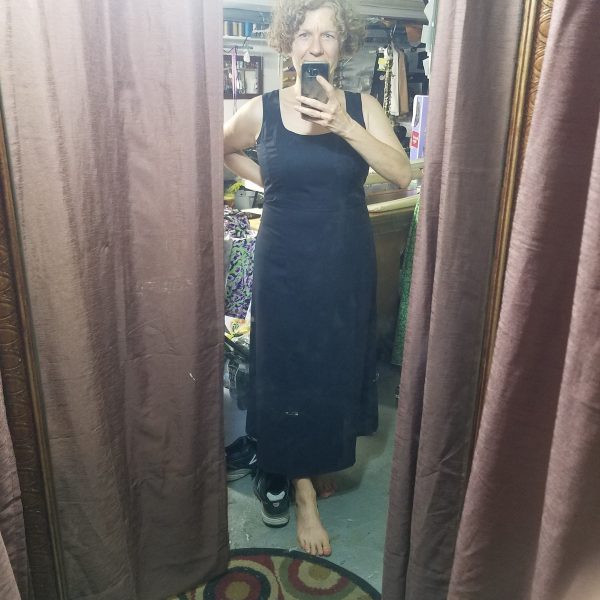
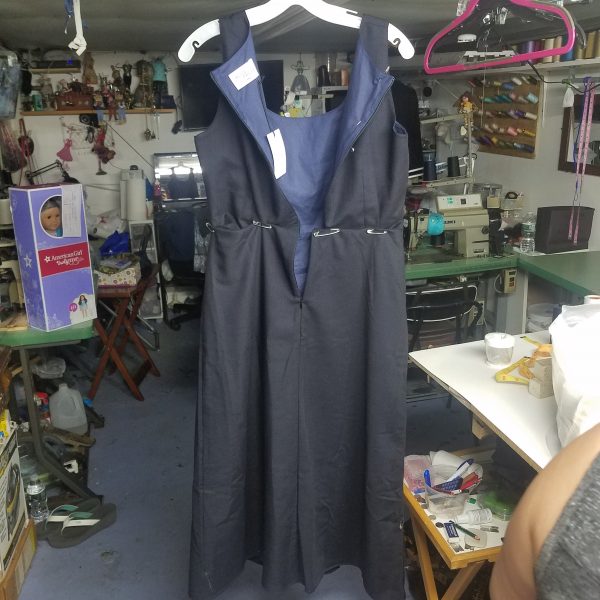
Finally, I made up my mind and had three inches taken off the length.
I’m delighted with the results! Look for pics of the rest of the dress in my next post.