Apologies, dear readers, for the supreme lateness of this post. It’s been a busy week! After all the Black Friday, pre- and post-Christmas, and New Year’s sales, I have tons of things to review for you, but this week I’m going to start with an alteration. It’s been way too long since my last sewing project!
I recently discovered that Adidas makes tons of warm and searingly brightly colored workout gear. Now, I don’t exactly need these things for practicality’s sake, seeing as I don’t run outdoors, but I like to layer when it’s cold out and I do partake in ice skating and skiing at the very least. The company’s “Climawarm” items have proven to be wonderfully stretchy and very long (and super soft!), making them appropriate for big boobs without boob-loafing my chest.
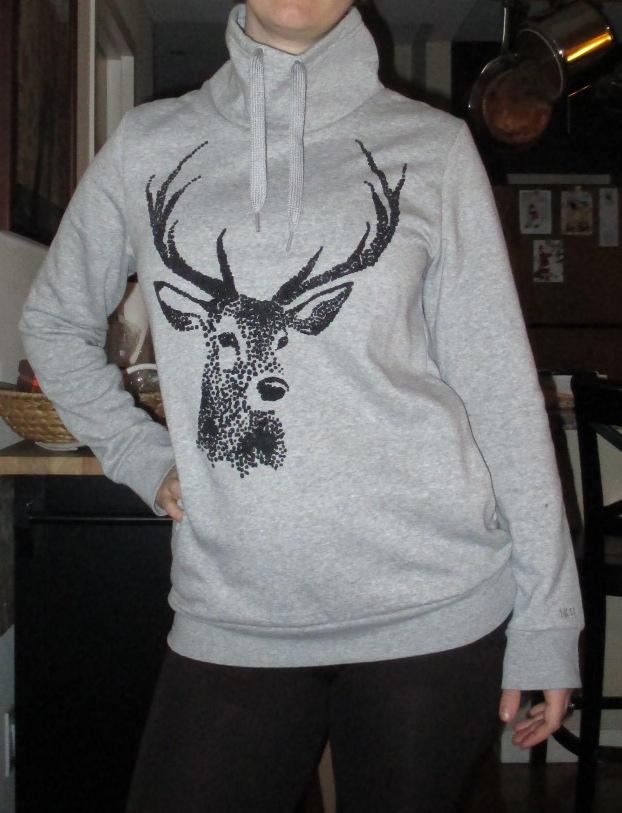
That being said, there was one sweatshirt I really liked that looked boxy and was not part of the Climawarm series, so I anticipated its boob-friendliness to be limited. Still, I kept coming back to the funnel-necked and deer head-bedecked top, and finally it went on sale. Unfortunately, by that point the only size left was XXL. Considering that I’ve had to size down (from Medium to Small) in every other Adidas top I’ve purchased, this did not bode well.

As expected, it was massive on me:

But I loved the neck and the print, and actually quite liked the giant neckhole and extra long, baggy sleeves—so cozy! So I decided to just alter it down.
This project is very similar to my previous post about altering a tee shirt. The difference here is that I’m starting with a woman’s shirt instead of unisex or men’s, and with the tee shirt I recommended basing it on a well-fitting tee you already own. In this case, I wanted to keep the same shape and for the shirt to be relatively loose to maintain its coziness, but still make it smaller overall.
For this project, you will need:
1 oversized shirt
Pins
Needle and thread
Sewing machine (if you’ve got one; it can also be done by hand)
Scissors
Basically, you’re going to take the shirt apart, remove some excess fabric, and put it back together again.
Start out by figuring out how much smaller you want to make the shirt. Put it on and pinch the areas to be made smaller, and measure how much you’re pinching. You may want to pin it while you have it on to make sure everything’s even. It won’t necessarily be the same pinch amount in every spot. In my case, I pinched it at the shoulder seams, the sides of the body, and the sleeve under the armpit, and determined I needed to take out about three inches from each side of the body, an inch or so from the sleeves, and bring in the shoulder seams about two inches.
Once you’ve got your measurements, turn the shirt inside-out and lay it on a flat surface with the front side up.

You’ll notice that this particular sweatshirt has weird pockets. That whole panel of grey at the bottom is the pockets’ interior. So I’m not going to explain what I did to move them inward since it’s so specialized. But maybe in a future post I’ll write up how to add normal pockets—”so handy in a casual dress!
Next, cut off the sleeves along the shoulder seam. I find it easier to work with if I completely cut off the entire serged edge. But if you do that, make sure to take it into account when you’re considering how far to “move” the shoulder later. Keep track of the side each sleeve came from.

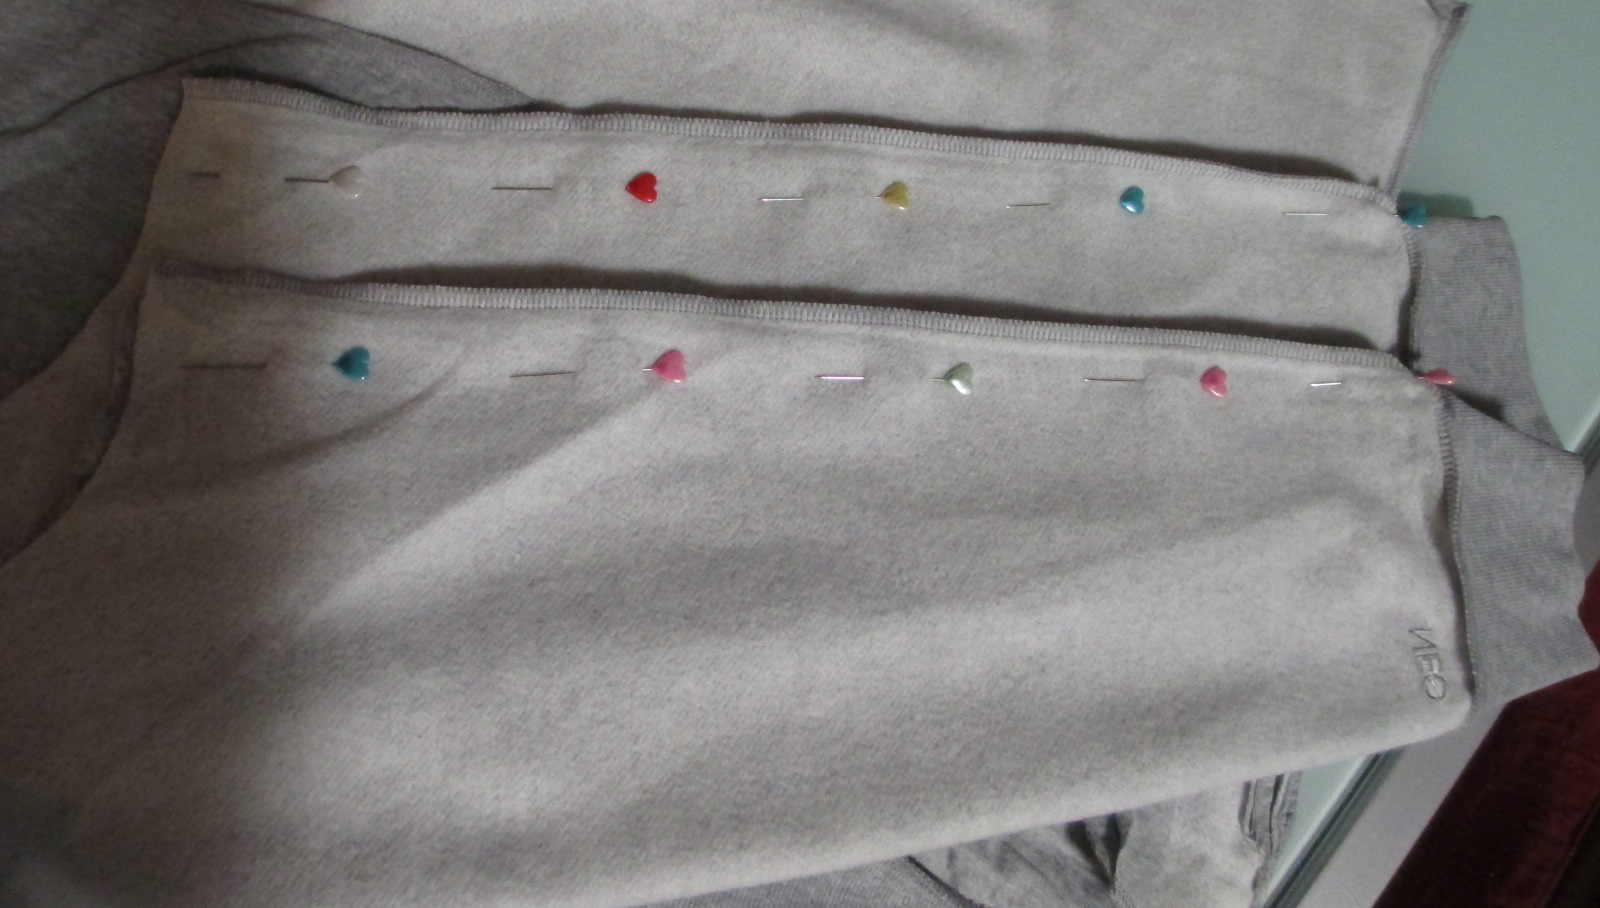
Next, pin the sleeve from the armpit down to the wrist, along the line where you’ll be sewing. Sew along your line. I like to start sewing at the wrist end, in order to make sure I don’t accidentally end up with a crooked edge at the wrist.
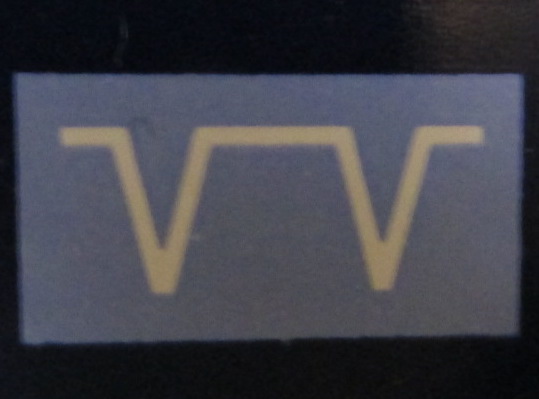
Since I only have a simple (and ancient) sewing machine, I can’t replicate the existing serged edge, as that requires a serger machine. Many sewing machines have an overlock stitch that mimics a serged edge, though. Its icon on the machine looks like this:
However, the overlock stitch also requires a special foot, which I don’t own. So in a pinch, I sew a straight stitch, then go over it again with a zigzag right up against it on the outer side, and then go along the other side of the zigzag with another straight stitch. It’s strong and I like the way it ends up looking. Here is a photo of my straight-zigzag-straight finished edge on the left, and the original serged edge on the right:

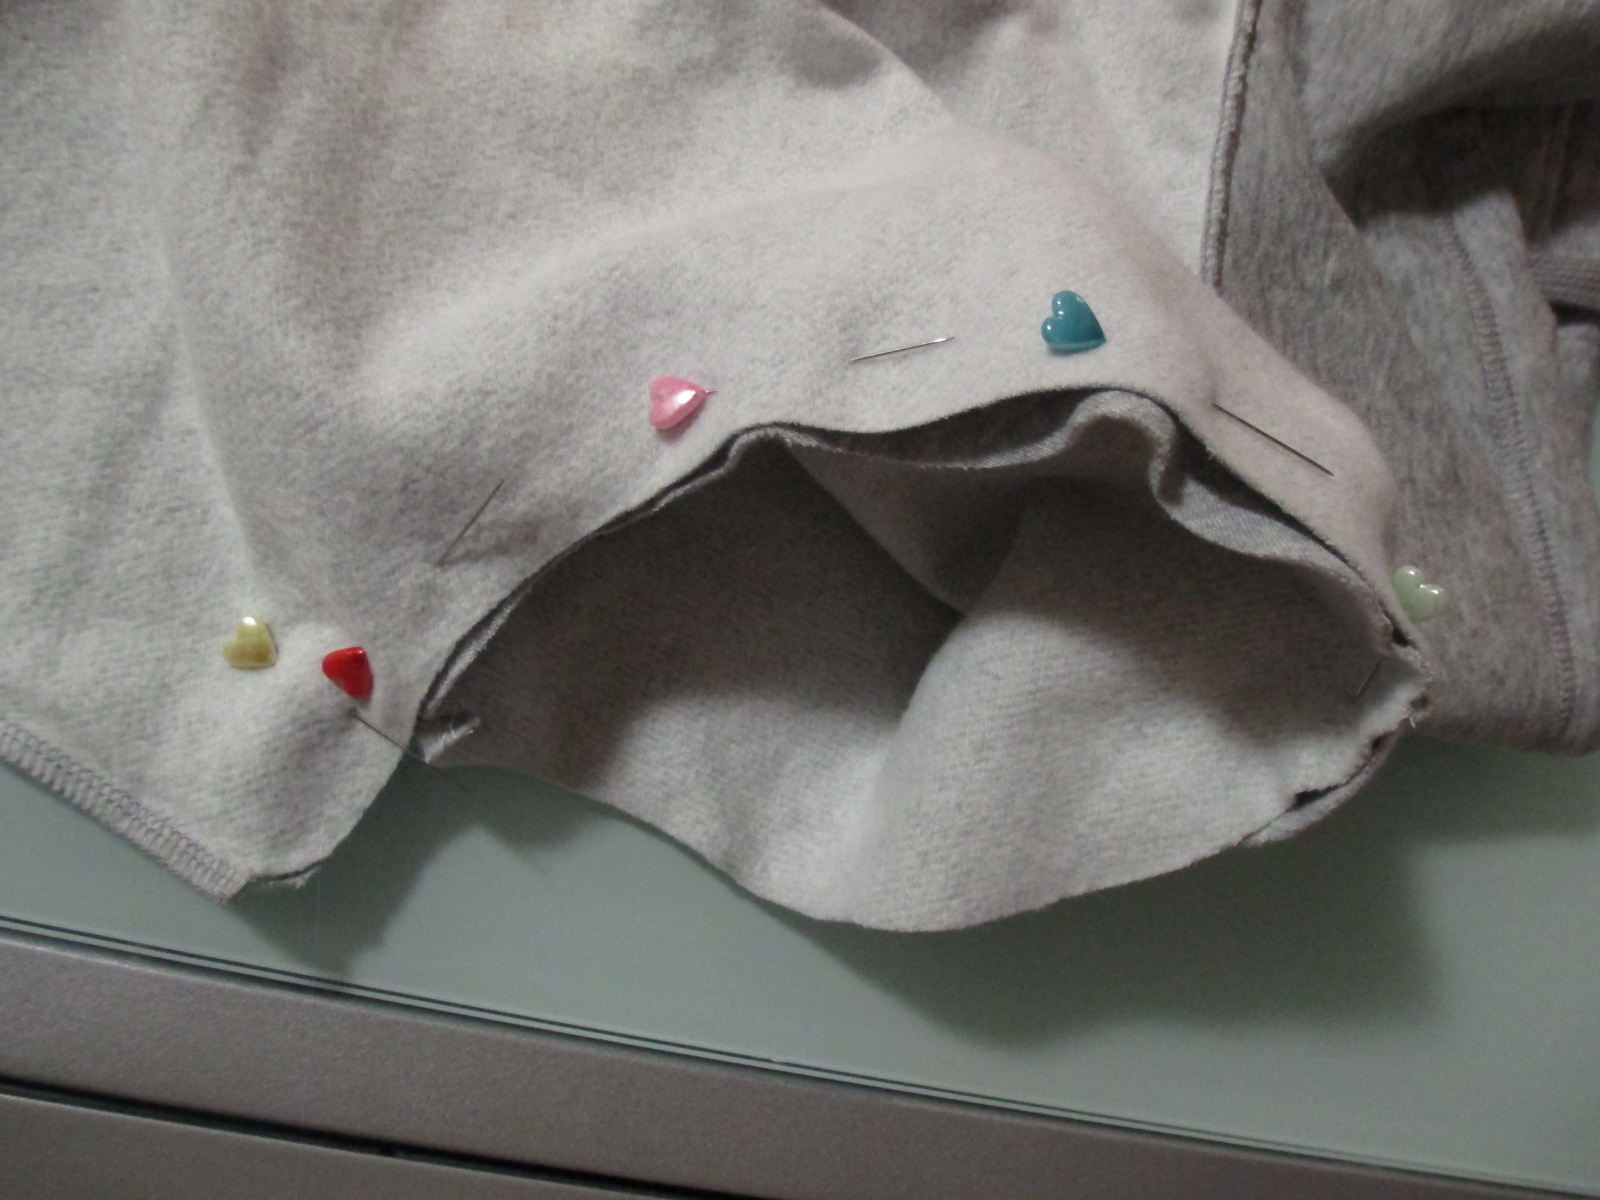
Your next step is to reattach the now narrower sleeves. Turn the sleeve right-side out and tuck it into the armhole. Once it’s in there, the “wrong” side of the sleeve fabric will be visible.
To make the shoulders narrower, push the sleeve deeper into the shirt. It does not need to be perfectly even at the top of the sleeve and in the armpit. The further in the armpit goes, the more fabric you’ll have to take out of the torso. If needed, you can angle the sleeve so that the top is deeper into the shirt and the armpit is closer to the existing edge. Remember the pinched measurements from the beginning and use those as your guide.
If in doubt, pin the sleeves in place and put the shirt on still inside-out. While wearing it, rearrange the sleeves as necessary.
Once you’ve got the sleeve arranged the way you want, pin it in place all the way around the sleeve hole.
Starting at the bottom of the armpit, sew all the way around the sleeve hole, following your pins. You may need to adjust a tiny bit as you go, to avoid any funny bunching. When you’re done, try it on to make sure it looks okay. If you need to move the shoulder or armpit further out or in, you can remove your stitches with a seam-ripper or tiny scissors and try again. But I don’t recommend doing this more than once or twice, as it may damage the fabric if you’re poking holes over and over in the same area. (Truth be told, I undo and re-sew at least one portion in pretty much every project I do.)
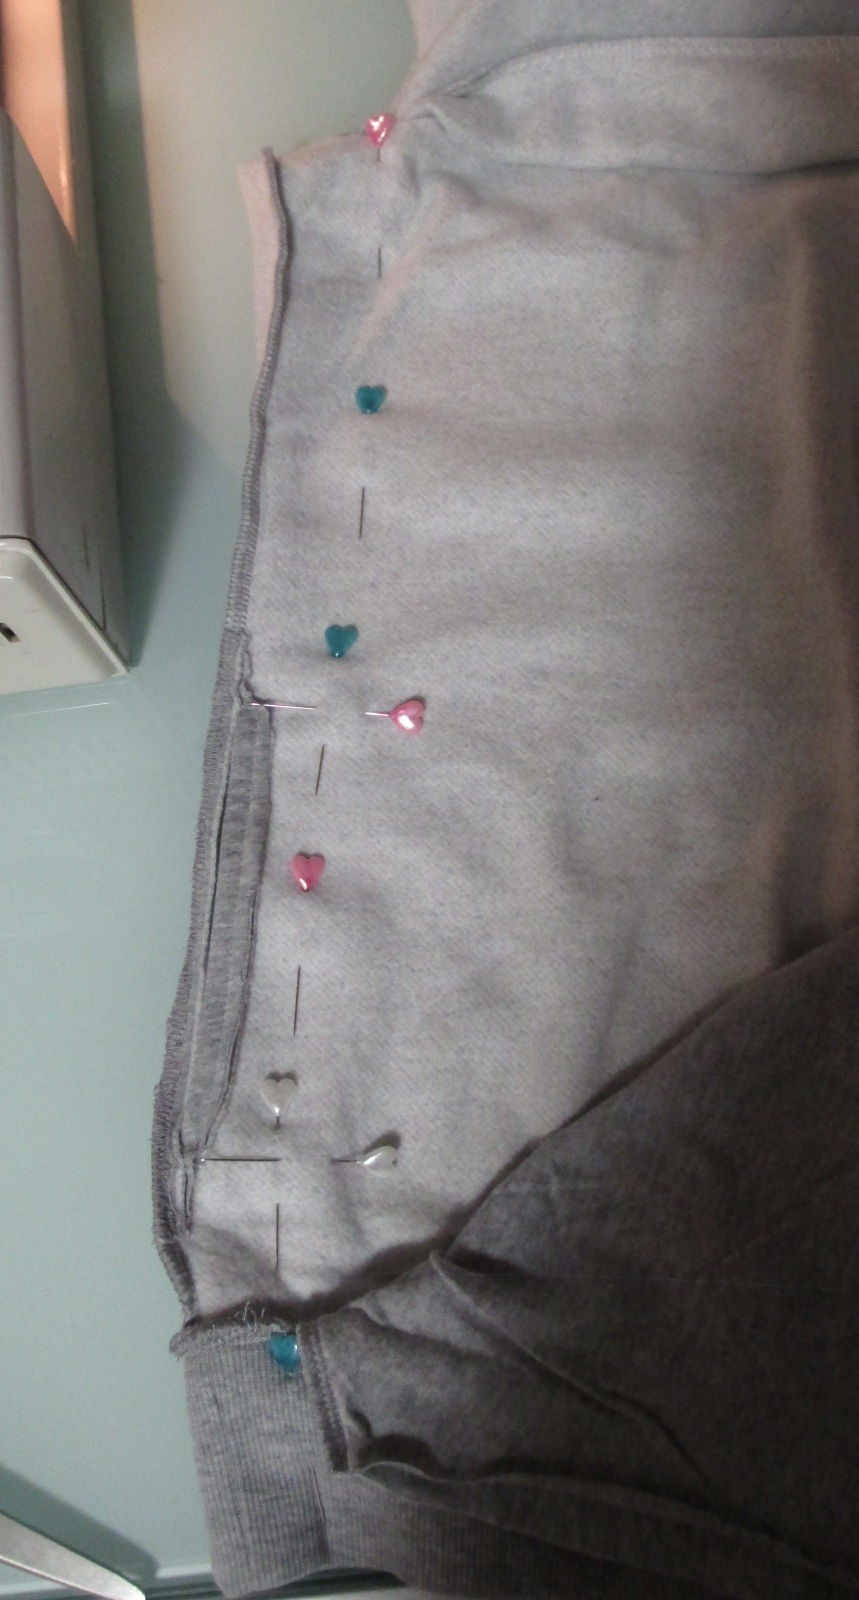
Once you’ve attached and checked both sleeves, the last step is to sew up the sides. Turn the shirt inside-out and lay it flat. Starting from the point at which your sleeve’s armpit is attached to the shirt, pin the side of the torso down the line that you plan to sew. Take care to keep any bottom seams or ribbing lined up, otherwise you’ll get an uneven bottom edge.
You can angle the pins in at the waist if you want a more cinched shape. But since I was dealing with the weird pockets, I decided to just follow the existing line of the shirt.
Sew down from the armpit to the bottom edge, following your pins. Turn the shirt right-side out and try it on. If you like the way it fits, cut off any excess fabric outside of your new seams. You are done!
Cute sweatshirt!!! And awesome tutorial – I’ve done this recently with some tops but had no idea how to explain it to anyone else. I’ll definitely be referring people here when they ask for an explanation!
Also – I LOVE your pins. They’re adorable!
I love the end result! So cute. I just started sewing so the idea of not altering and having more options (even guys clothing which I like sometimes!) is so exciting. Saving this one, thanks for sharing!
*now altering, that is!