This week I’ve got a new sewing project. It’s perhaps the most-used trick in my arsenal—turning a boxy oversized tee shirt into a fitted, woman-shaped tee.
I love tee shirts! I own so many that my boyfriend sometimes gives me a hard time about it (the drawer is almost overflowing!). When I see a tee shirt design that I really like, I have a habit of buying it even if it only comes in a size that’s way too big for me. I also get a lot of free tees from press events, courtesy of my varied freelance editorial jobs. I rarely turn down a free shirt, but more often than not, your only choice is a men’s large or XL. Well with just a little bit of sewing know-how, you can turn those boxy blah shirts into a fitted, feminine shape.
For this project, you will need:
1 oversized tee shirt
1 tee shirt that fits you perfectly (to use as a guide)
Chalk
Lots of pins
Needle and thread
Scissors
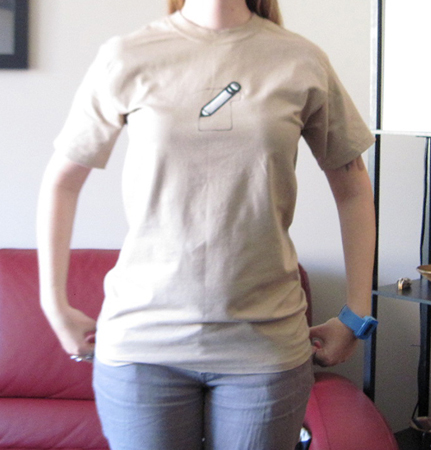
Here is the shirt I chose. It’s actually not that big on me, but the shape is pretty unflattering, the sleeves are too long, and the sleeve seams are way out of place.
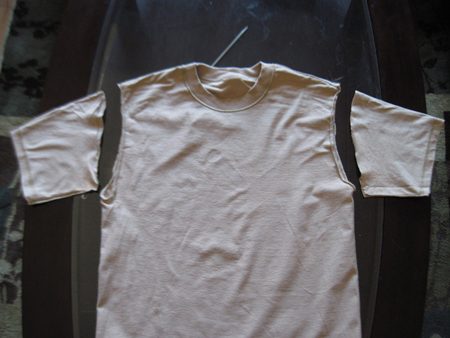
 Start by turning the shirt inside out and cutting off the arms. Try to keep track of which one goes with what side.
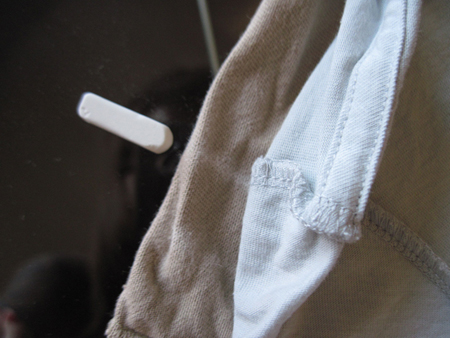
 Next, lay it out on a flat surface with the front facing you. Smooth it down so there are no creases or wrinkles. Take your perfectly fitting tee shirt, turn it inside out, and lay it over the oversized one, again with the front facing you. Line them up along the top of the shoulders.
 Take your chalk and make a mark on the oversized tee where the sleeve seam will go.
 Using the fitted tee as a guide, draw a line up the side of the oversized tee. This is where you’ll sew. Draw an armhole about the same size as the original one, but starting from your new shoulder seam and stopping at your vertical chalk line. Repeat at the other armhole.
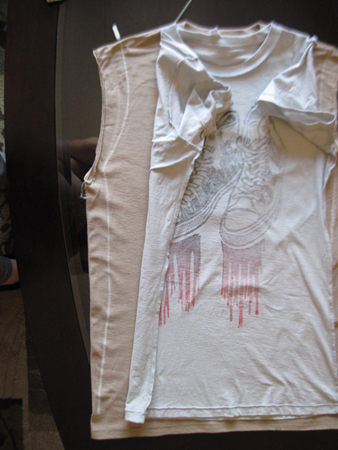 Now place pins along the vertical chalk lines.
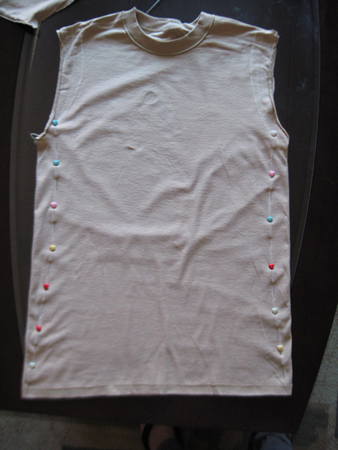 To re-attach the sleeves, first turn them right side out. Slide the sleeve inside the armhole
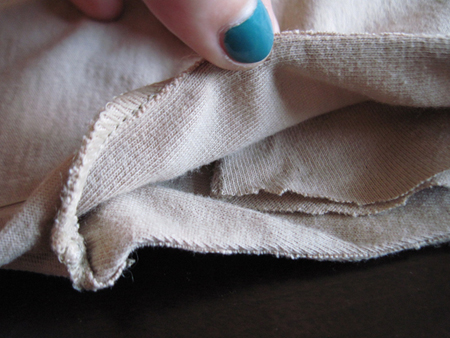 Line up the sleeve with the chalk mark. First meet it with the top of the shoulder. Place a pin here, perpendicular to the sleeve’s raw edge. Now shift the sleeve into approximately the right placement so that the bottom of the sleeve is located at the chalk mark. Most tee shirts have a seam on the bottom of the sleeve (parallel to your arm when you’re wearing it). You want this seam to meet up with the shirt body’s vertical seams, which are denoted by your vertical line of pins. The placement of the sleeve doesn’t need to be exactly along your curved chalk line; the most important thing is to get it flush with the armhole without any gapping and get that sleeve seam in the right place. Stick a pin at the bottom of the sleeve now, again perpendicular to the sleeve edge.

Now place pins approximately along your chalk mark to hold the whole sleeve in place.
 Doing it on side of the sleeve that doesn’t have chalk is a little trickier. Try to line it up so there’s the same amount of space between the sleeve’s edge and the armhole’s edge as you had on the chalked side. Start pinning at the shoulder and use each preceding pin as a guide until you reach the base of the sleeve. When that’s done, remove the perpendicular pin from the shoulder and the sleeve base. Repeat for the other sleeve.
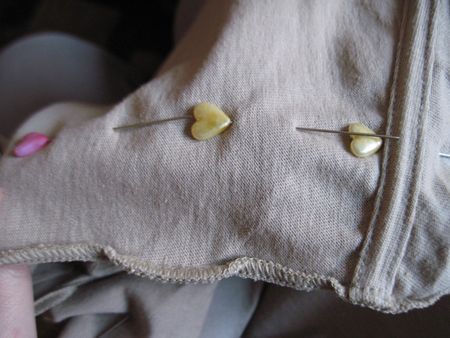

You’re now ready to sew. Start with the armholes. Beginning at the base of the sleeve (at the sleeve seam if there is one), sew along your pin line all around the open armhole. Remove the pins as you go. Repeat on the other sleeve.

Now sew down the vertical pin lines, going from the base of the sleeve down to the bottom hem. When you turn the shirt right side out, the armpit should have a nice T where the body seam, sleeve seam, and the line where the sleeve is attached to the armhole all meet. It’s okay if it’s a little off, but the T is the result you were going for.
You’re done. Turn the shirt right side out and try it on. If it looks good, you can turn it back inside out and cut off all the excess fabric along all the seams so that there’s no bulk. Here’s a photo of my finished shirt:
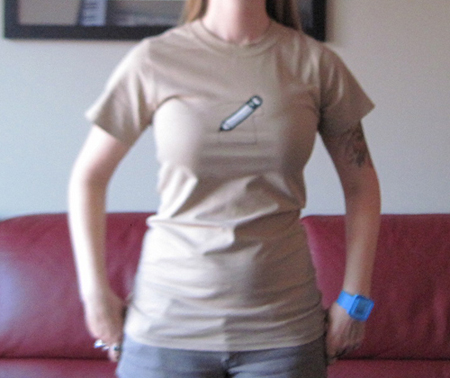
And here’s the original tee again, for comparison:
Thank you so much for this tutorial! I know I will use it a lot because I have so many t-shirts that I got from events but that just sit in my drawer because they fit so terribly. Can you please share your technique for shortening the shirts? I have the bunching up problem, but way worse than in your picture because I am petite and have wide hips.
Sure, it’s really simple. Turn the shirt inside out. Fold the bottom hem up so the tee’s length is the size you want, pin in place, and sew about a half-inch up from your new bottom edge. Then cut off the excess.
If you want to avoid having a rough edge on the inside of the new hem, cut off the excess first so there’s about 1 to 1.5 inches of extra fabric to work with past where you want the shirt’s final length to be. Then fold the hem in by about half an inch, then fold it in again another half inch (so the raw edge is basically inside the hem). Pin in place and sew along the upper edge of the new hem.
Great post! I do this a lot, since tees are so darned boxy.
Damn, you’re so crafty, Leah! I need to learn my way around a sewing machine, because I would definitely benefit from applying your awesome tutorials to my wardrobe.
Love this. Need to do this to several event and cheap-o t-shirts I have, I’m so pleased to have found you!
Question tho, did you mention what kind of stitch it’s best to use? Overcast, zig-zag, straight?
Thanks.
I have an ancient sewing machine, so I generally use a straight stitch for everything. Really, the best thing you can use is a serger, which uses three different threads to create the multi-thread pattern on the inside of most tee shirt’s hems. It’s neater, keeps the edge from curling, and allows the fabric to stretch a bit. In a pinch, I’ll actually do a mock version of that by sewing a wide zig zag stitch first, then doing a straight stitch along the outer side of the zig zag.