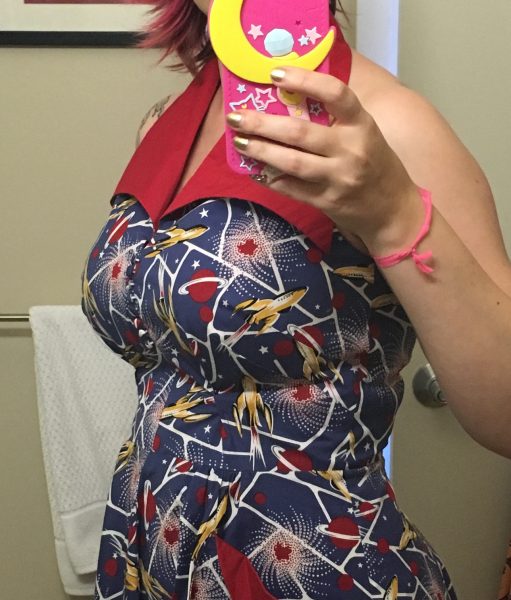
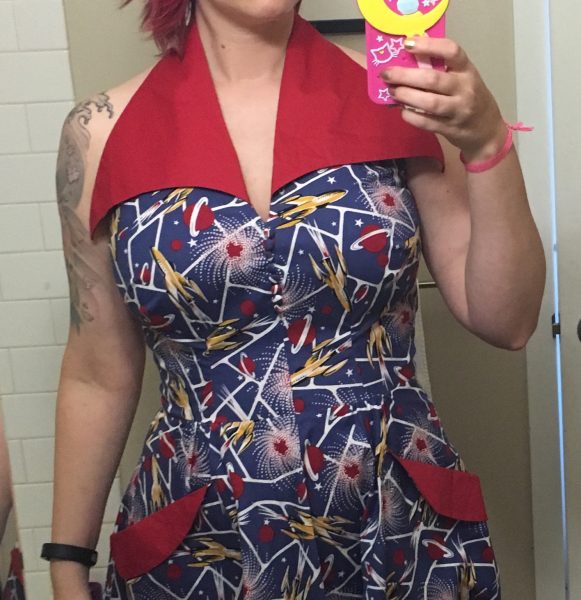
Last month I did a roundup of all the Trashy Diva dresses I’ve tried, with scores for how boob-friendly they were. One of the dresses I featured was the Sci-Fi Rockets print “Rockette” dress, a halter with a big contrasting red collar and pockets.
I somewhat guessed on the boob score for that one, though, because the size 10 I have is really a size up from my usual 8. But the 10’s waist apparently ran smaller in this model, because it fit in that spot while being way too big around the ribcage. Yet it had the perfect amount of volume for my breasts. Since it’s made of a pretty sturdy stretch cotton, I felt comfortable altering it myself. Here’s what I did to shrink the ribs while maintaining volume in the chest.
Essentially, I added vertical darts where they weren’t any before, in the space between the waist and my breast apex. Secondly, I tightened the ribs at the existing side seams.
(In these photos, I’m wearing a Freya Deco Strapless in 30FF, and I measure 37”-29”-41”.)
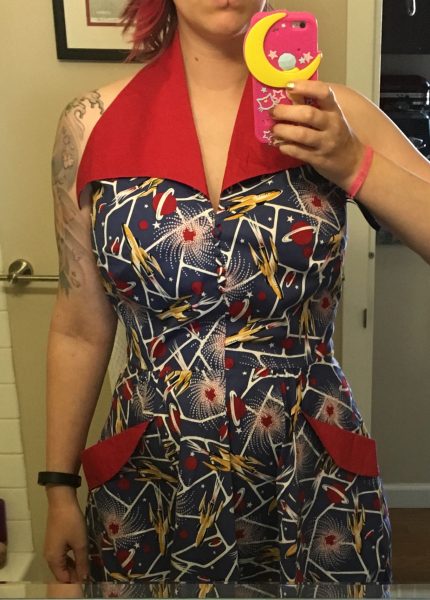
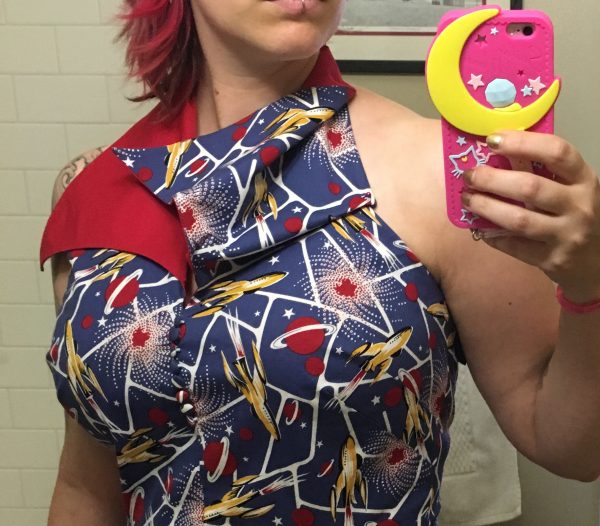
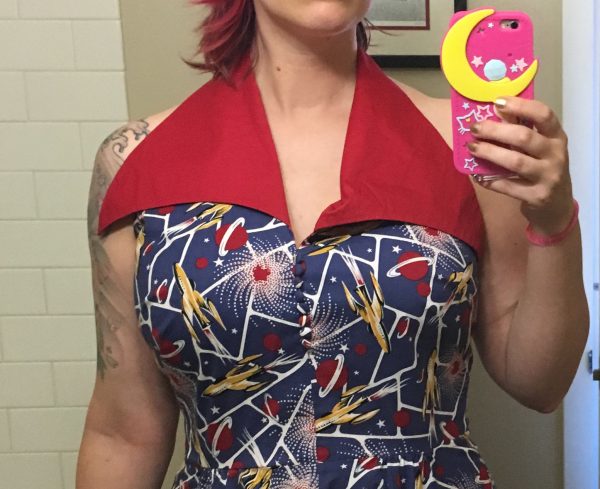
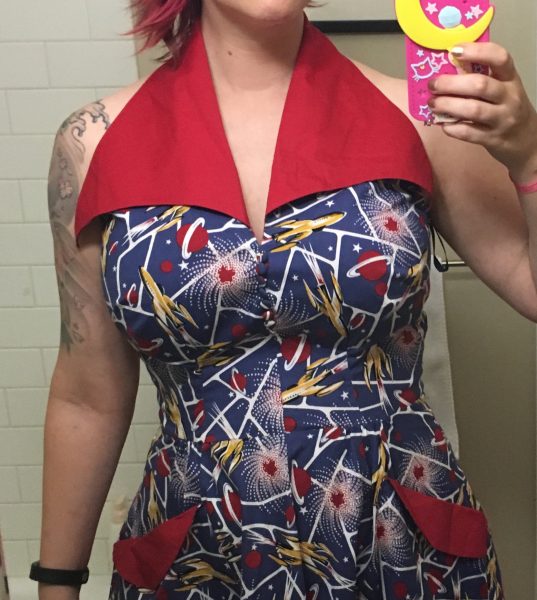
Here’s the dress pre-alterations. You can see it bagging around my underbust area.
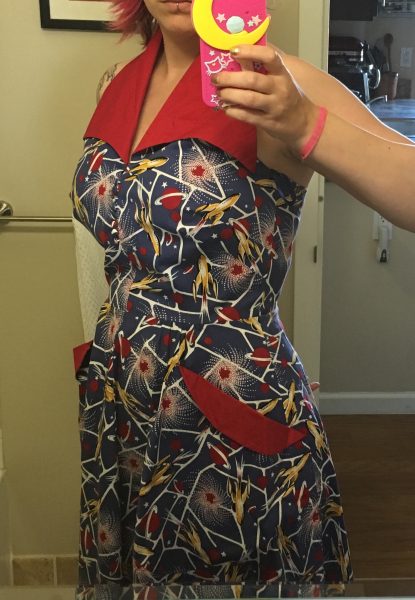
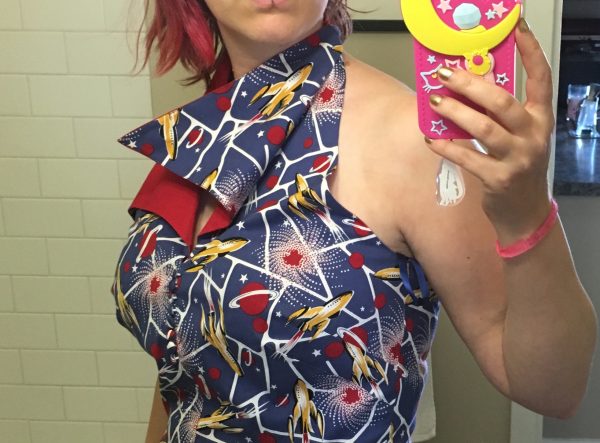
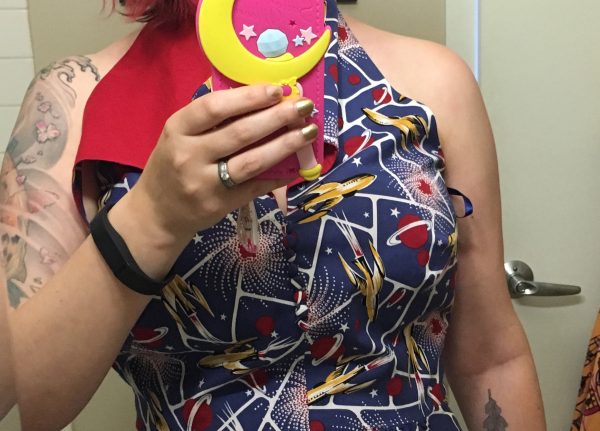
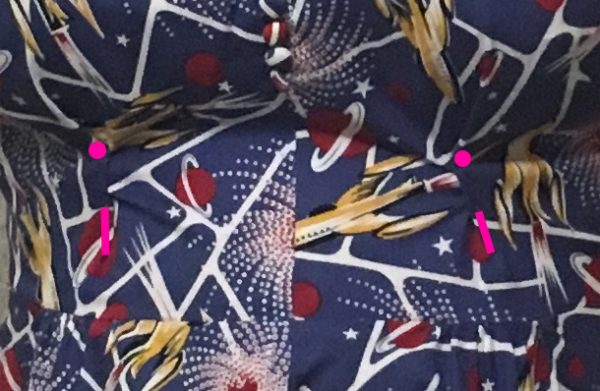
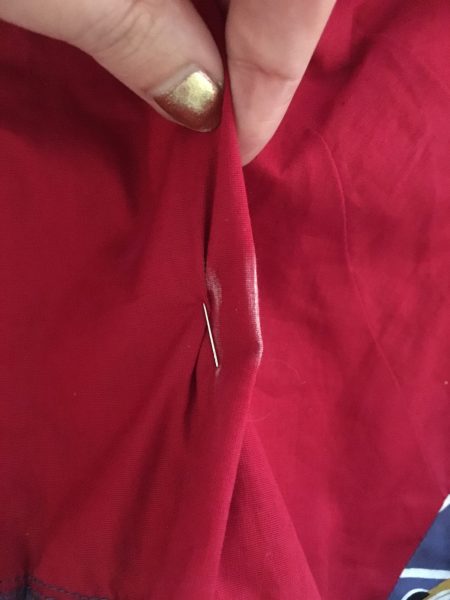
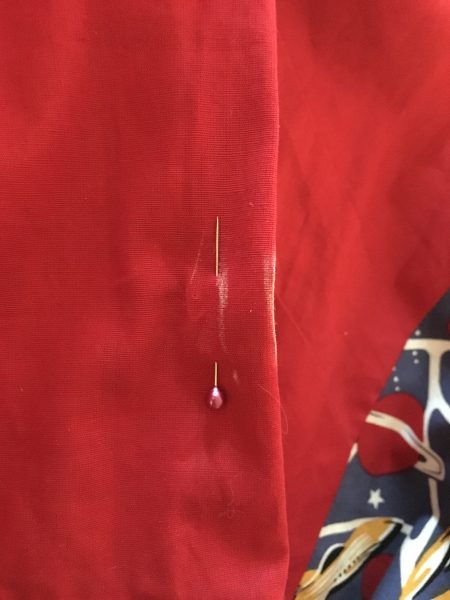
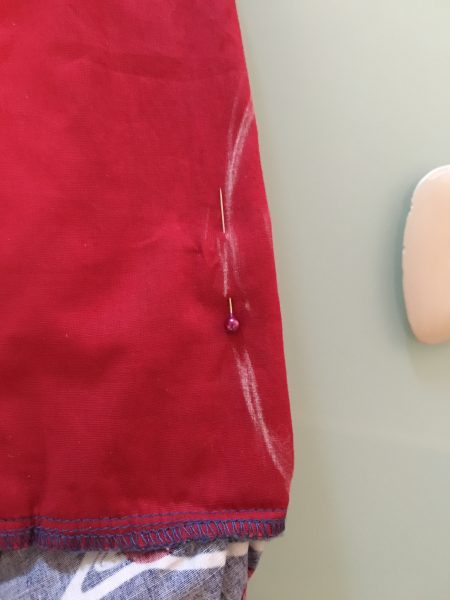
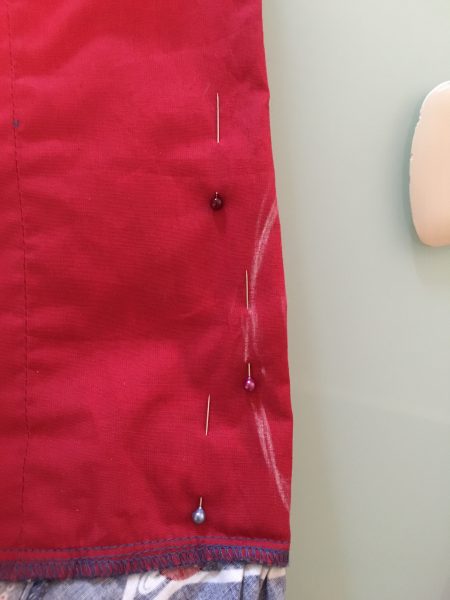
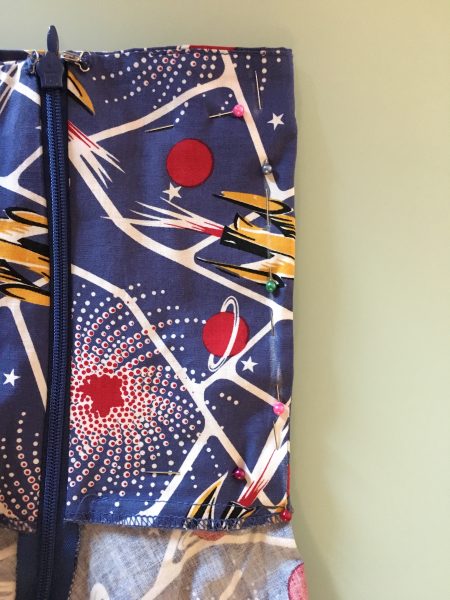
And another view of the underbust bagginess. You can’t see it here, but it was also dragging down in back and exposing nearly the entire strapless bra band.I also noticed that under the collar, the halter was doing weird things.Another view of the fabric under the collar.I started by trying to pin the collar to get rid of the excess fabric near my armpit…But that made the collar look weird from the front instead of lying flat, so I gave up on that and concentrated on the ribcage instead.I started by pinching the fabric vertically under each boob, folding the pinch over toward the center, and pinning it in place from the outside (that’s the pin going through three layers of fabric).Since the pins are hard to see, here’s a Photoshopped closeup with the pins highlighted in pink.Another view of the pins. You can see how much more form-fitting it looks already.Next, I took the dress off and looked at the interior. You can see here that I managed to catch an extra layer of fabric, but that doesn’t matter. I drew a mark in chalk where the fabric is folded and where the pin is located.Then I took out the pin so that I could re-insert it on the interior. I folded it in half at the edge mark and inserted a pin at the same spot it was located before. I’ve basically created the same pinch as before, only now it’s inside the dress instead of on the outer side.Then I drew an arcing line from the waist seam up to the pin, then a matching line from the pin up to the edge of the fabric. The top of the arc should stop just under your breast apex, but distance will vary depending on your torso length and breast height. This chalk arc is the line you will be sewing.Then I added a couple extra pins just to help hold the fabric flat while sewing.Then you simply sew along the chalk line. Try to keep the ends of the sewn line as close to the fabric edge as possible so that you don’t end up with little bubbles on the exterior. (Apologies that this photo is actually the backside instead of the chalked side, but you get the idea.)Here’s how it looked!And another view. I actually had to go back and re-do one of the darts because it didn’t come up high enough. But if you’re making the dart longer, then you don’t even have to unsew the first one—just start at its apex, and then angle a little further into the fabric and bring the dart’s tip up higher than the first attempt.
So now the boobs were more form-fitting, but the back was still not tight enough to stay up. So the next step was to shrink the overall circumference. This also had a side effect of making the weird excess fabric under the collar be less noticeable. I ended up doing nothing with the collar in the end because the red flaps covered it up anyway.
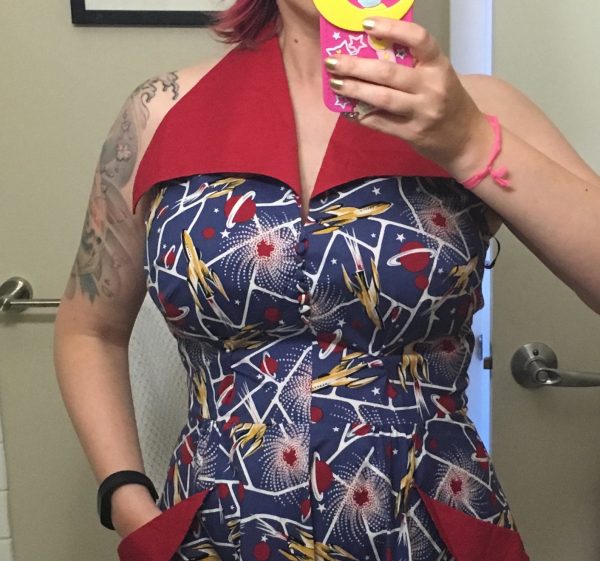
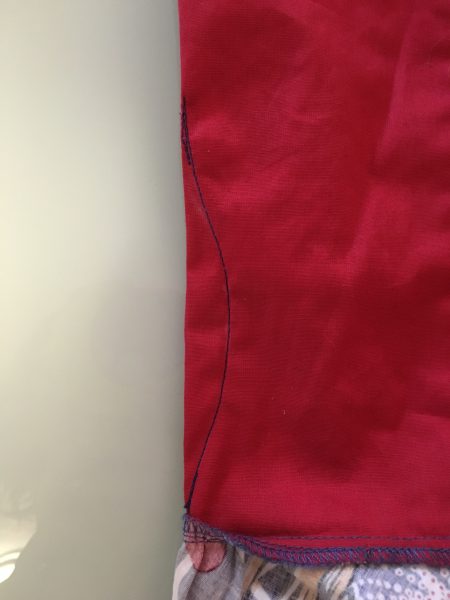
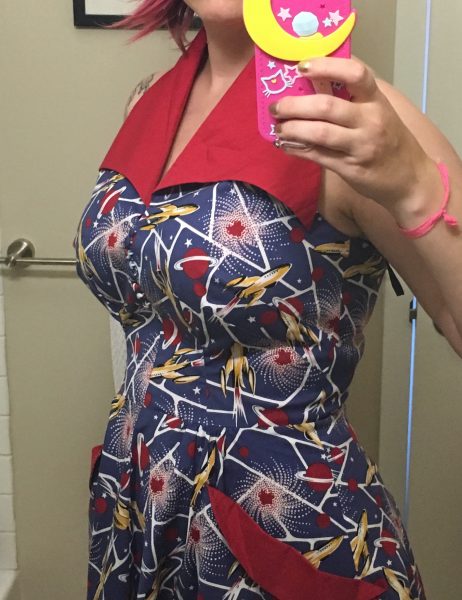
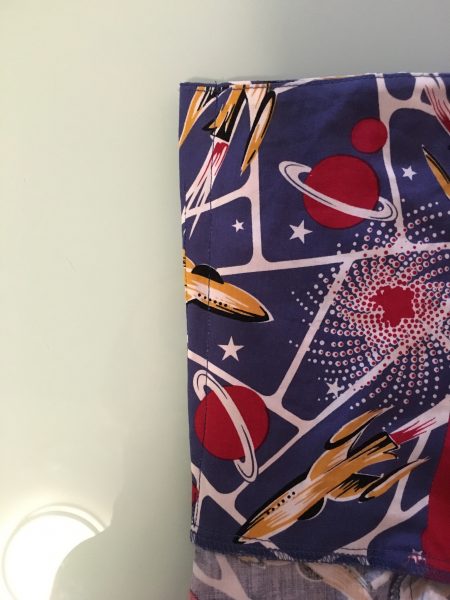
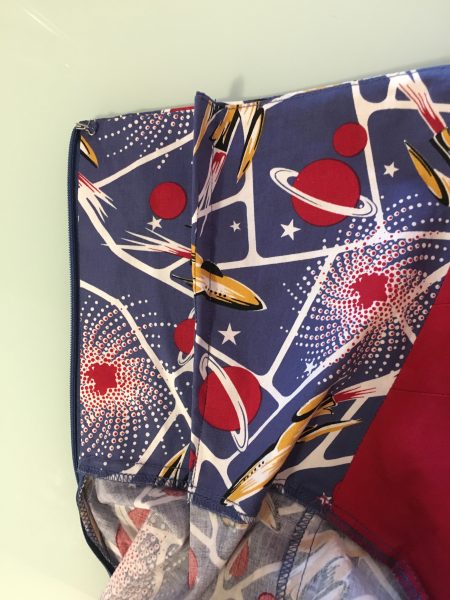
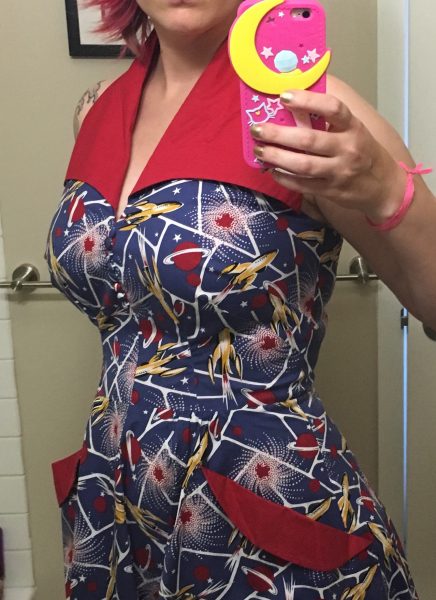
I started by folding the dress where it already had a seam, and pinning in place. Then I drew a line in chalk leading from the waist (which again I did not want to shrink) up to the top, and added pins along the line. This is taking approximately an inch off at the top (the top pin is half an inch from the edge).Then you simply sew a straight line along your pin line.Here’s how it looks at the interior when it’s unfolded.And here’s how the completed alteration looks on me!And from another angle.
Big improvement in my opinion! I wore it the next day. It was really hot and I was carrying a bunch of heavy things outside and sweating a lot, though, so the fabric around my ribs loosened up a bit and starting falling down in back again and showing off my bra band. I’m sure it’ll tighten back up once it’s freshly laundered, so I’m hesitant to tighten the ribs any further for fear that I won’t be able to zip it up. So instead I’m going to shorten the neck strap just a little. Luckily, it narrows to only about an inch wide in back and lays flat, so I’ll just have to pinch it in half and sew it without any cutting.