It’s been way too long since my last sewing post. This week I have a pretty big one—a review of the Vogue V8998 pattern, which features a custom fit option of cup sizes A, B, C, and D.
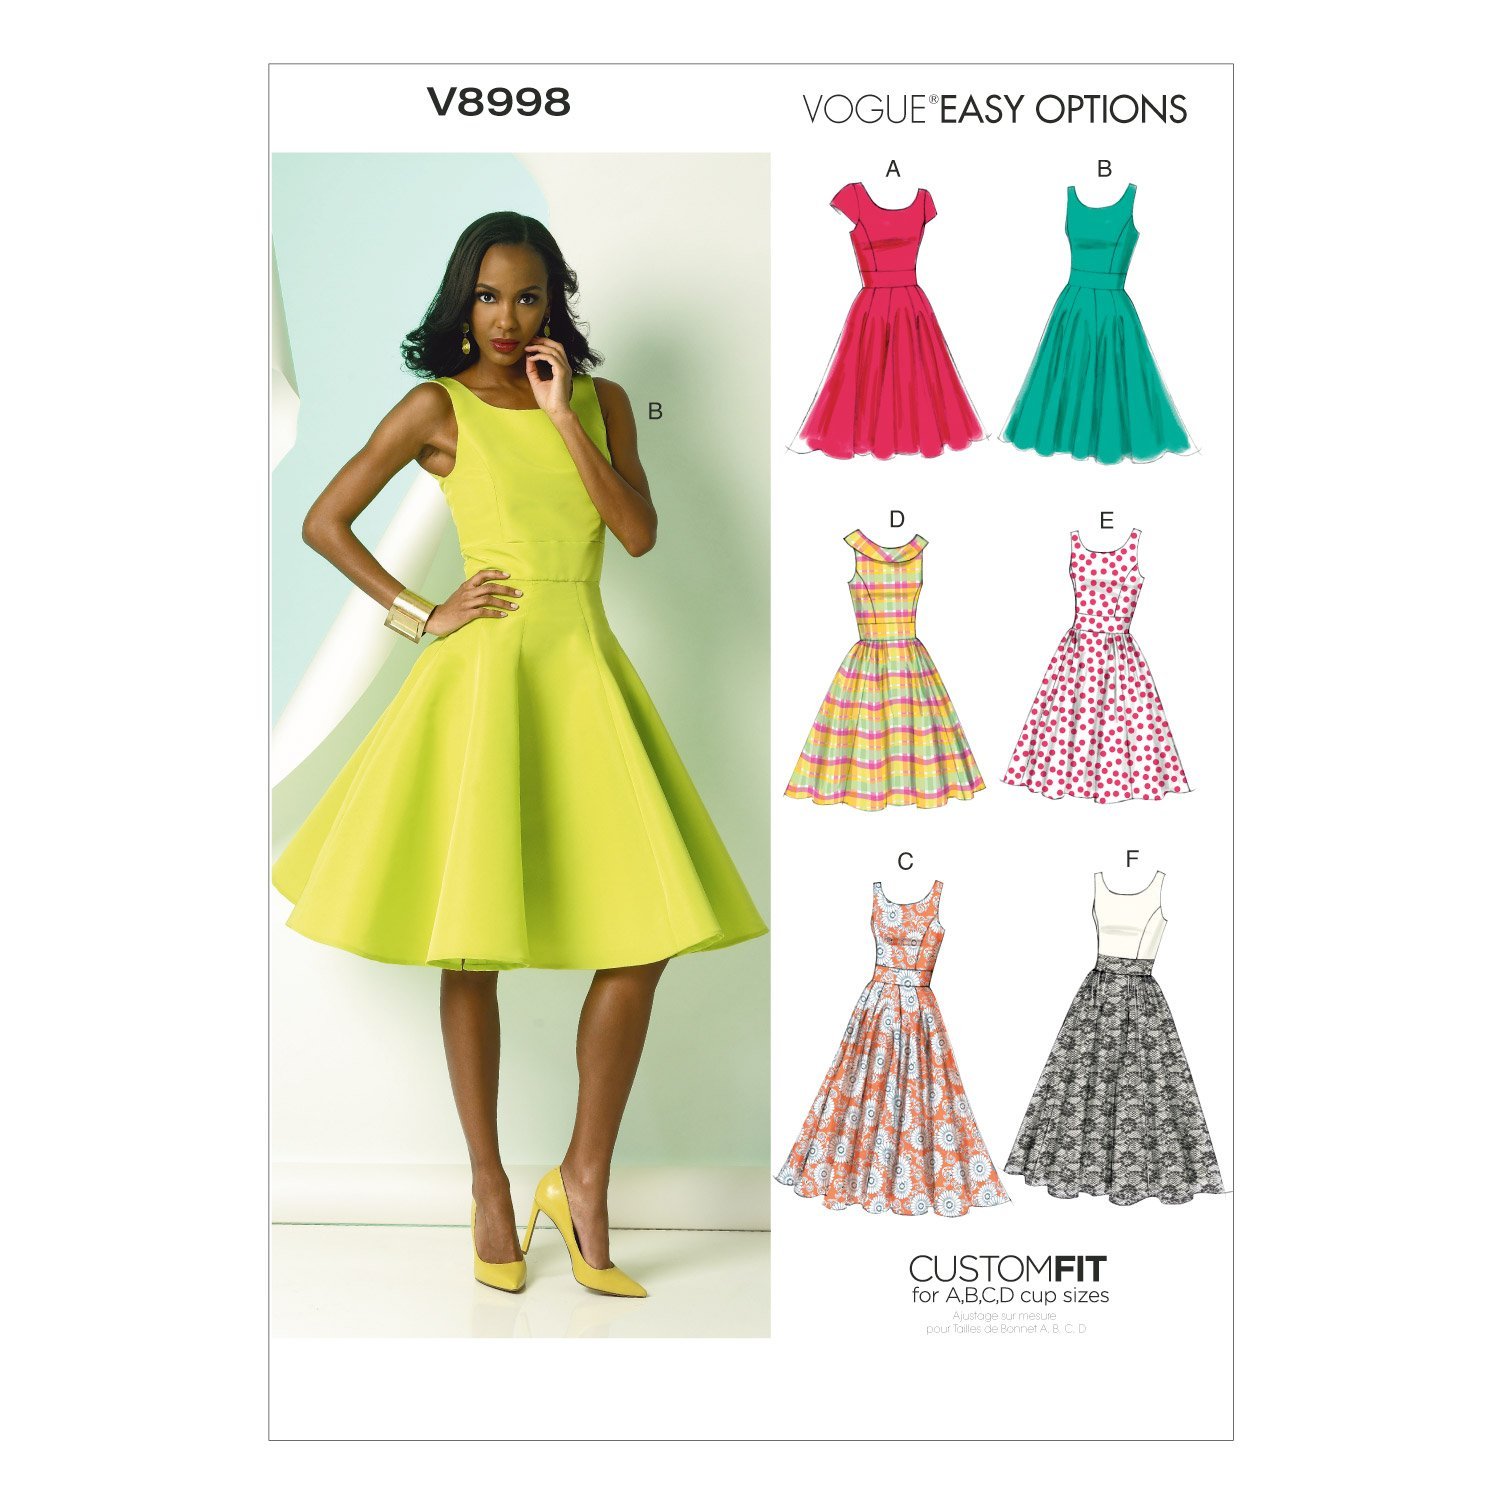 The design I opted for is letter B (upper right teal illustration), which is what the model is wearing.
Now, as we all know, cup letters mean nothing without knowing the band size, but the Vogue method of selecting cup size is actually not too far off from the way bras work. Each cup size corresponds to the difference between your bust at the fullest point and your “high bust” (“Measure across the back, high up under the arm, and across top of bust”). The only difference is it tells you to measure your upper instead of underbust, which I think is dumb since people who are fuller on top will have a smaller difference than someone less full on top, even if they wear the same bra size.
In any case, each letter corresponds to an inch difference, so A is one inch, B is two, C is three, and D is four. This is one of the most basic starting points to figure out your proper bra size—each inch difference between your underbust and bust = one cup size.
Of course, women are capable of having a bigger difference than four inches, but you can compensate somewhat by choosing bigger cup pattern pieces for the bodice and tapering them closer to the waistband—though I would recommend trying this with cheap muslin before you cut out your actual fabric of choice. Then you can use the perfected muslin pieces as your pattern pieces instead of Vogue’s paper pattern.
I, of course, was too impatient for all that, so I just went straight for the D cups. As for dress size, do not even consider your normal dress size. You must follow the instructions. My measurements correspond to halfway between 14 and 16 even though I generally wear an 8 in off-the-rack clothing. I went with the 14 because I usually go with the smaller size when I’m in between, but the safer bet would be to size up since you can just sew it with more seam allowance to shrink it down a smidge.
Unfortunately, I now wish I had taken the time for a muslin, because I’m going to be taking the dress almost completely apart in order to make the necessary changes. So in this post, I’m only sharing with you how the dress looks now and what I want to edit.
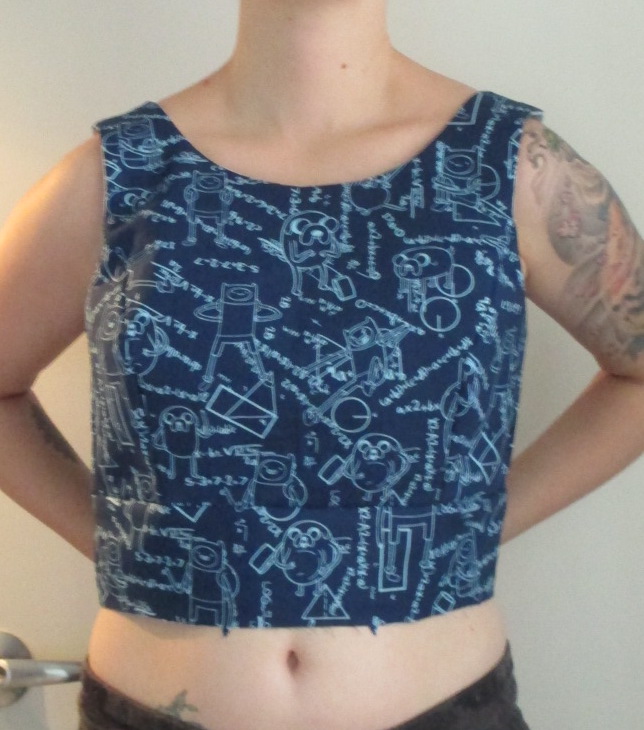
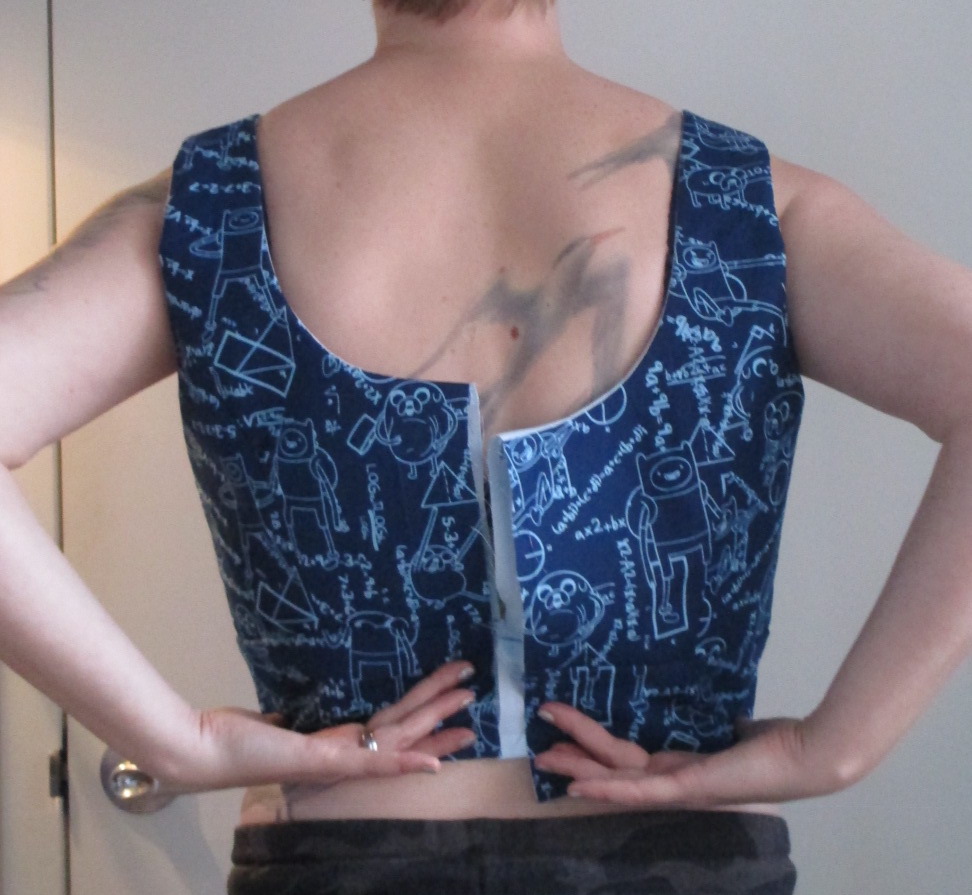
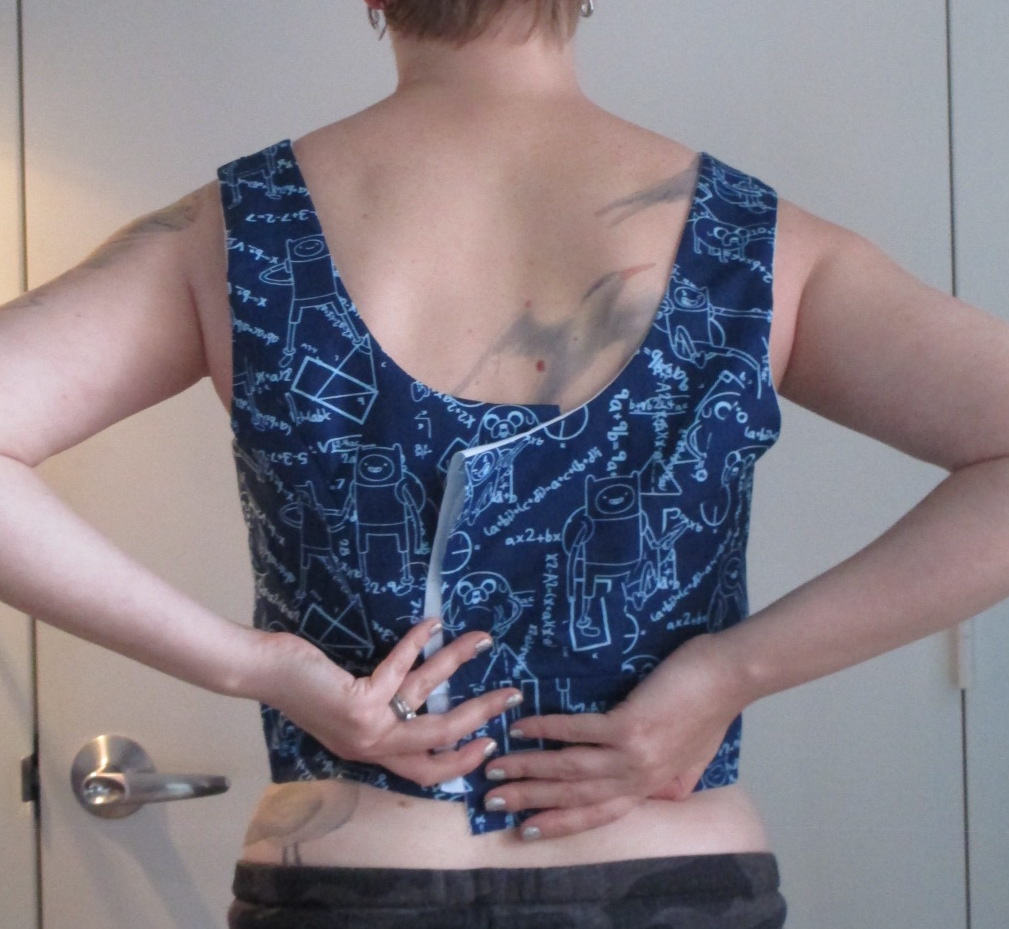
First up, some shots when I was putting the bodice together:

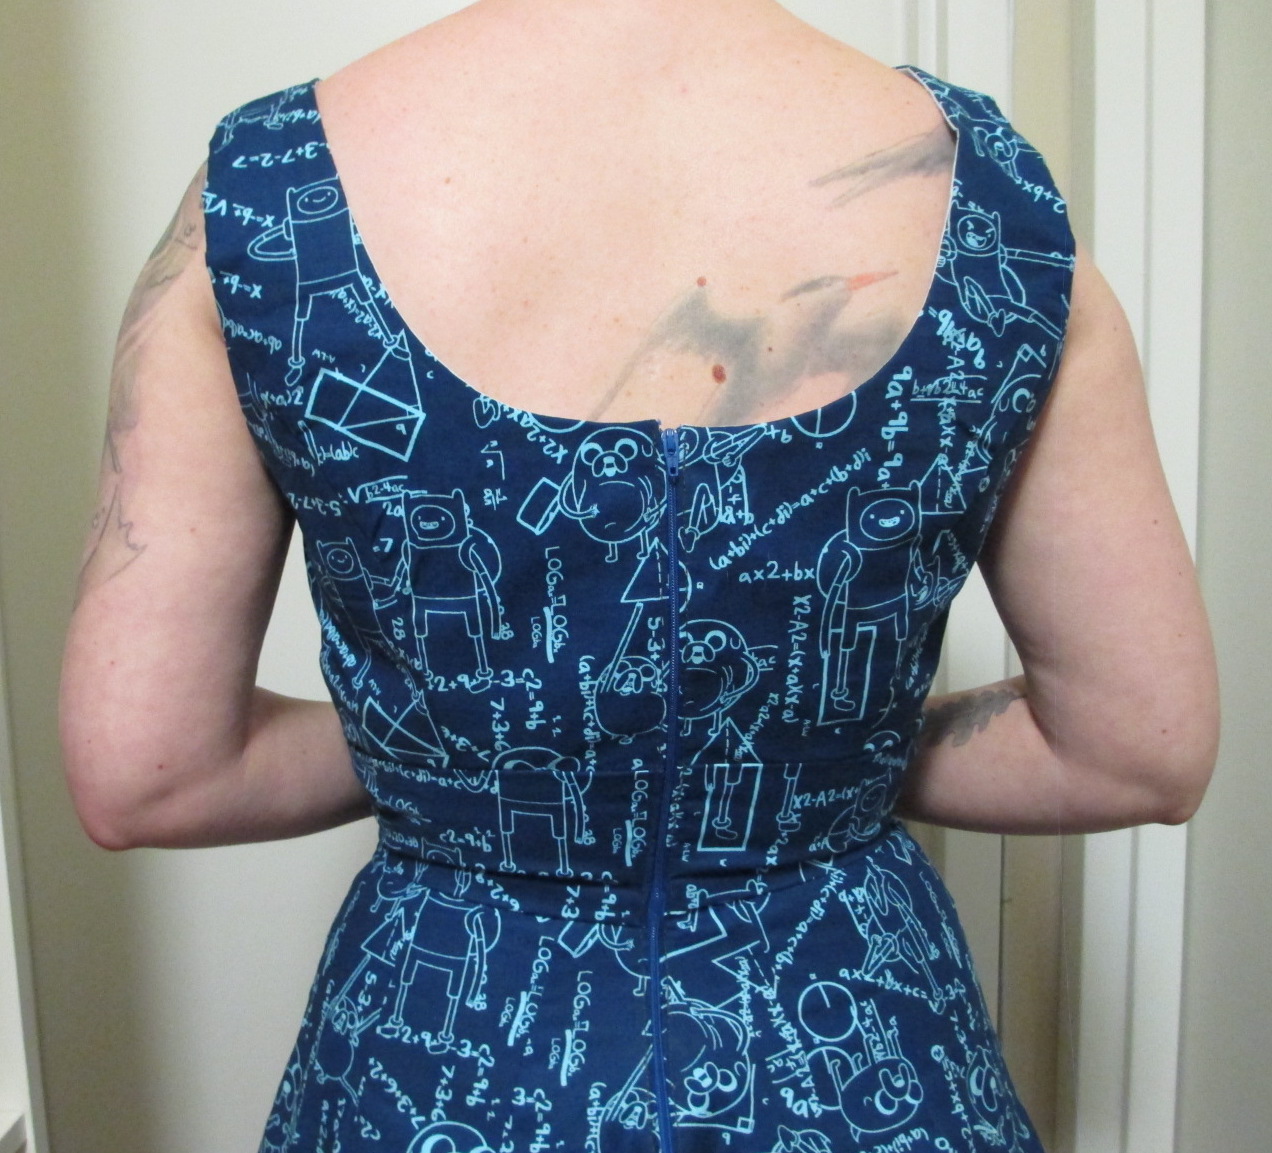
So I wasn’t crazy about it at that point, and I actually did take it apart and sew all the seams closer in to basically shrink the whole thing. But it’s still not great in the end. Here’s the finished dress, fully lined and with the zipper installed:
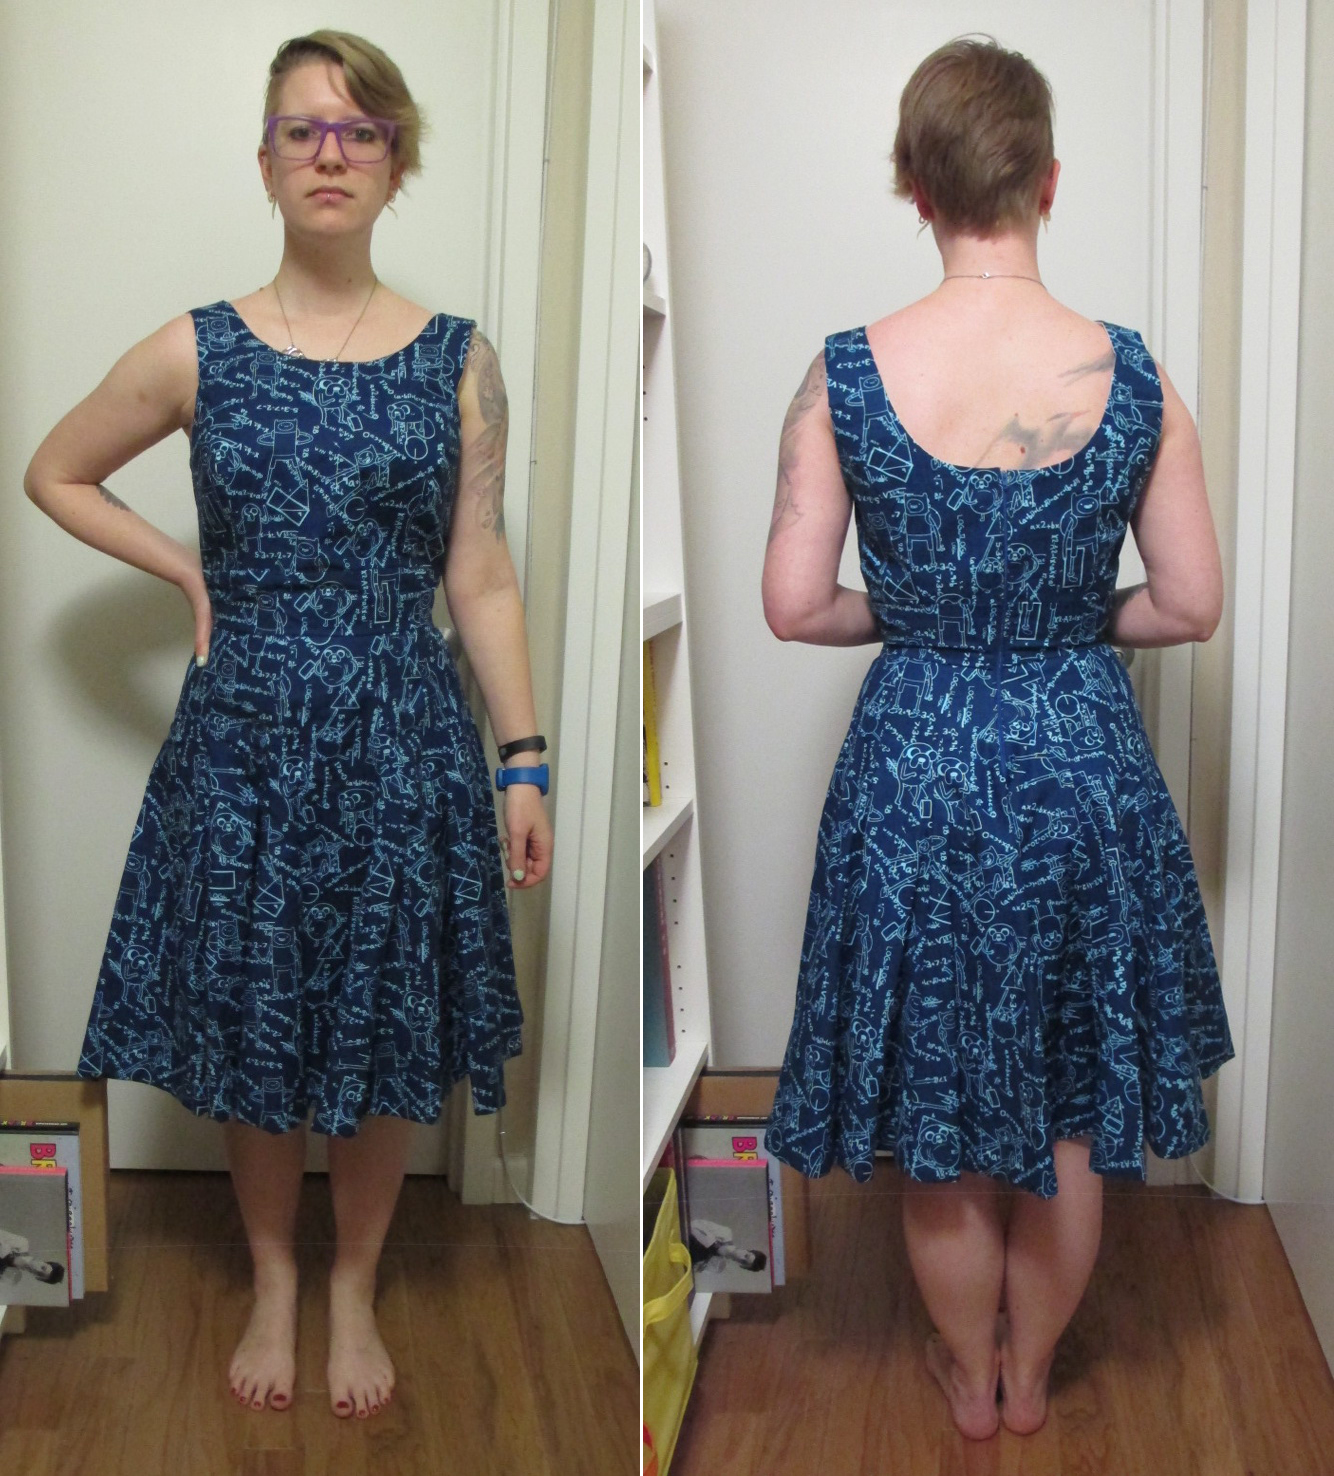
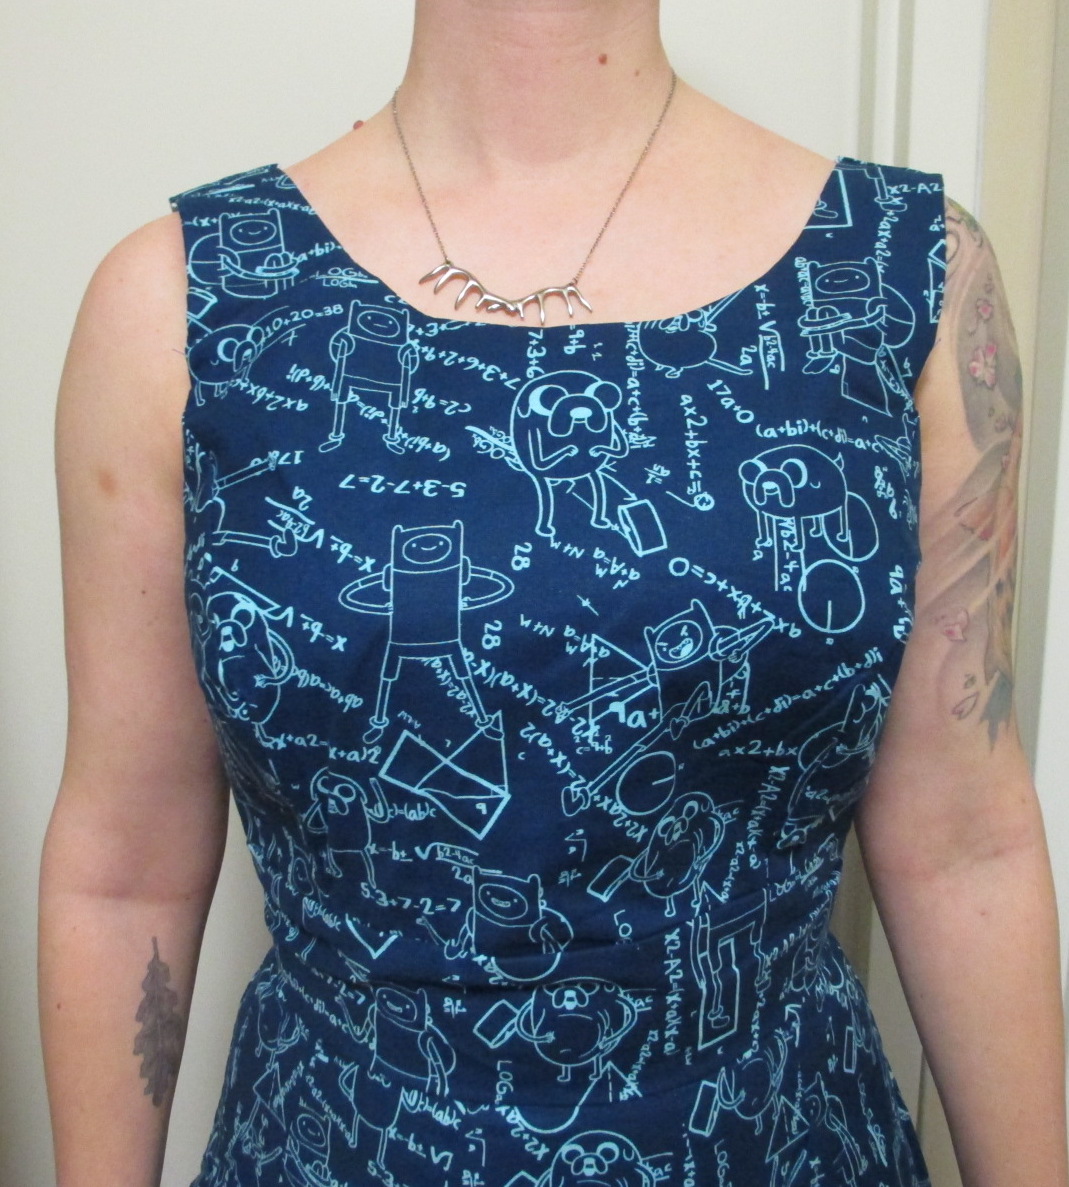
I used lightweight cotton for the dress and the lining. It doesn’t look too bad from far away, but the fit issues are obvious in person. Overall, the bodice, which in addition to the lining has interfacing, is too stiff. Next time I make this, I’ll skip the interfacing. The skirt feels way too heavy and I would prefer it a little shorter, so next time I won’t line the skirt portion at all and will cut off a couple inches from the bottom.
Since I adore this fabric and I don’t have any more left, I’m determined to salvage this dress. So I’m going to be taking it all apart except for the individual skirt panels.
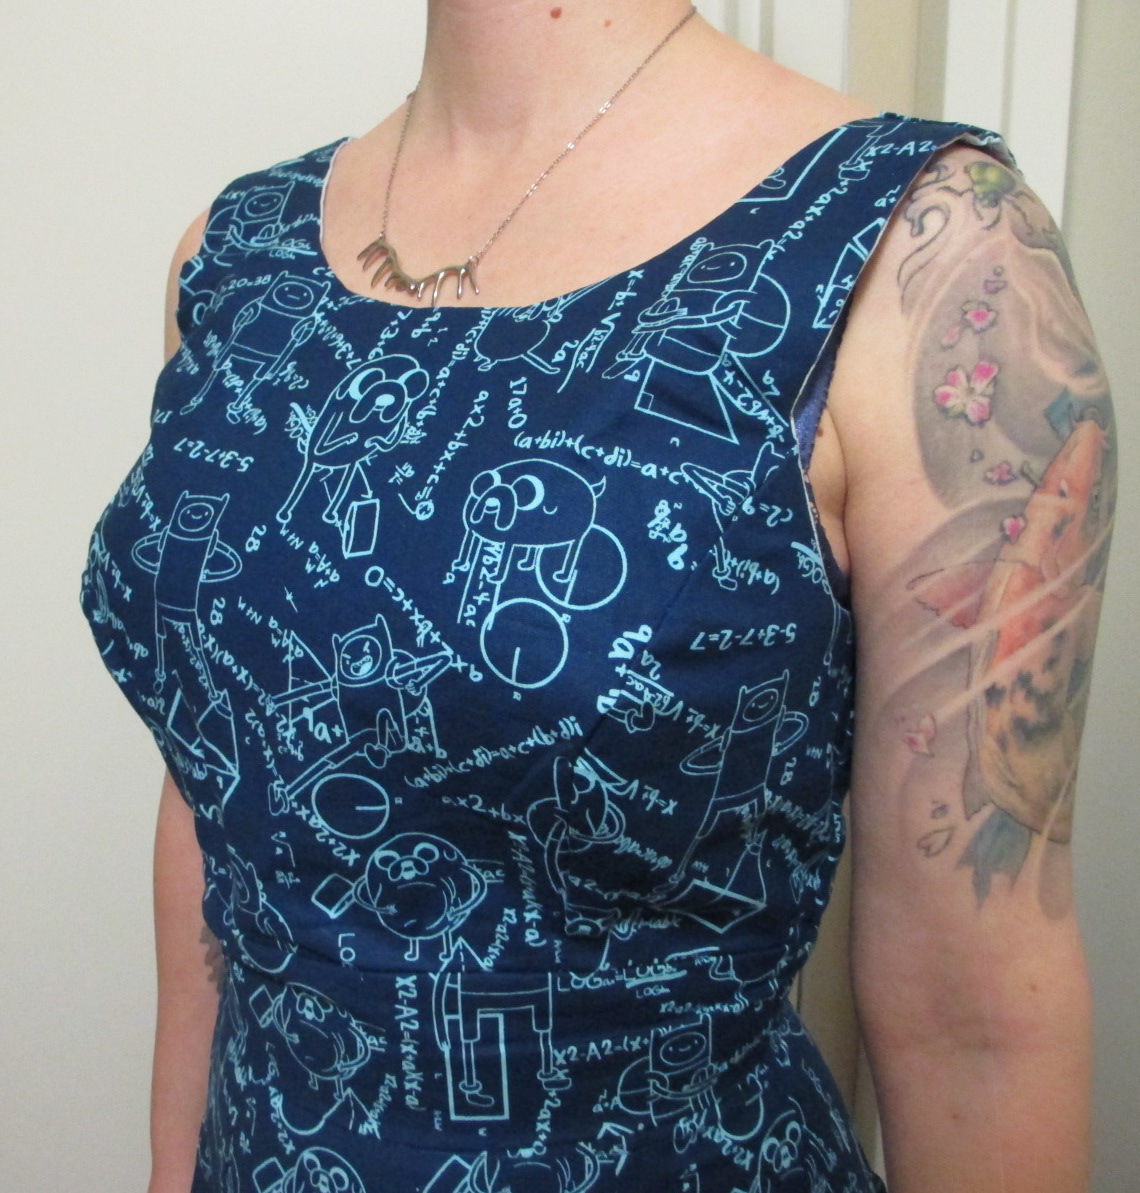
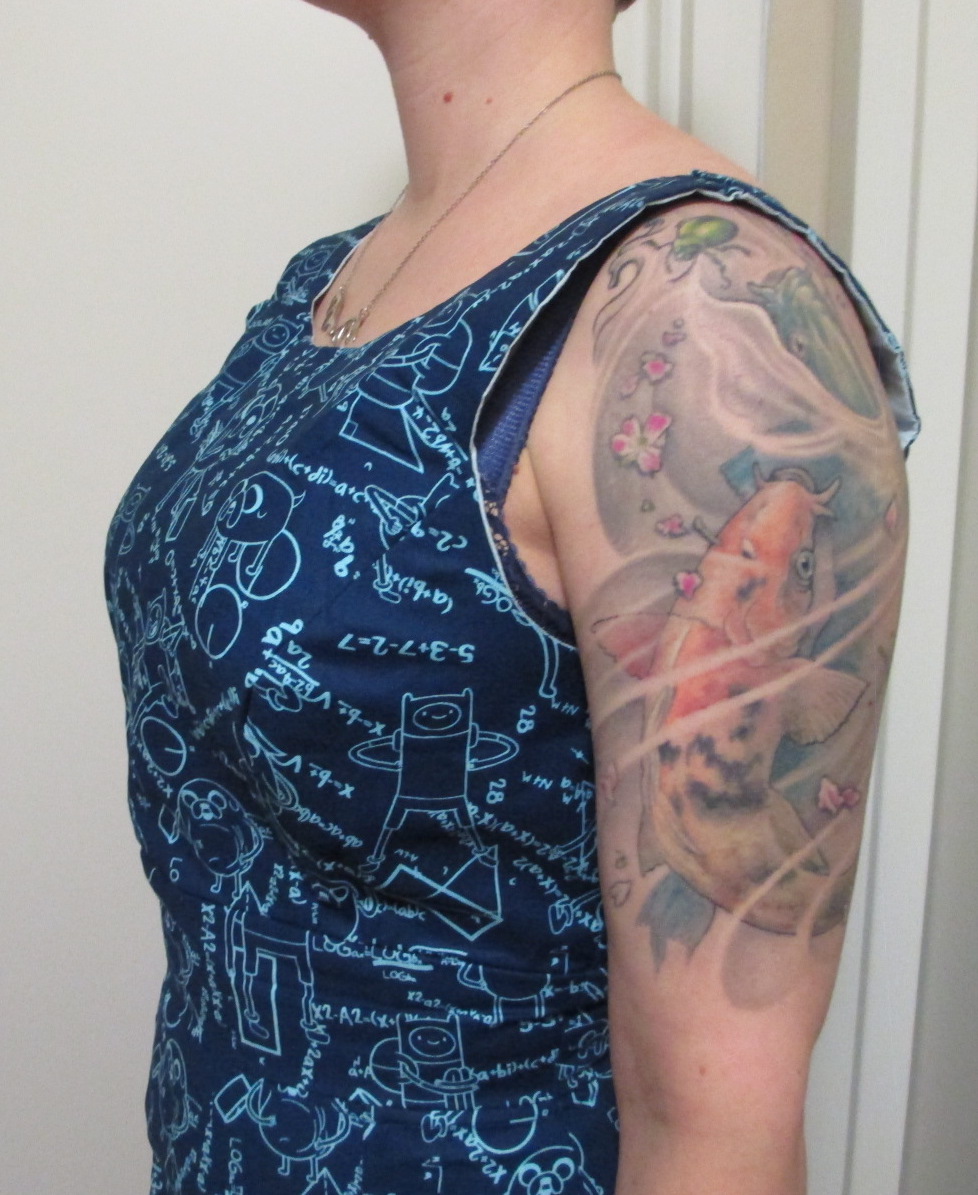
For the bodice, I’m going to first remove the lining because all this work has to be done to both the outer fabric and the lining so they match up. If the interfacing is coming up at all, I may try to peel it off too. I’ll sew the princess seams and the back seams to have more seam allowance, which will bring in the width overall. This will narrow the shoulders a bit and move the princess seams to a more appropriate spot. I may also try to sew the underbust princess seam curve into a sharper angle so that it actually curves under my bust.
I will leave the interfacing on the waistband because I want that part to remain stiff, so it doesn’t bunch up when worn.
For the skirt, I’m going to remove the lining and sew a zig-zag stich on the raw edges to keep them from fraying too much. If I had a serger, I would use that. Honestly, this skirt was a massive pain in the ass. It requires something like twelve individual panels. They’re easy to sew together, but they use up so much fabric and take forever to cut out. Next time, I’m using skirt D/E/F, which is a more basic, gathered design. It requires eight pieces, but they can be cut out in half the time by folding the fabric in half and cutting two of the same piece at a time. You can’t do that with skirt design A/B/C because they aren’t symmetrical pieces.
This pattern is a “Vogue Easy Option,” but I’m not sure I’d agree with that, especially in the large cup size. It’s a fairly basic-looking dress, but the bodice features some seriously curvy pieces that are hard to match up, and the time commitment of the skirt takes it out of “easy” into “intermediate” territory, in my opinion.
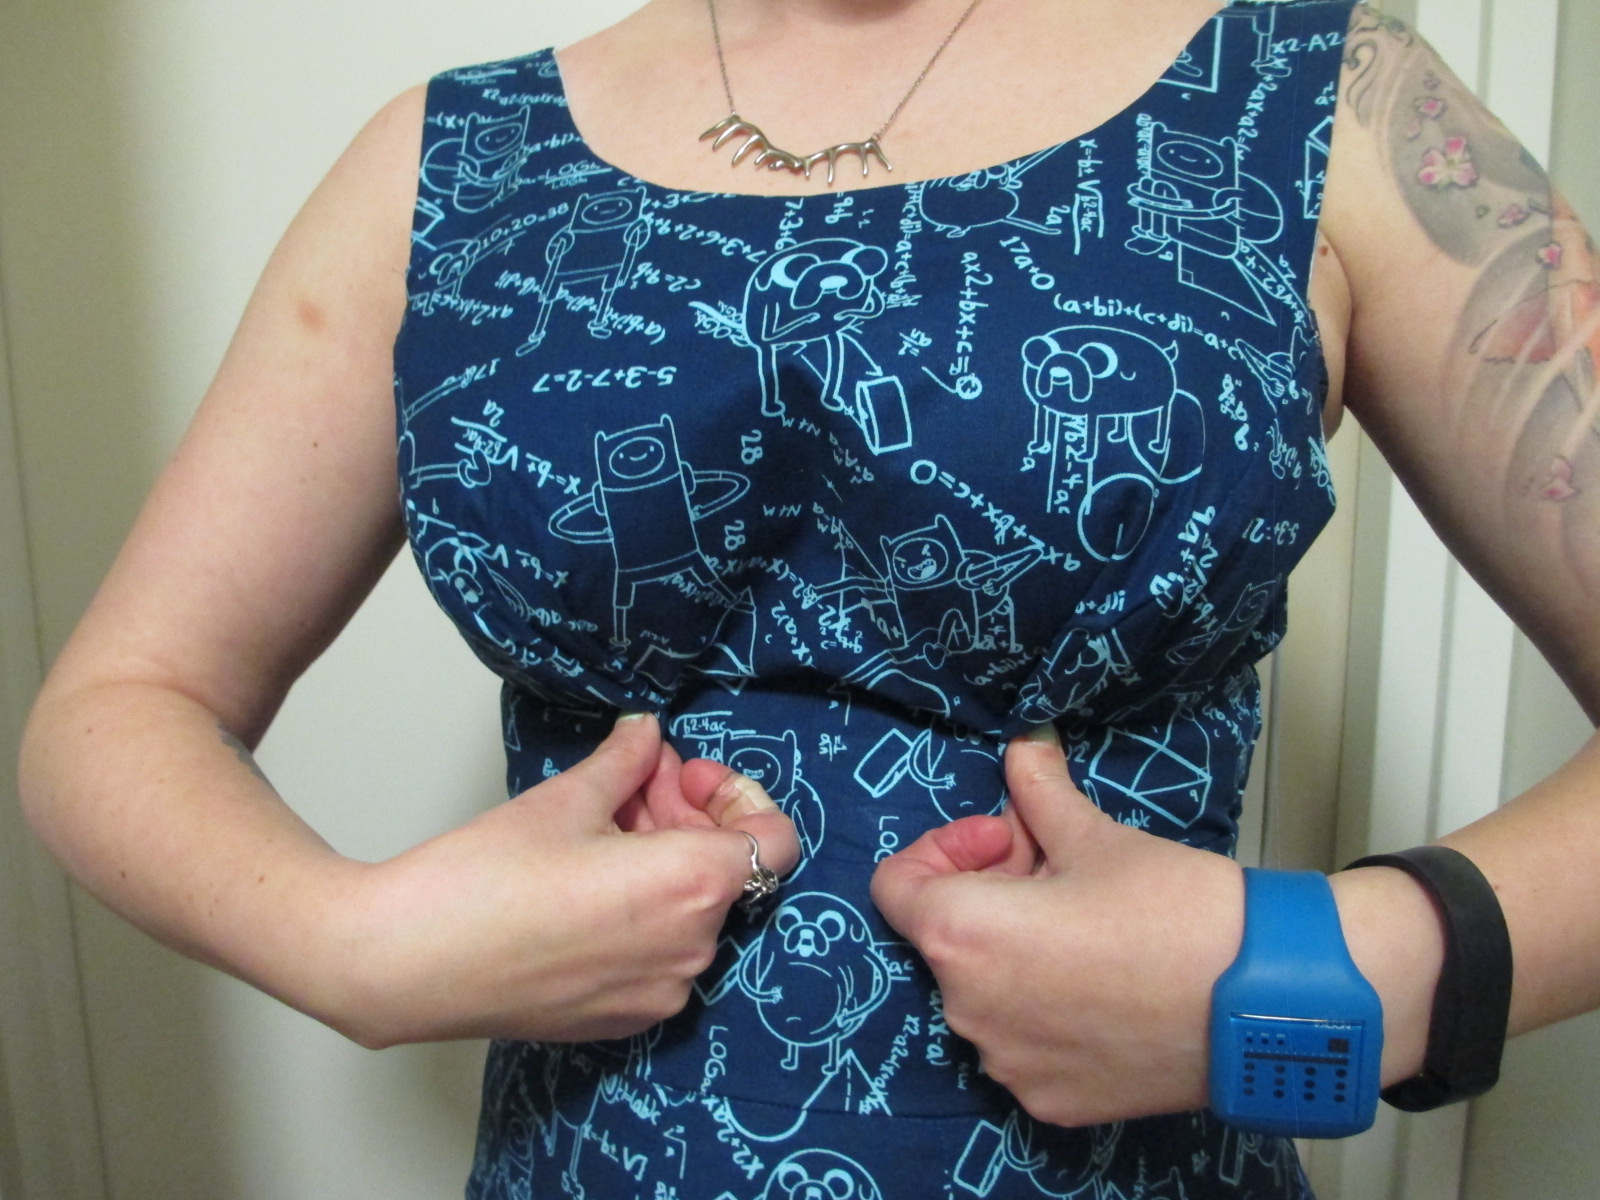
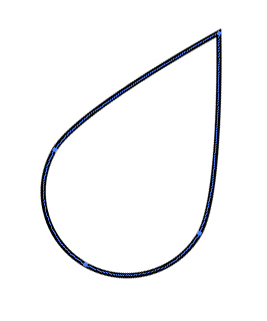
It’s also clear to me that even the big cup option is still not really well-designed. I don’t need every garment to adhere to my every curve, but it’s just not flattering to have this much empty space under the bust. It’s like the pattern designers think women are shaped like a scalene triangle from the side when we’re really more like an angled teardrop.

I already have fabric on hand for my next attempt at this dress (it’s avocado print!), but I’m going to do a muslin first next time, so I can play around and make the straps and bodice narrower and more fitted.
I had similar problems with a sheath dress I made about 5 years ago, Mccalls 5972. I added darts above the bust and on the back at the top shoulder seams to take in the neckline, it made a huge difference. Here’s a front pic of it, I don’t have one up of the back. https://flic.kr/p/8a8s2N
I wish I’d had lighter fabric to line the bodice; I have some super lightweight cotton batiste from a local fabric store now that would have been perfect.
That’s a great help, thanks Meri!
I’m glad I could!
I think I resewed the bodice on that dress 4 times before I got the darts right, and then I realized that it worked better if I moved the waist seam to where my natural waist was. I learned a lot on that project.
This is so timely – I just bought some dress patterns and muslin to practice my sewing skills and HOO BOY do I need to learn how to adjust commercial patterns. Thank you for sharing your process!