I recently discovered the online retailer Unique Vintage. They carry loads of pinup brands like Bettie Page, Sourpuss, and so forth, and also have their own in-house brand whose prices are, I think, a little on the high side. However, they have frequent sales and recently had a selection on sale for a mere $25.
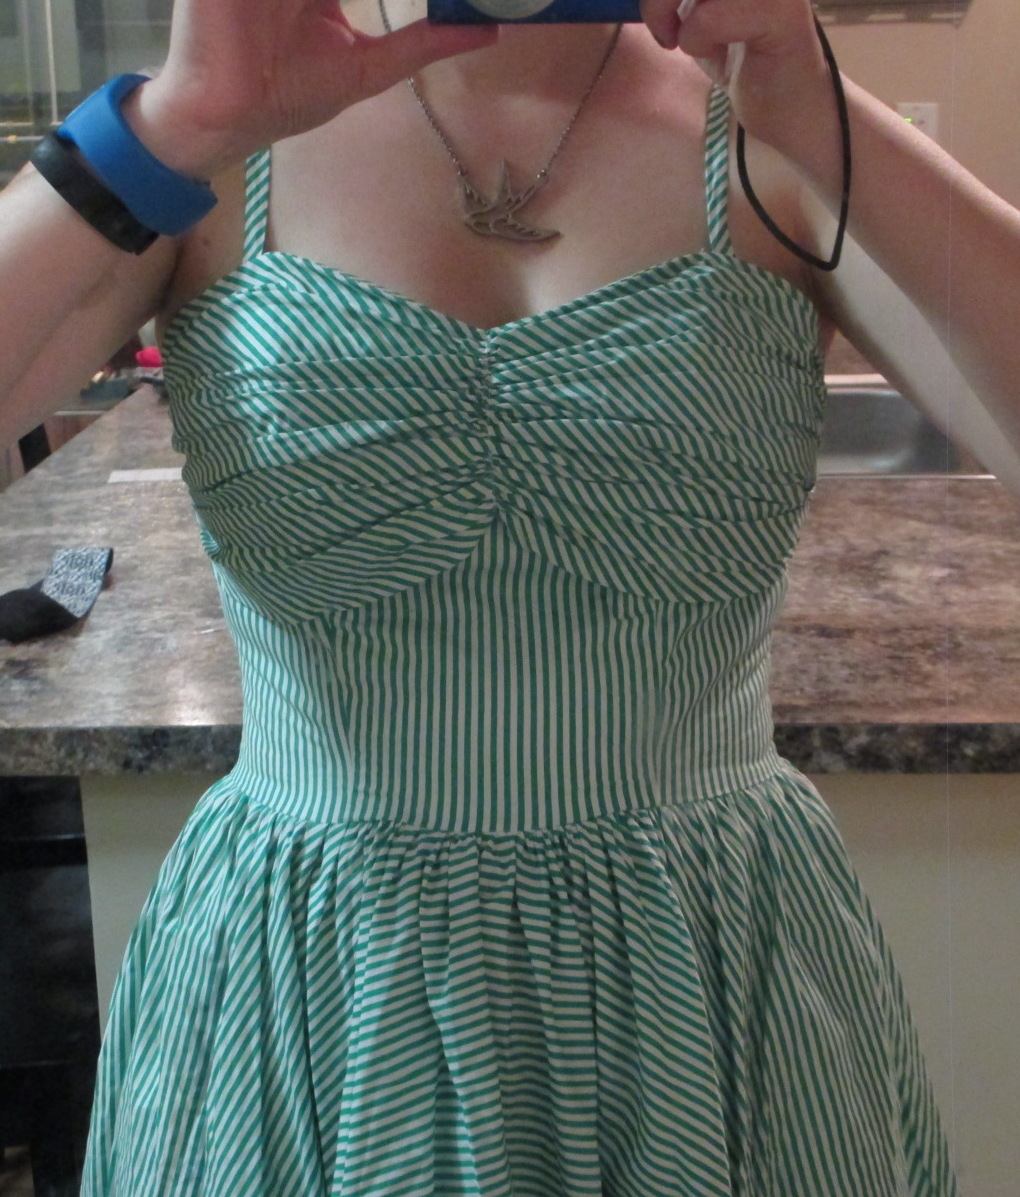
I own a ’50s-style, full-skirted green and white striped dress that I got at H&M years ago and totally love. But it doesn’t fit quite right any more. It’s a little too tight in the bust and too short in the torso. So I’ve been looking for a replacement for some time, and UV’s green “Seeing Stripes” dress was a perfect replacement, especially at $25.
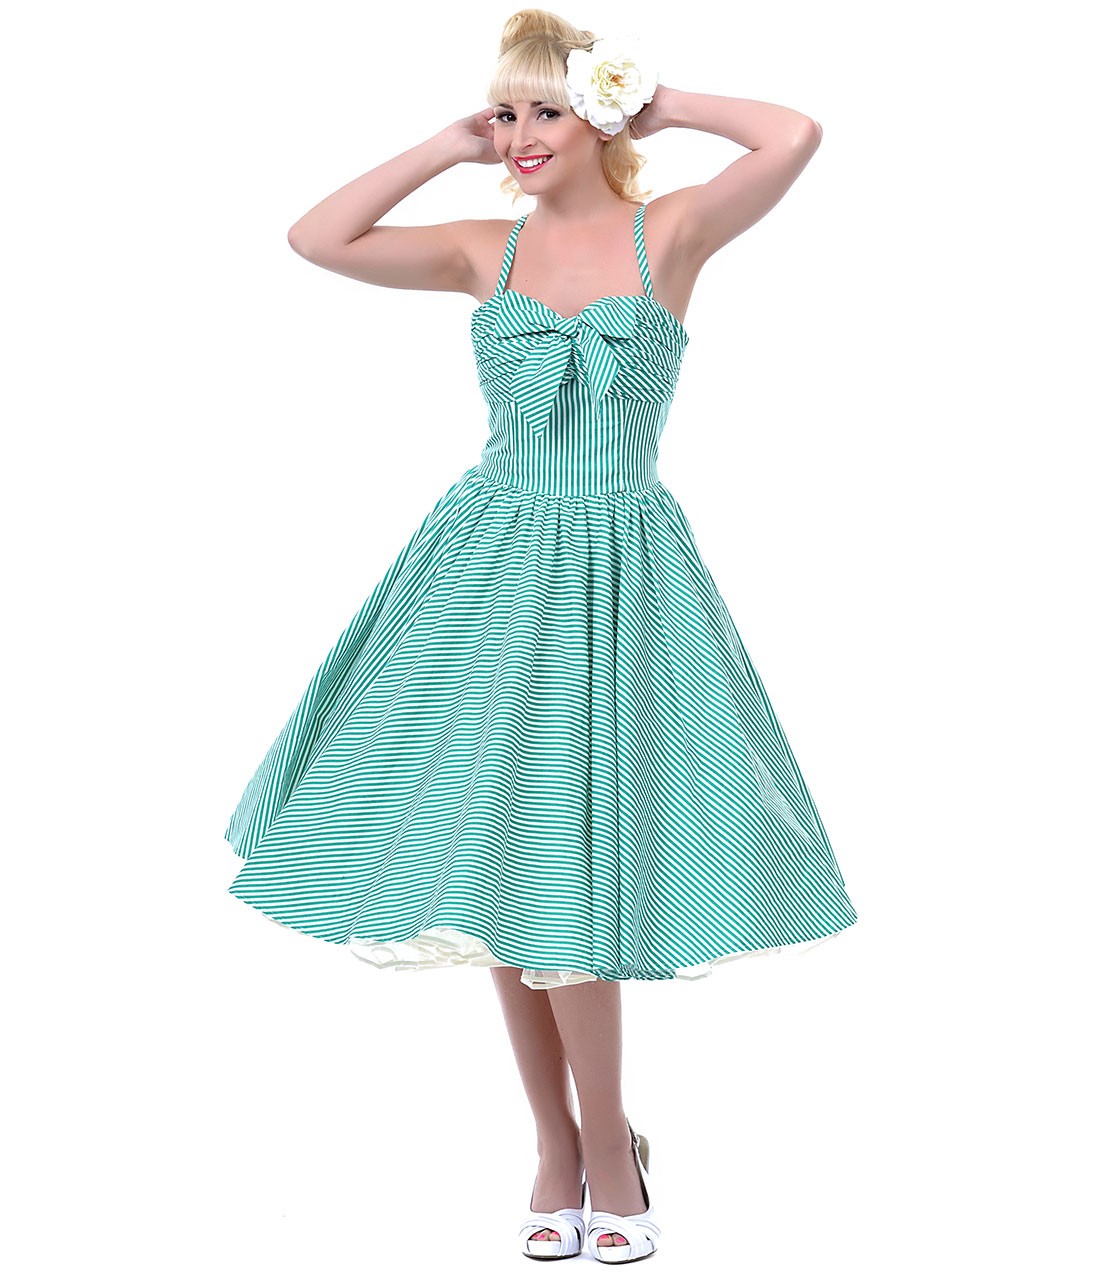
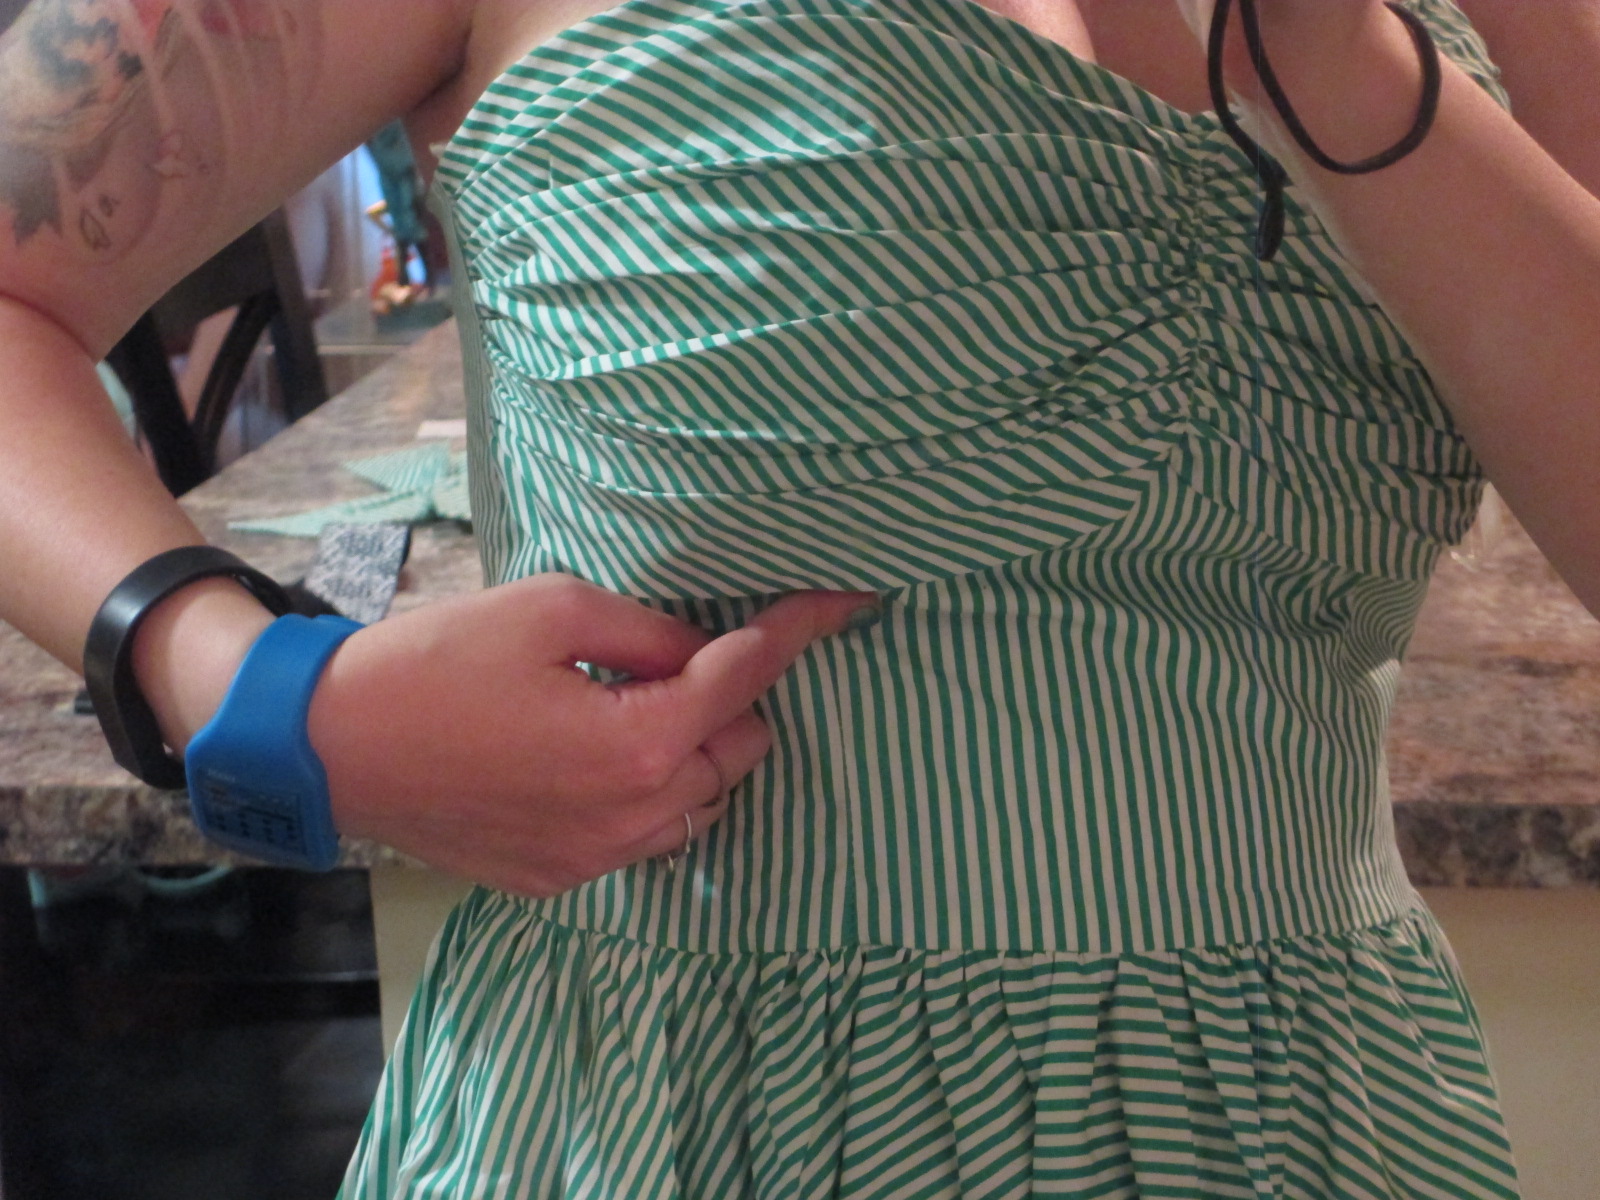
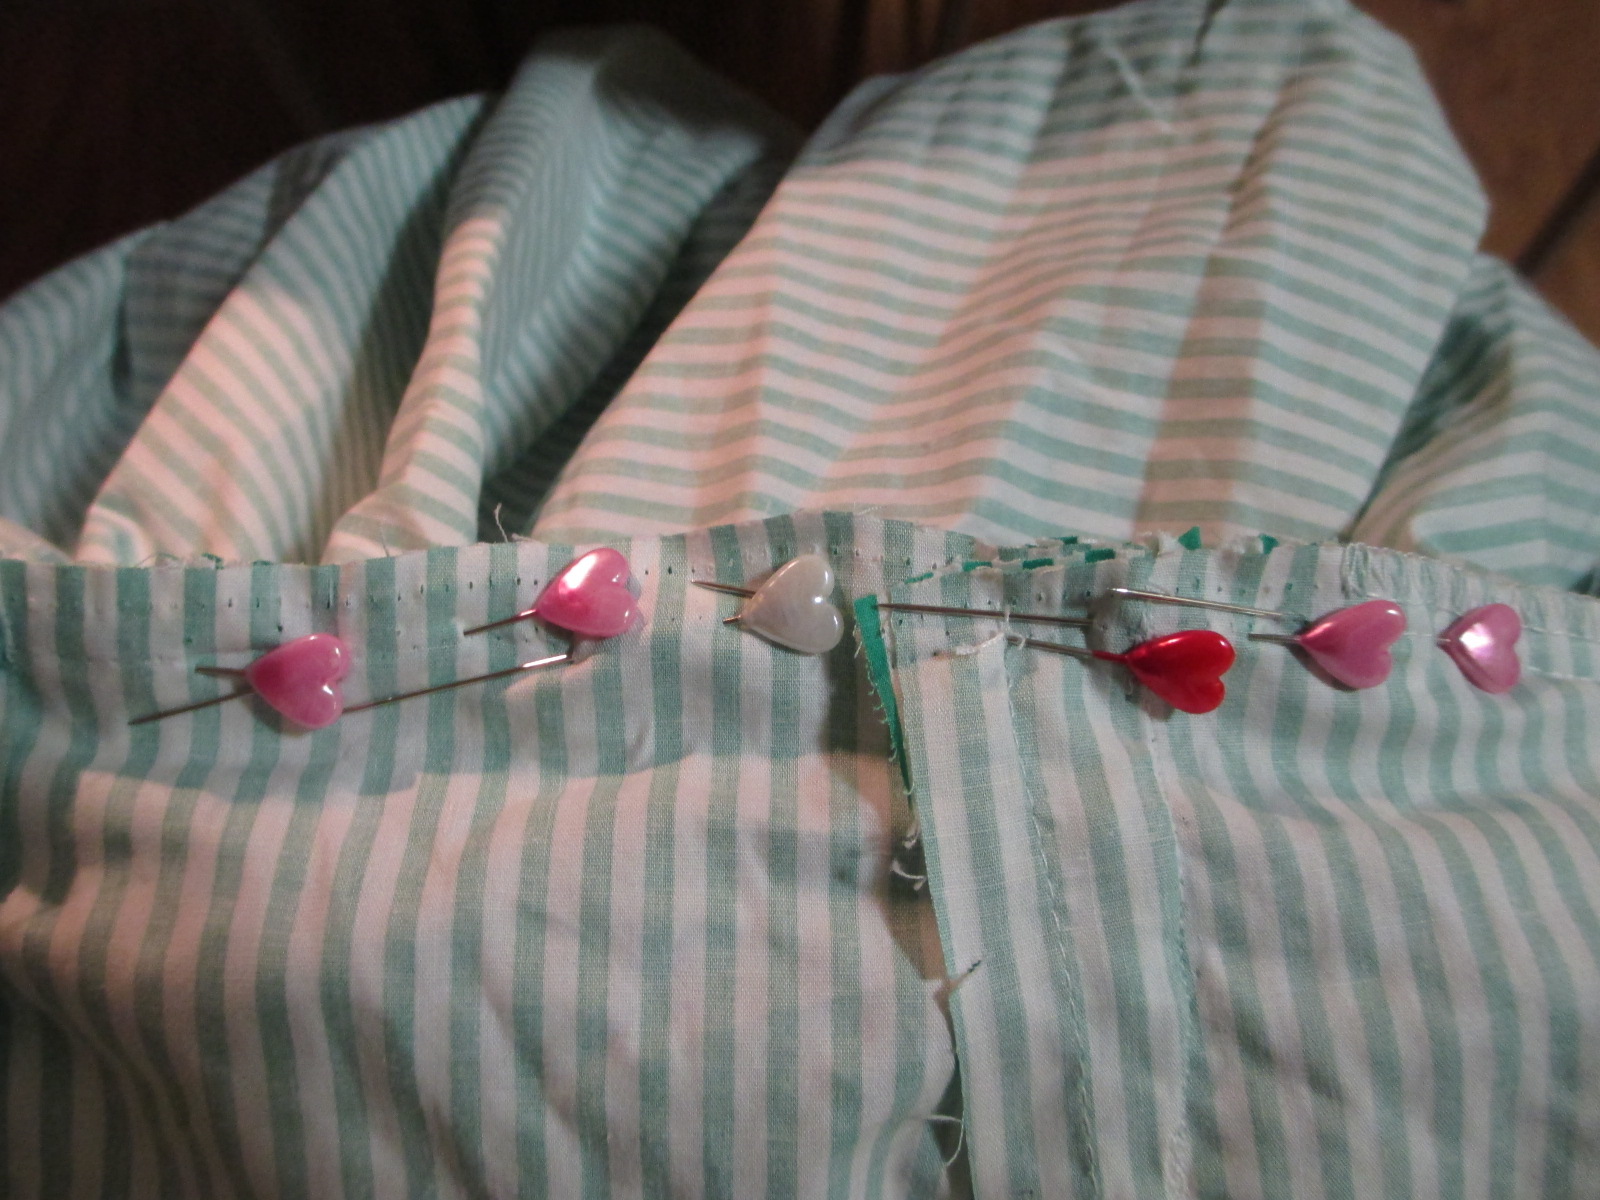
At 37″-29″-41″, I am exactly between the brand’s Medium (36″ bust and 28″ waist) and Large (38″ bust and 30″ waist) on the size chart for this garment. I ordered a large to be on the safe side—and it’s a good thing I did because the bust just closed without squishing me. Unfortunately, though, the waist and underbust were really unflattering and basically erased my shape. At such a low price, though, it was totally worth the experiment of taking apart part of the bodice and tailoring it to my body. Here is how I did it:
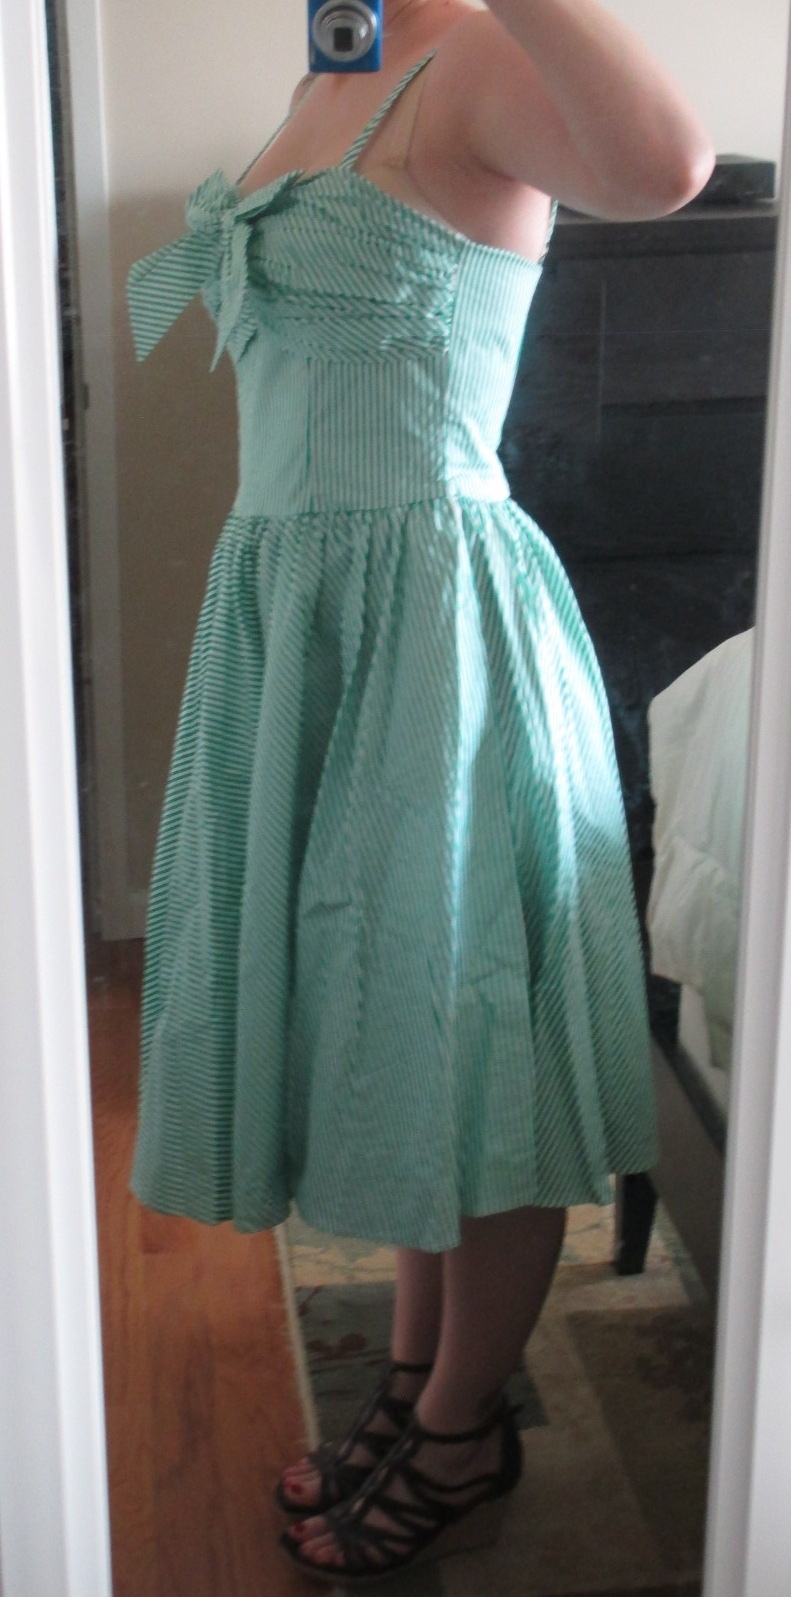
First up, the original dress and the difference when I pulled it taut:


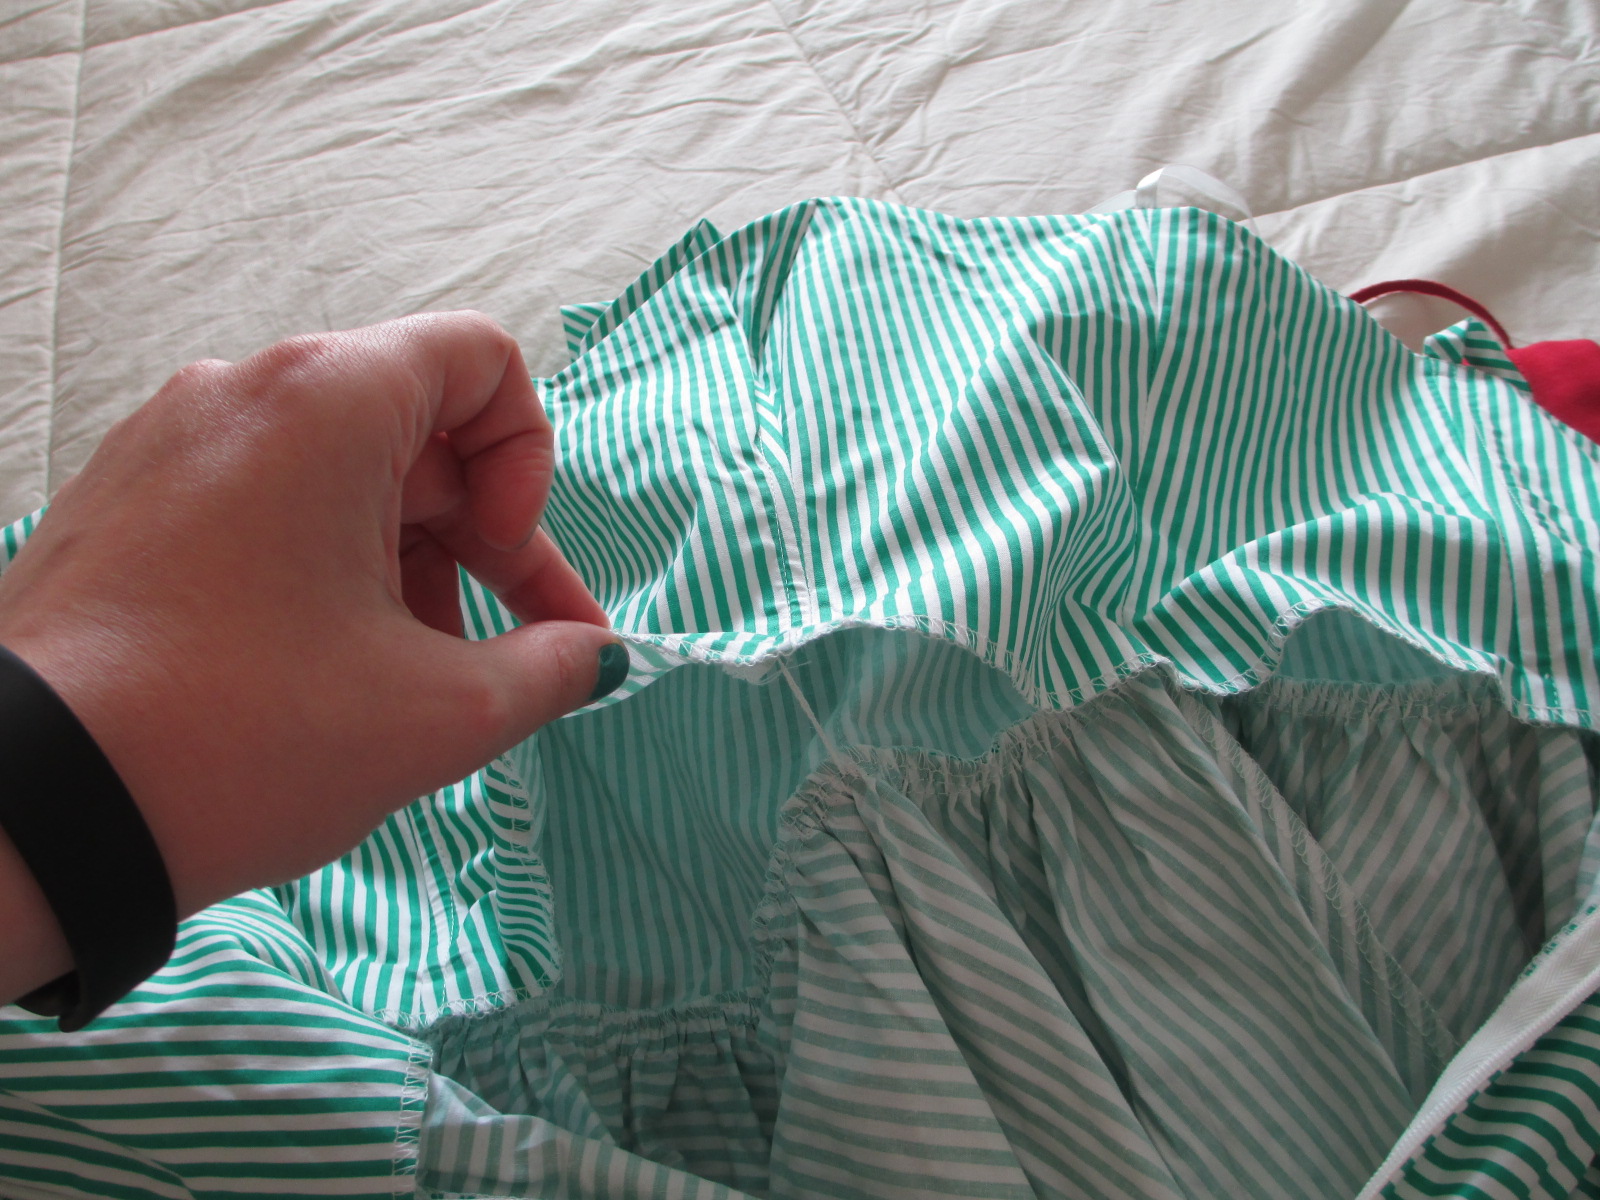
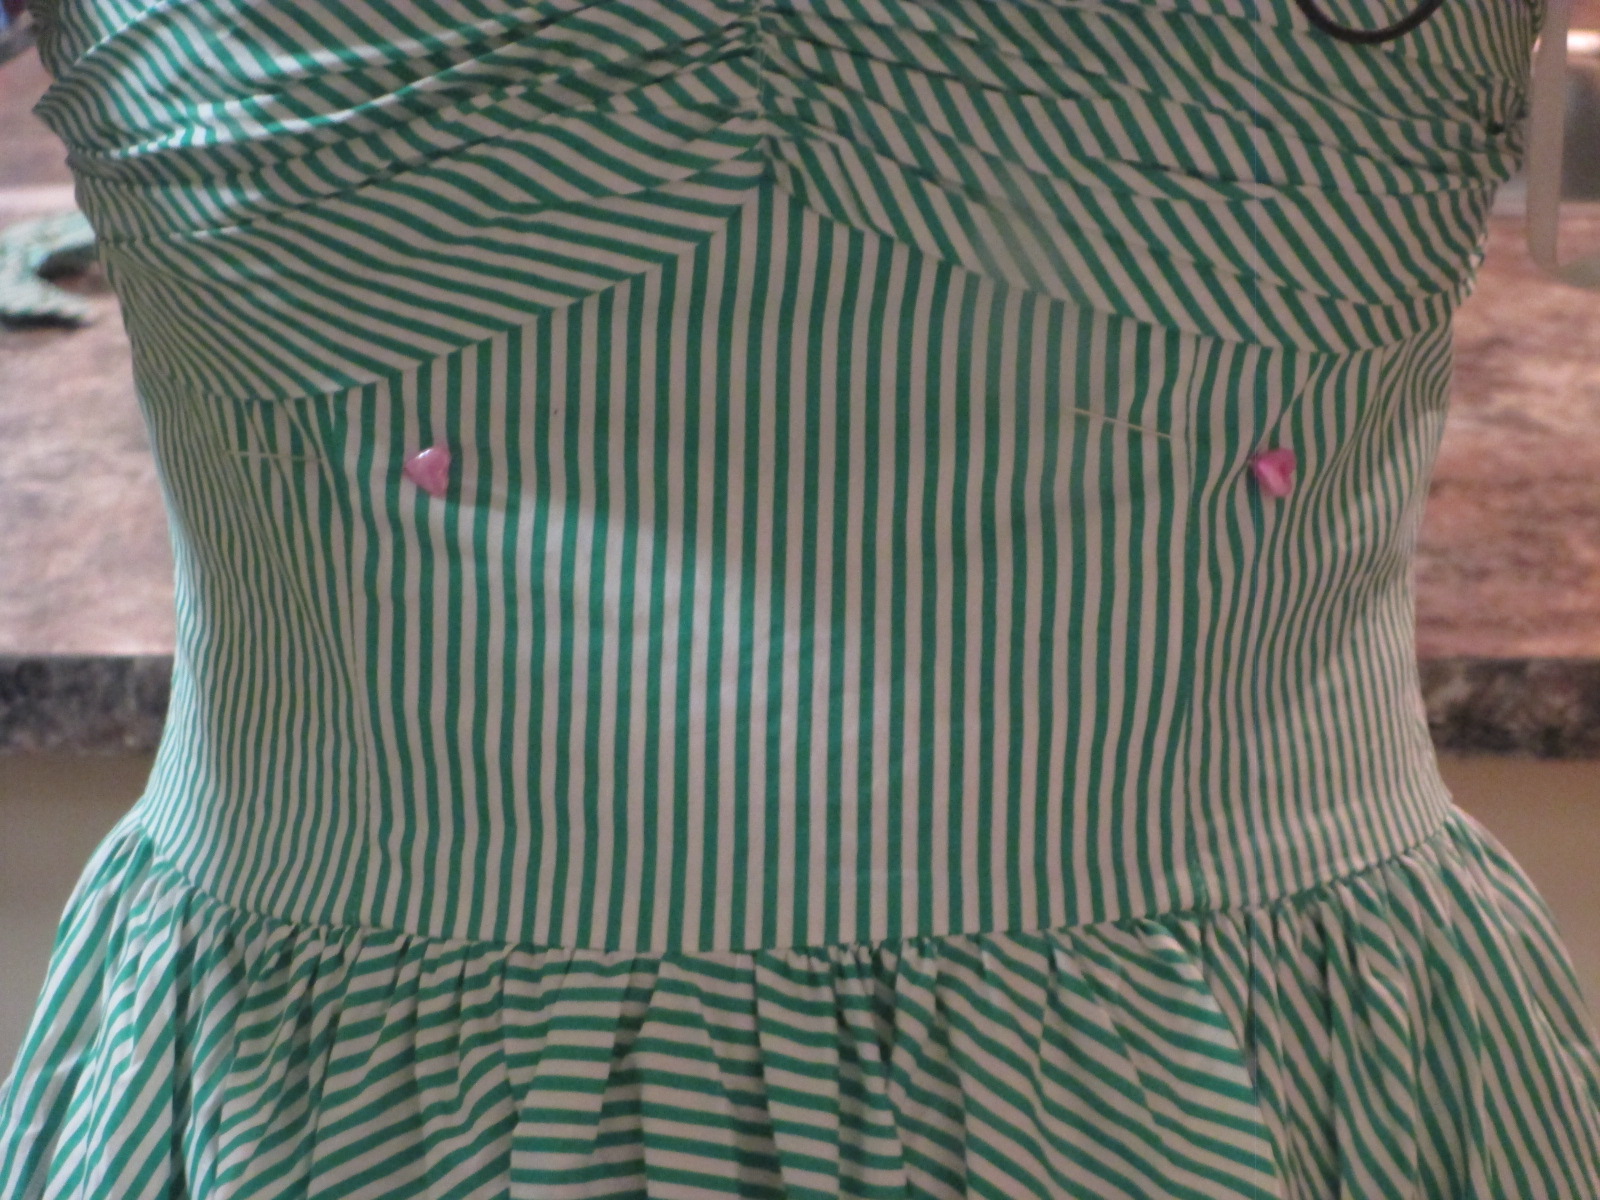
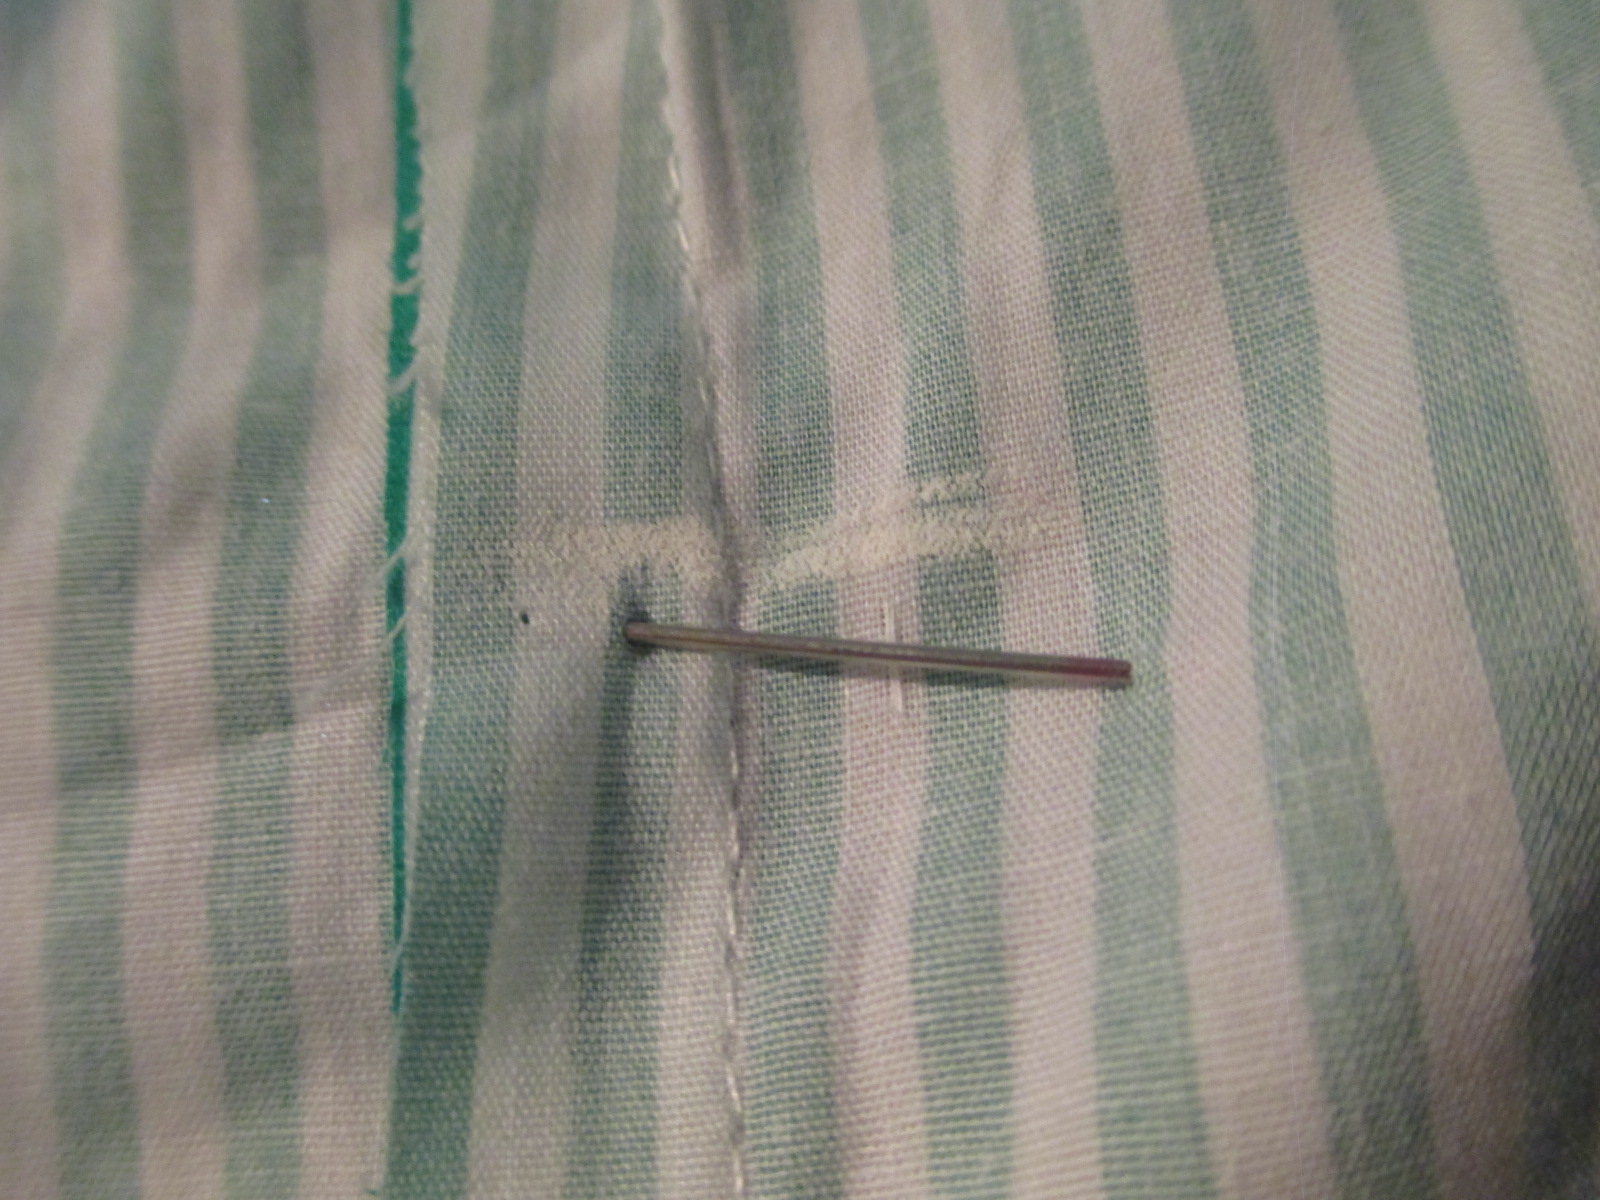
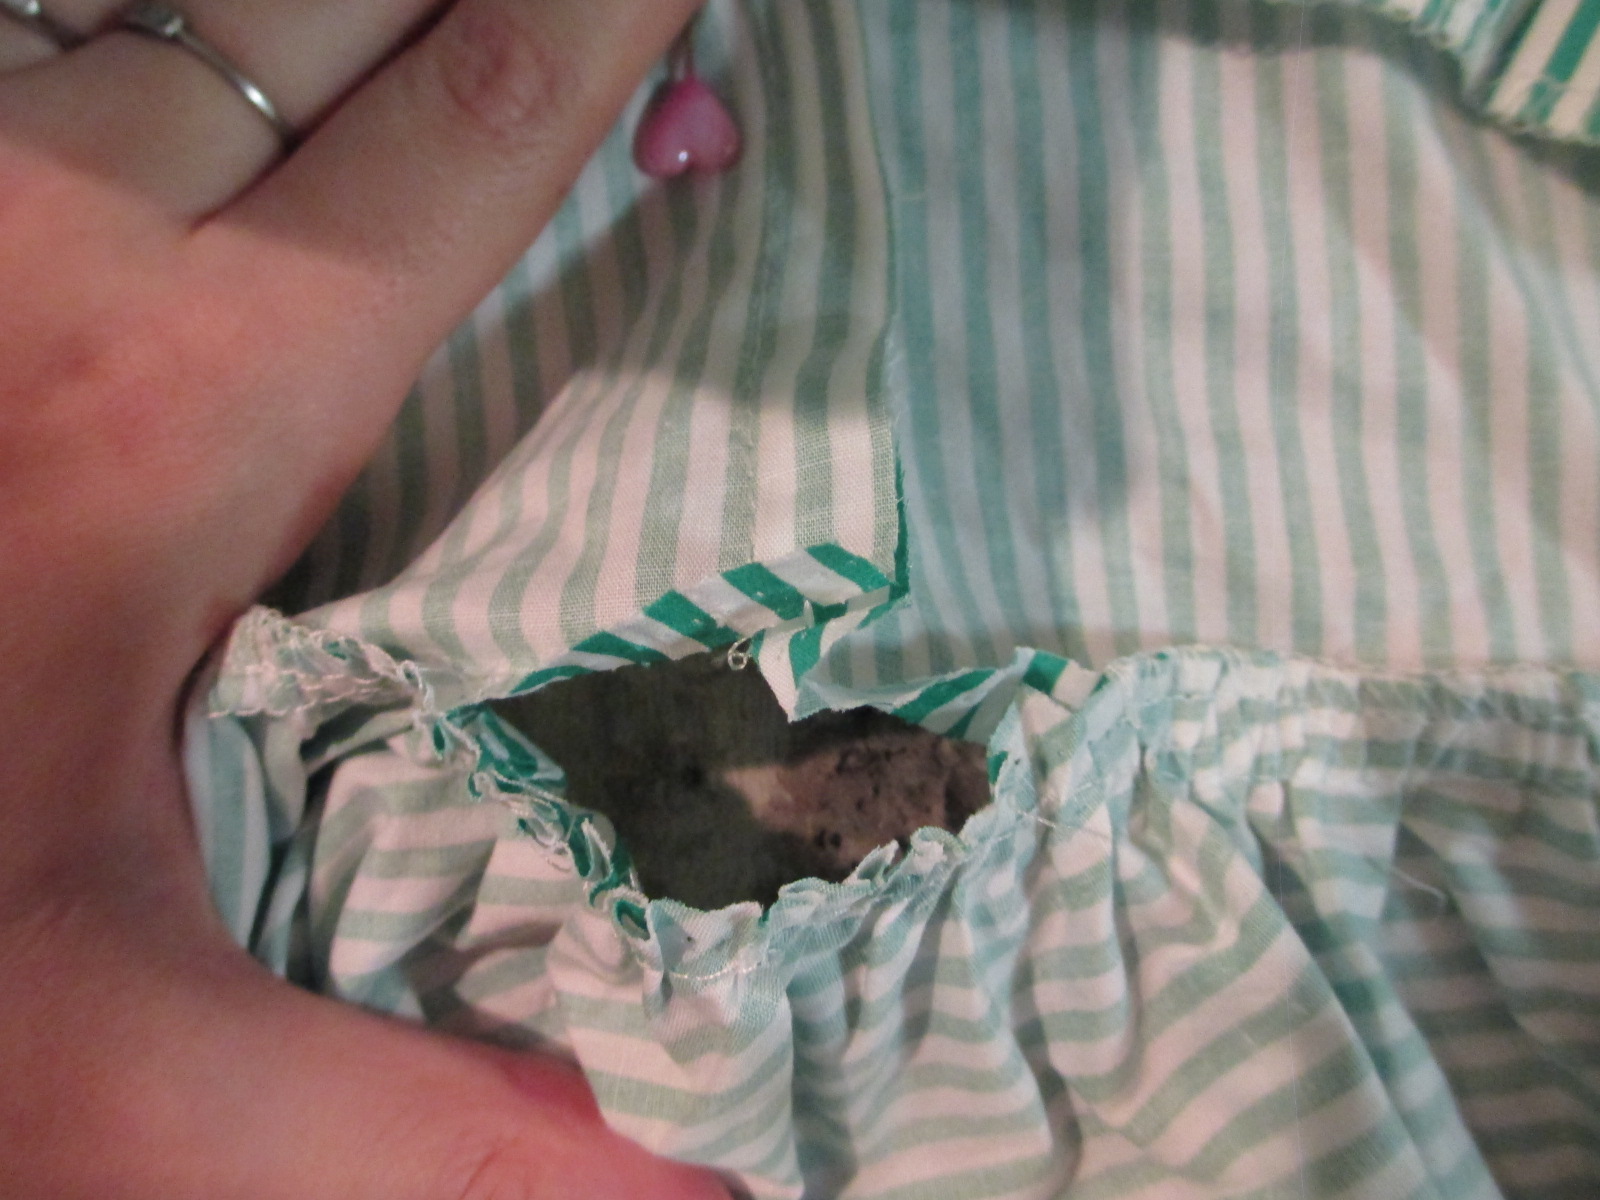
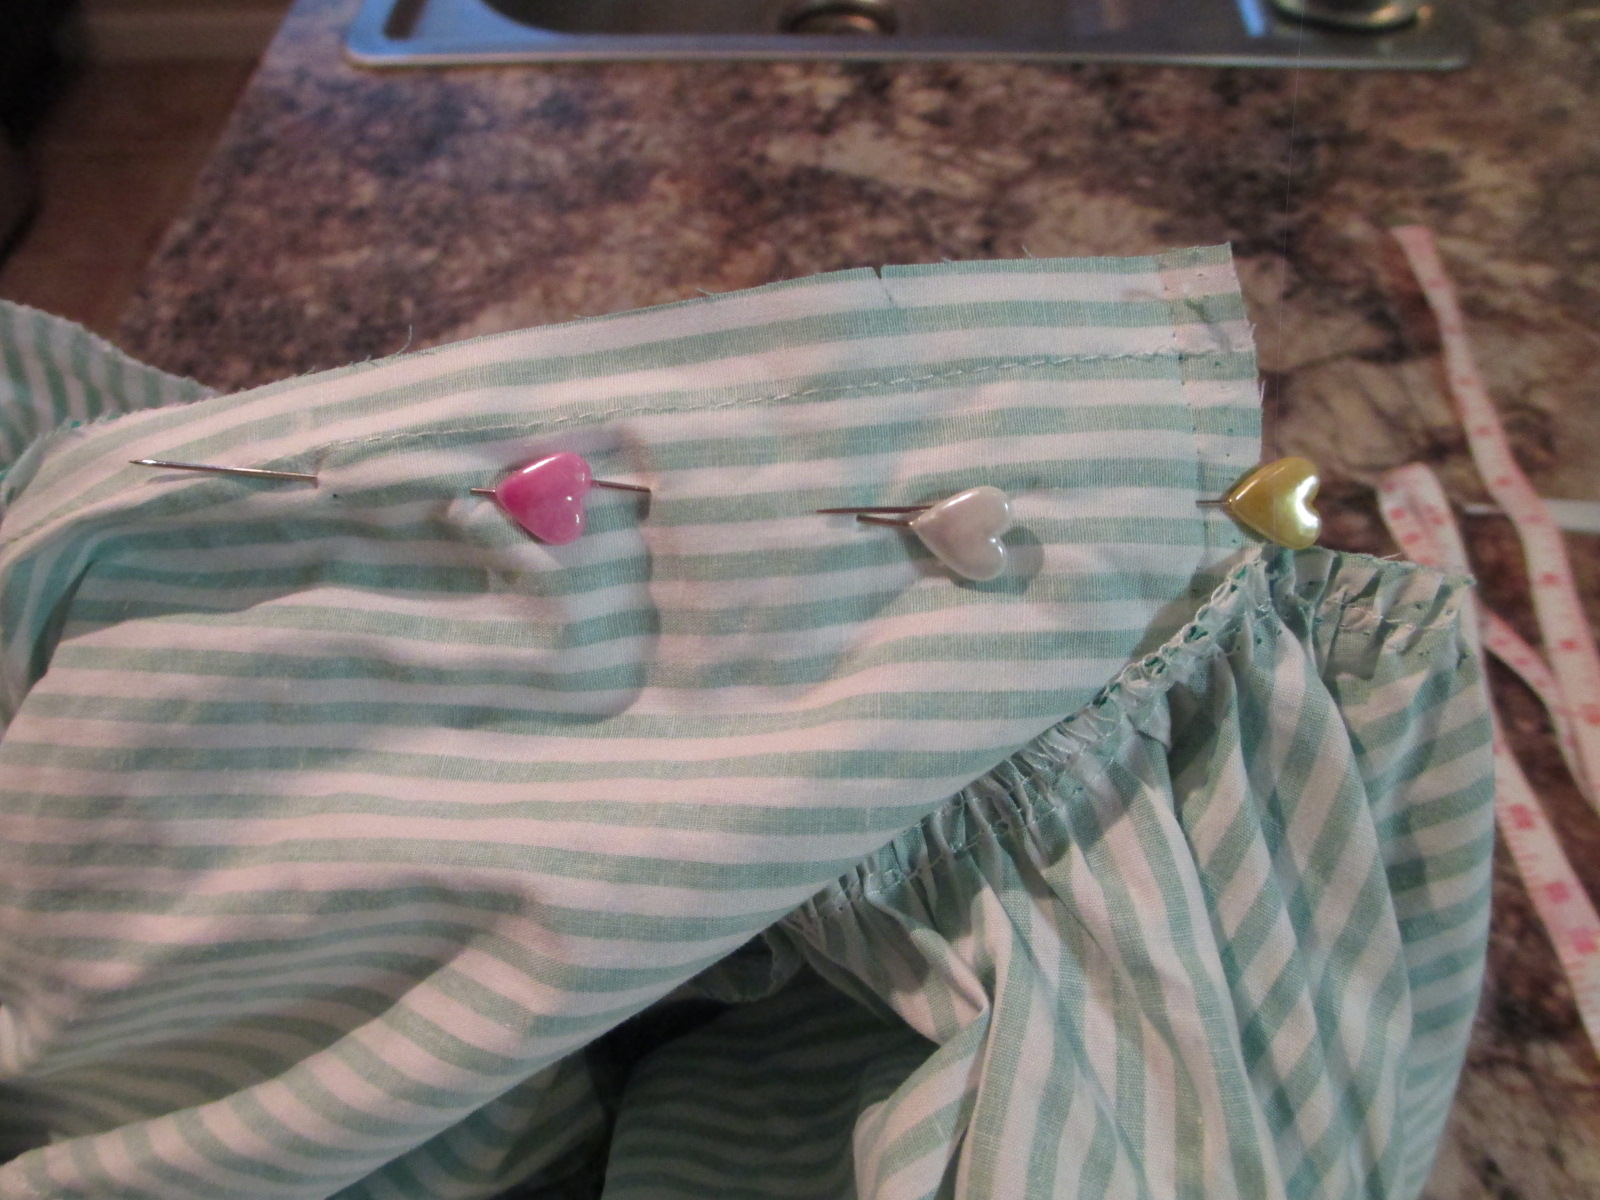
Some closeups of the construction:


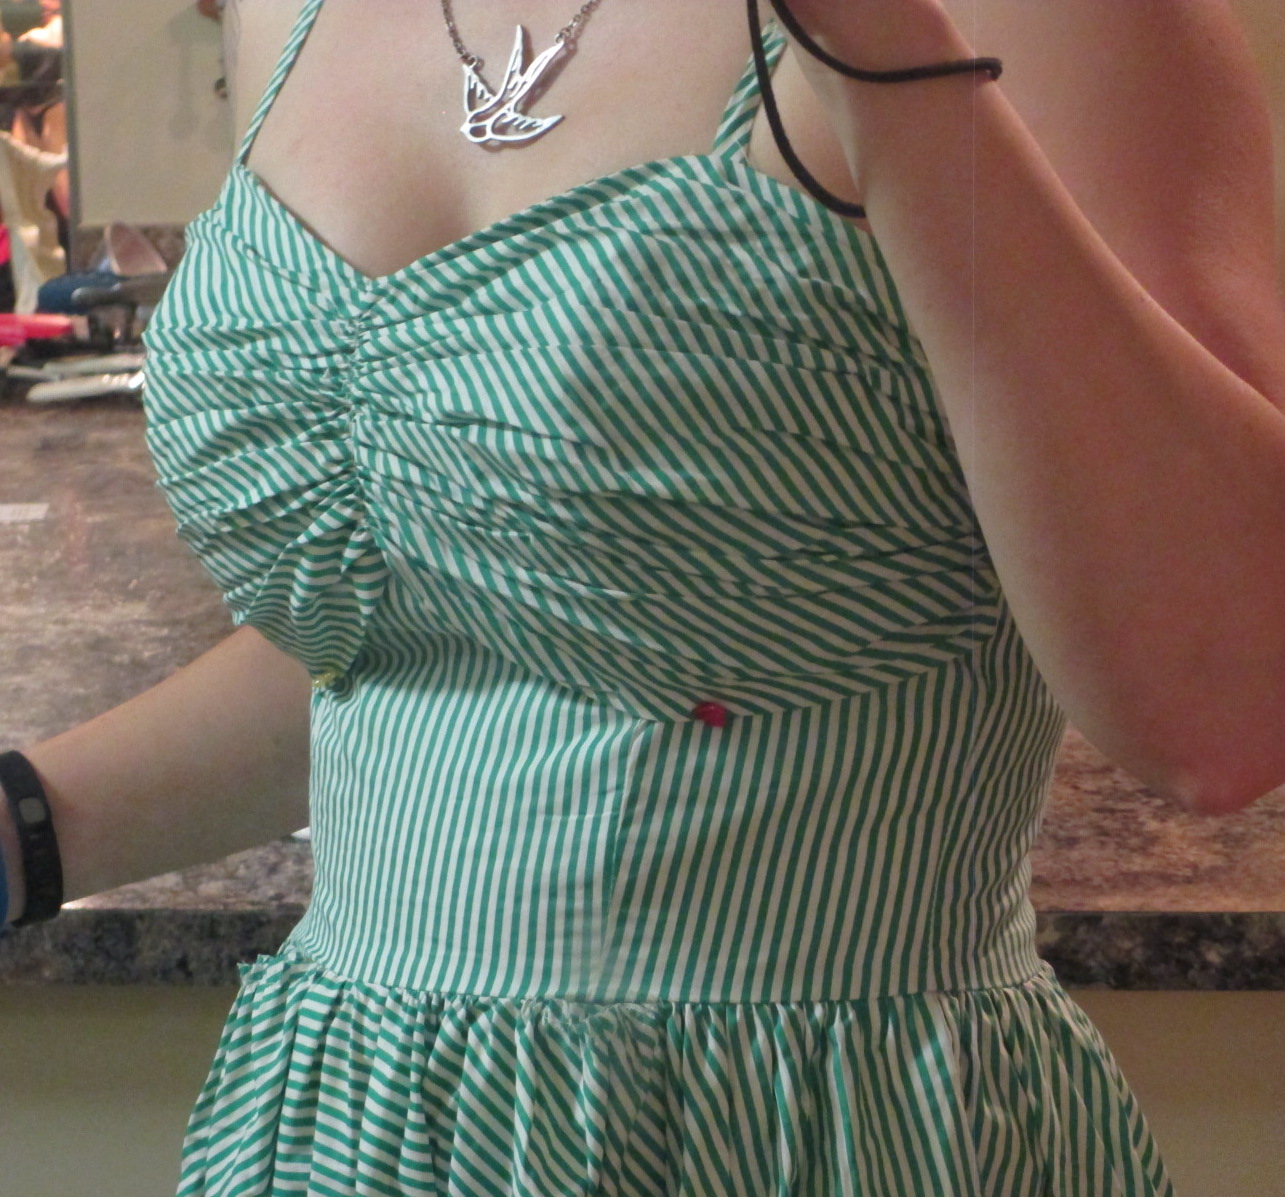
Overall, I determined that I needed to take in the seams under the bust in a dart shape to make the bodice curve under my boobs and fit tightly around the rest of my torso and waist.
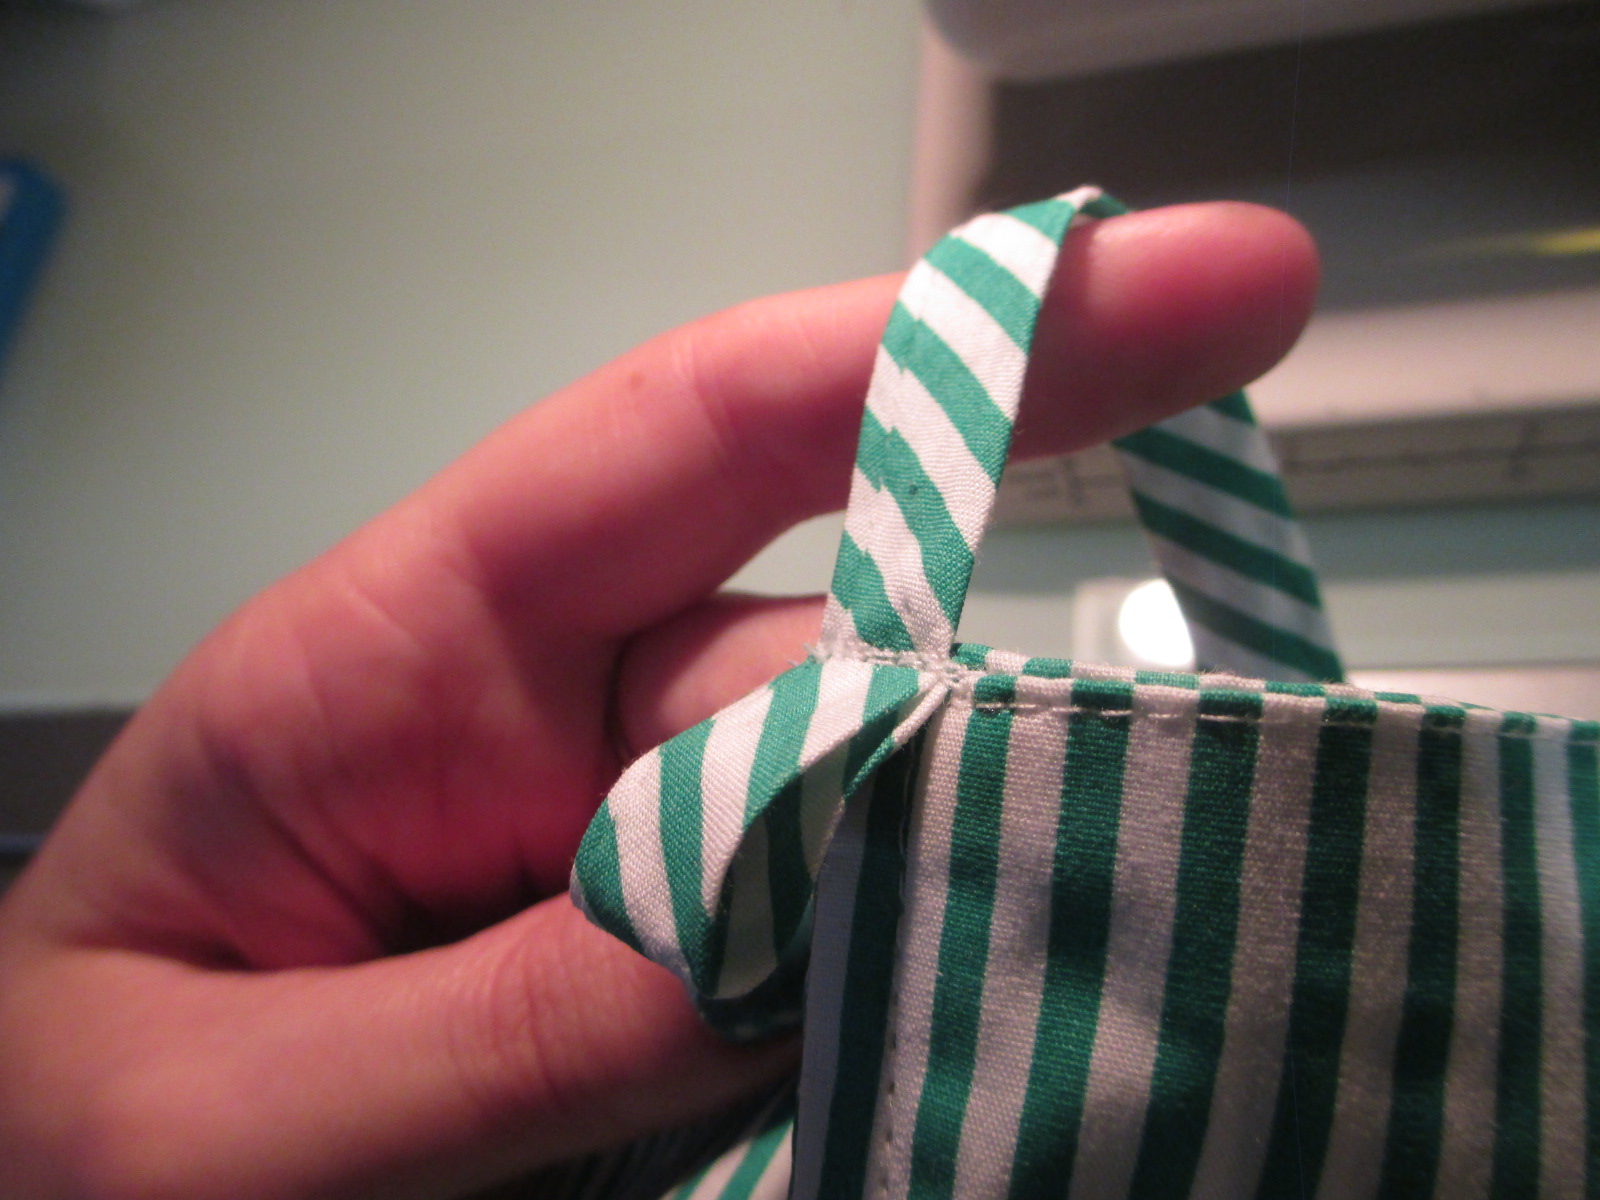
The first thing I did was shorten the straps. Even though I have a long torso, apparently I have squat shoulders because straps are always too long on me and I’m forever shortening them.
When you first start sewing, I’d recommend starting about a centimeter above your dart and sew along the existing seam, then carefully move to the pin line at a smooth angle. This way, you’re guaranteed that the new seam will match up with the old one.
Additionally, I didn’t actually measure how much fabric to take in, I just pinched it and estimated. As such, I didn’t take out quite enough fabric the first time. But it’s very easy to make the bodice even tighter by simply sewing it again, further in, and perpendicular to the first line I sewed. No need to remove the first sewn line.
Okay, next:

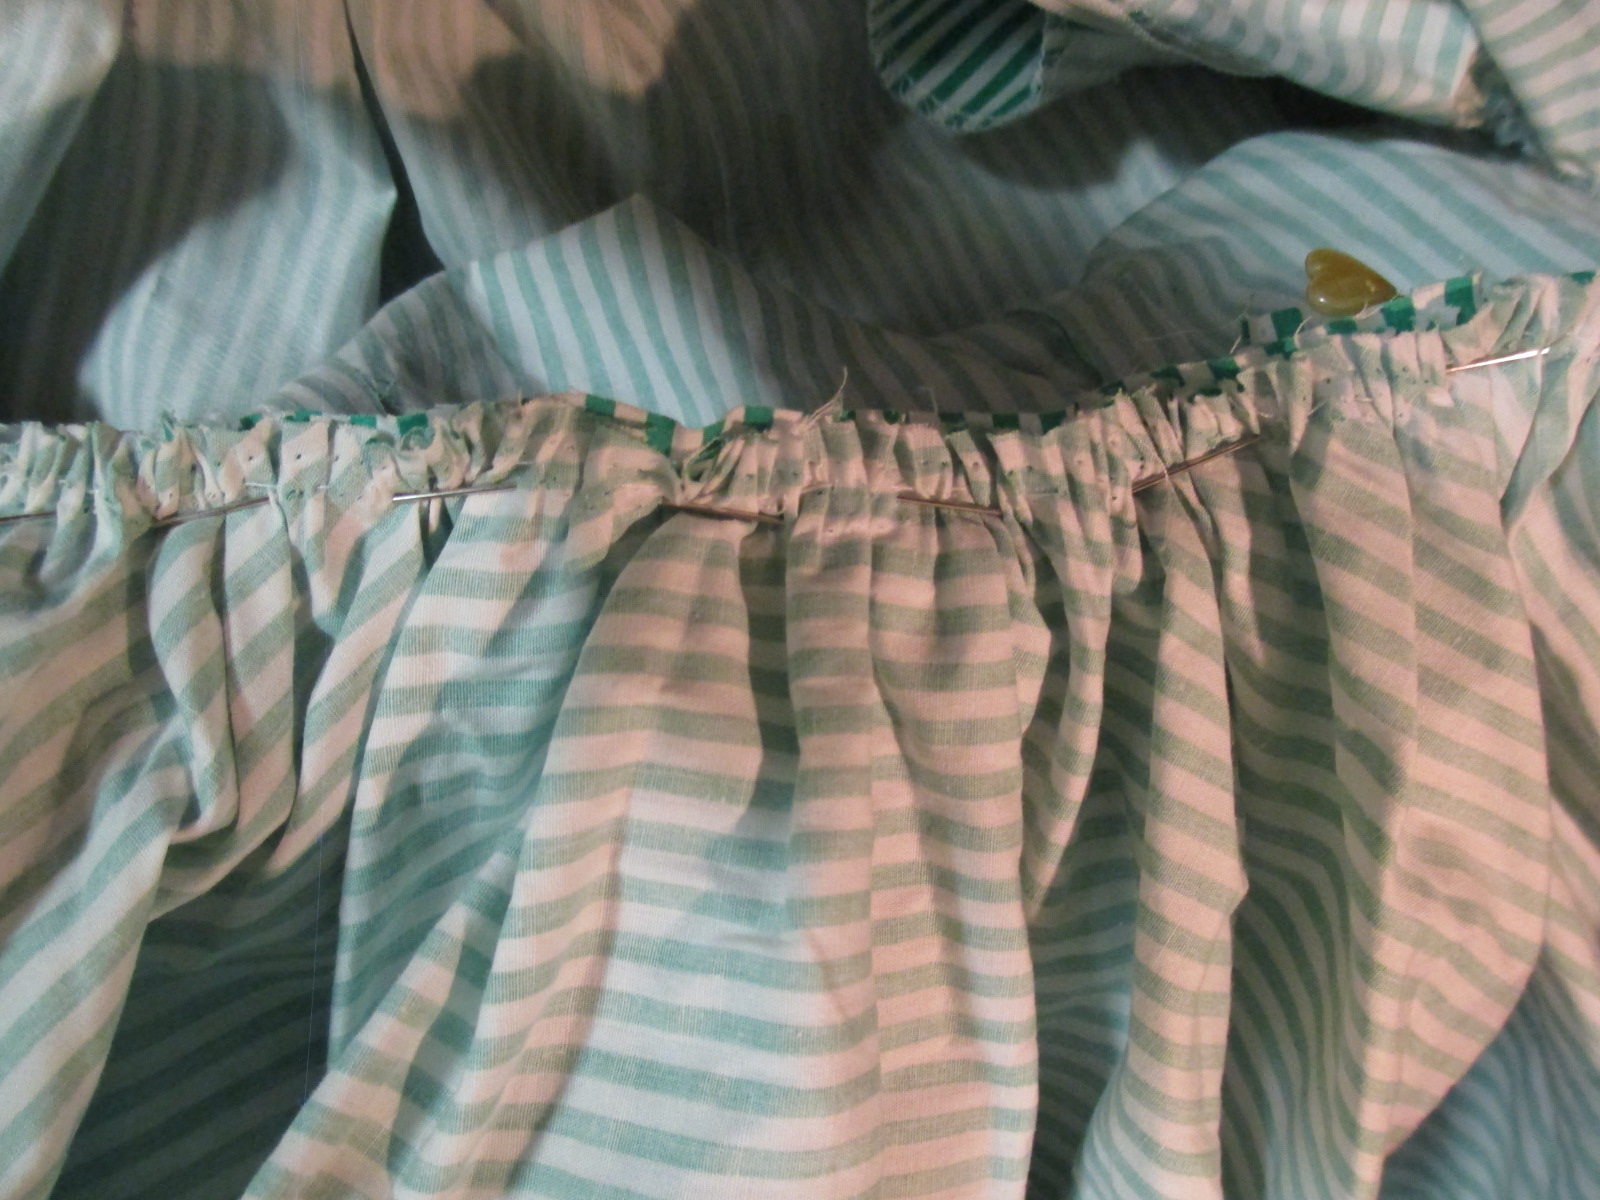
The next step is to reattach the bodice to the skirt. I decided to first remove more of the skirt from the bodice. I used a seam-ripper to remove everything in between the two bodice seams. Then I had to re-gather the fabric evenly and sew it back on.
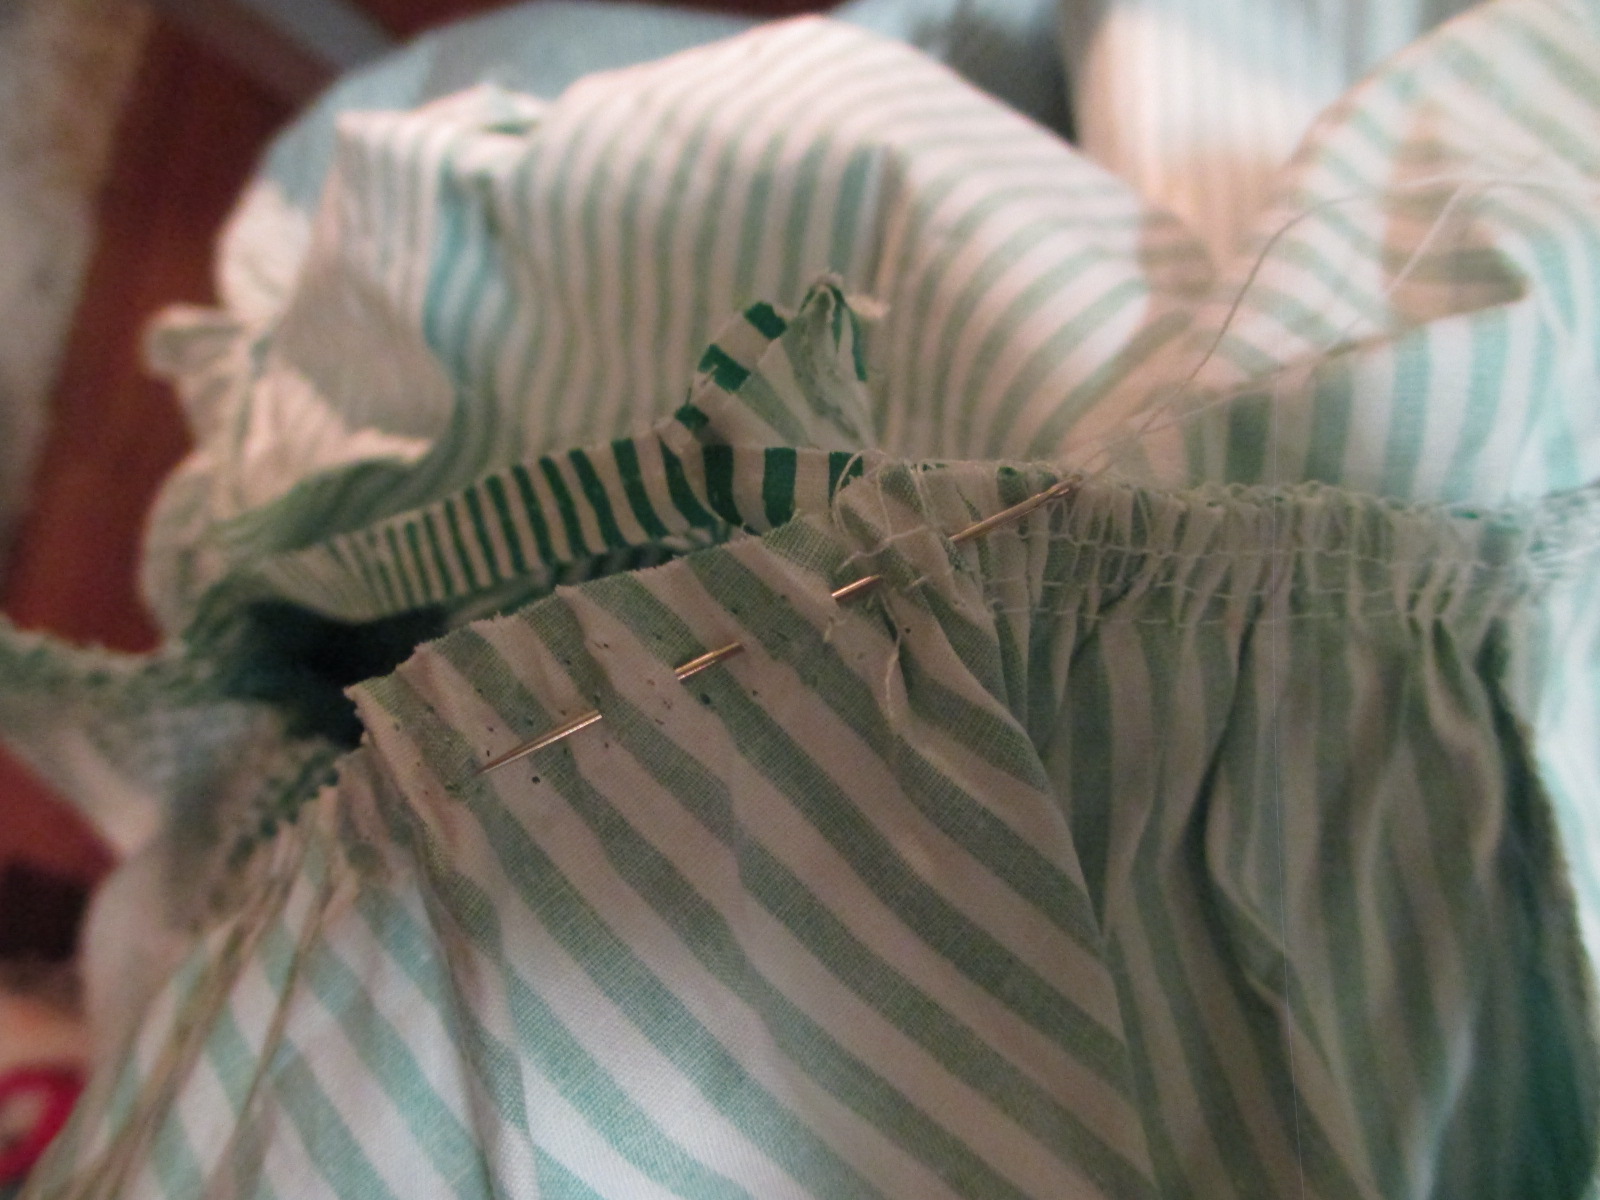
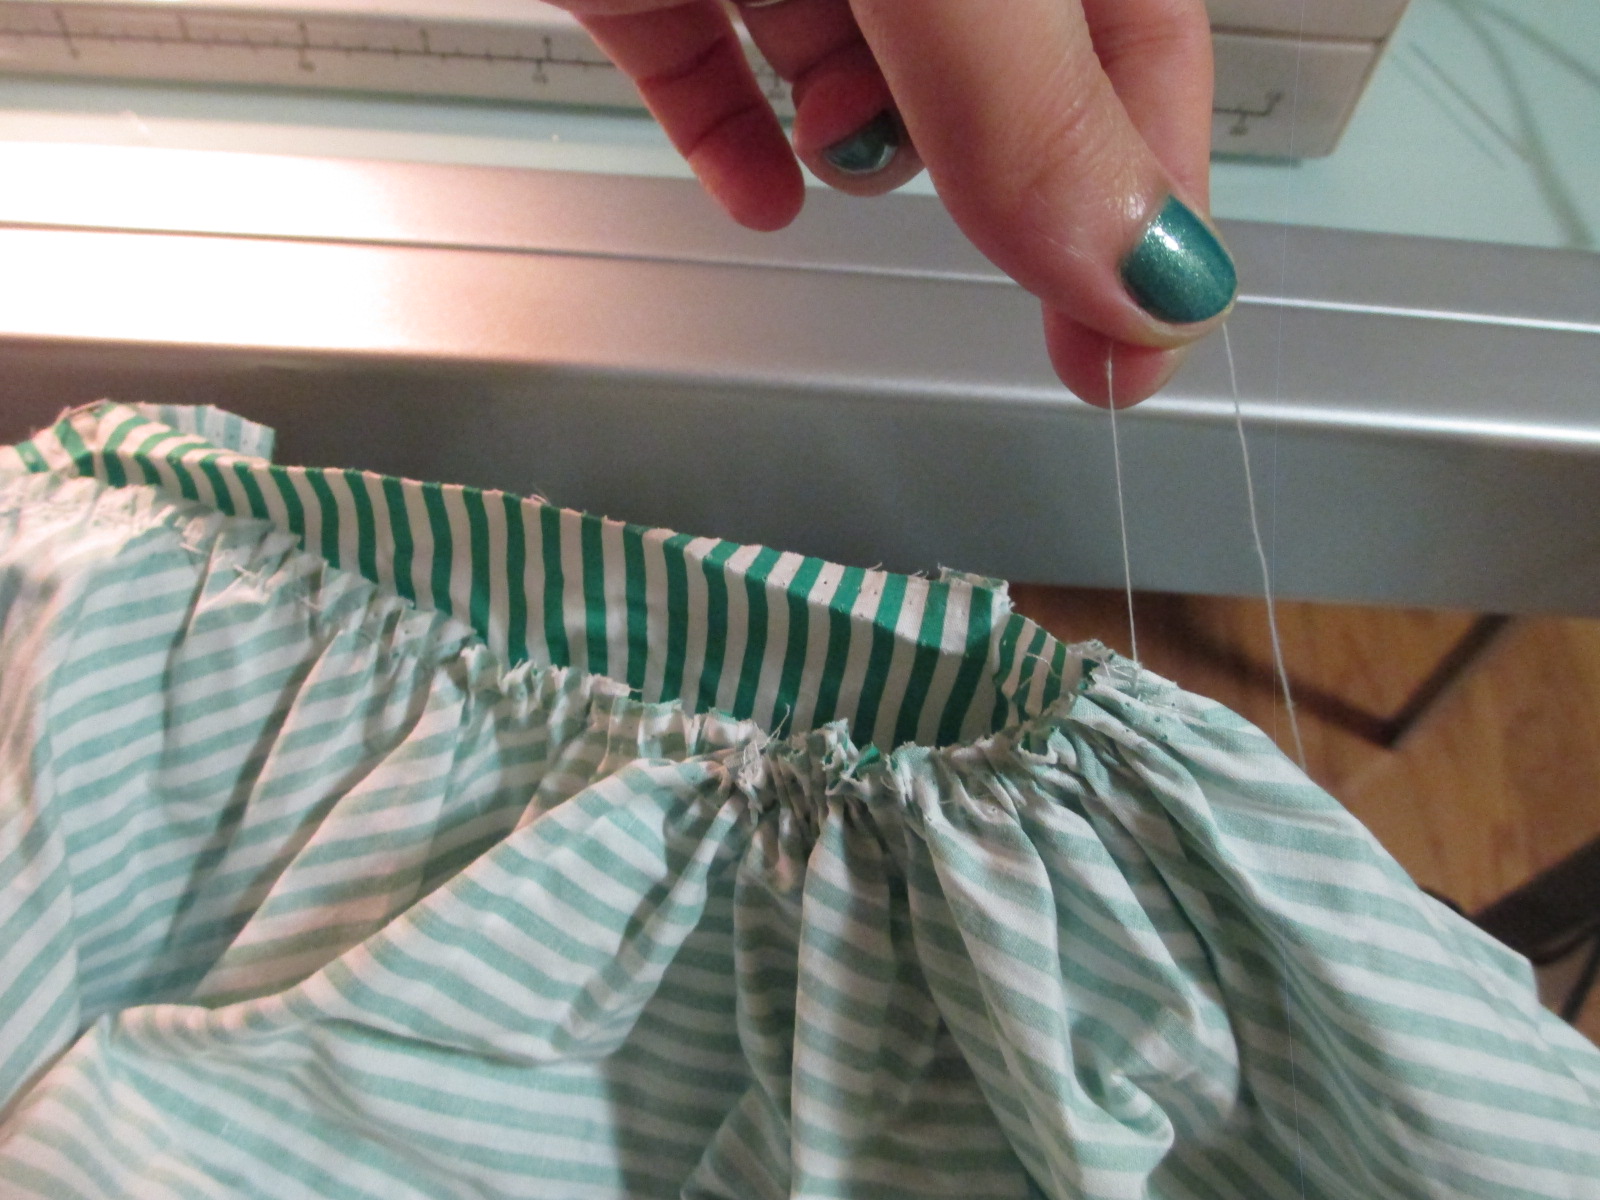
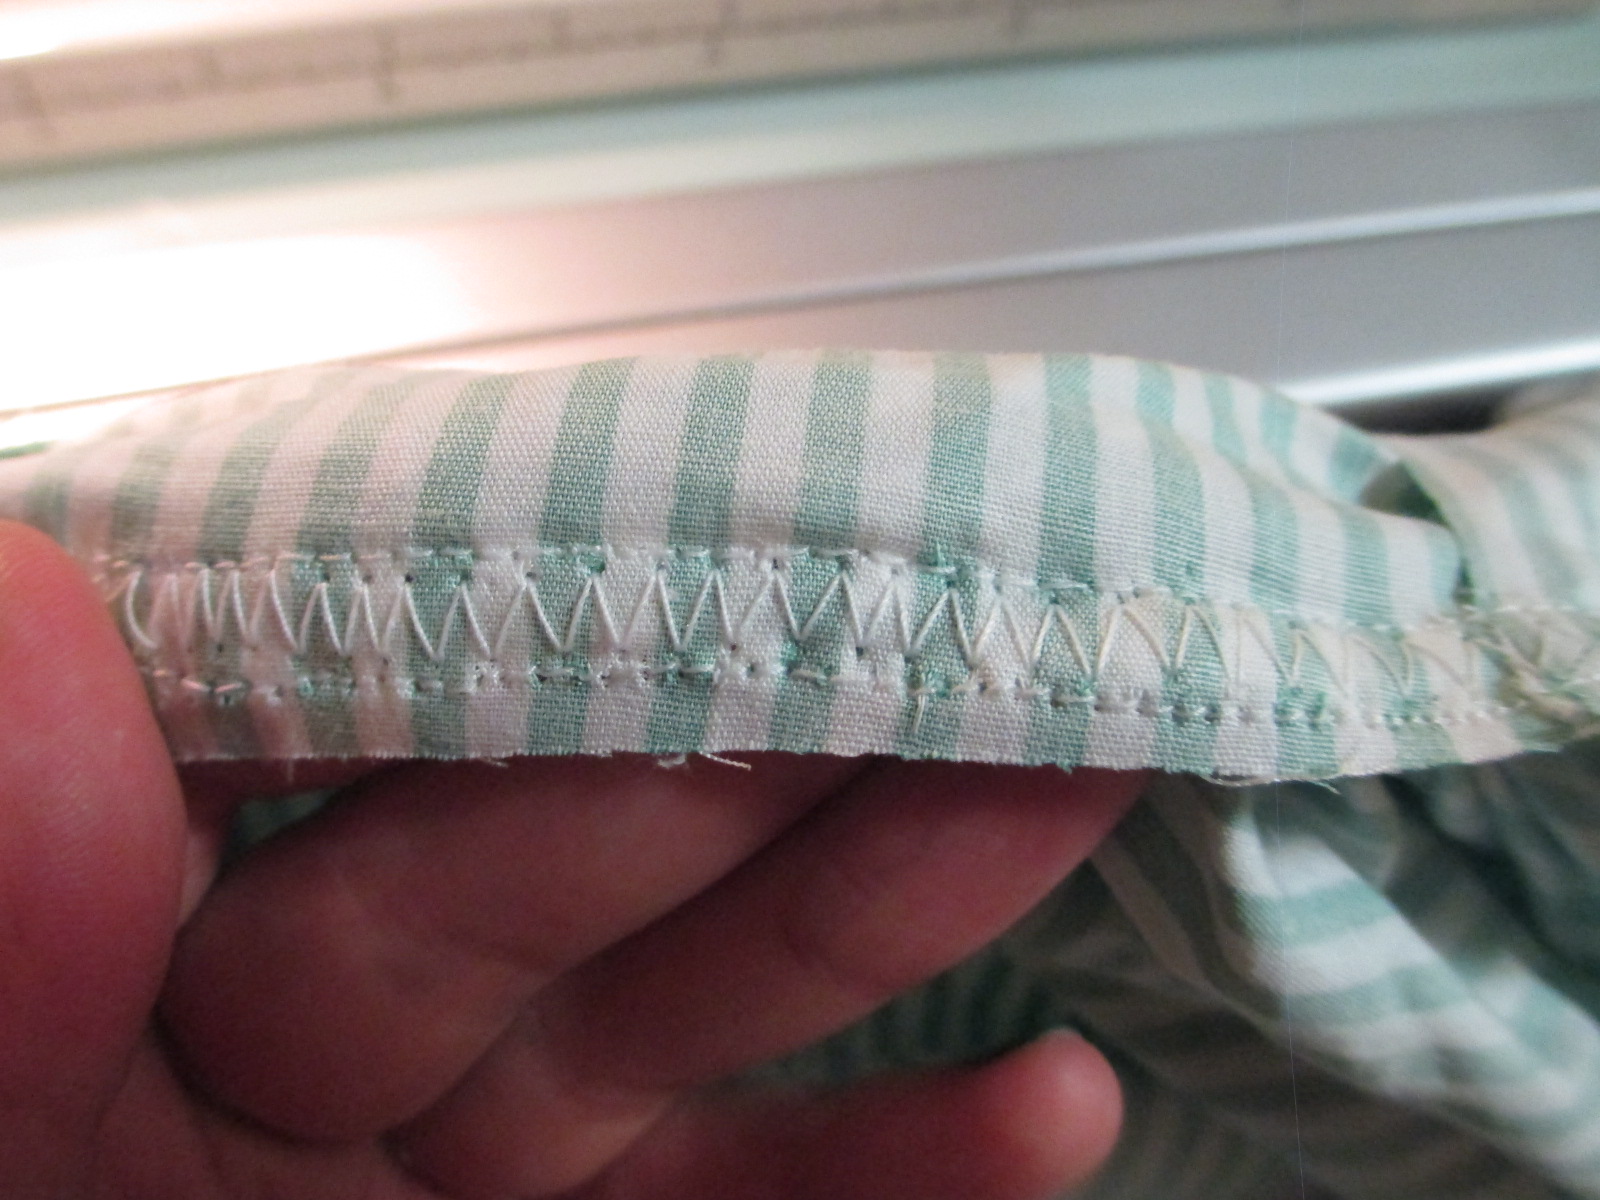
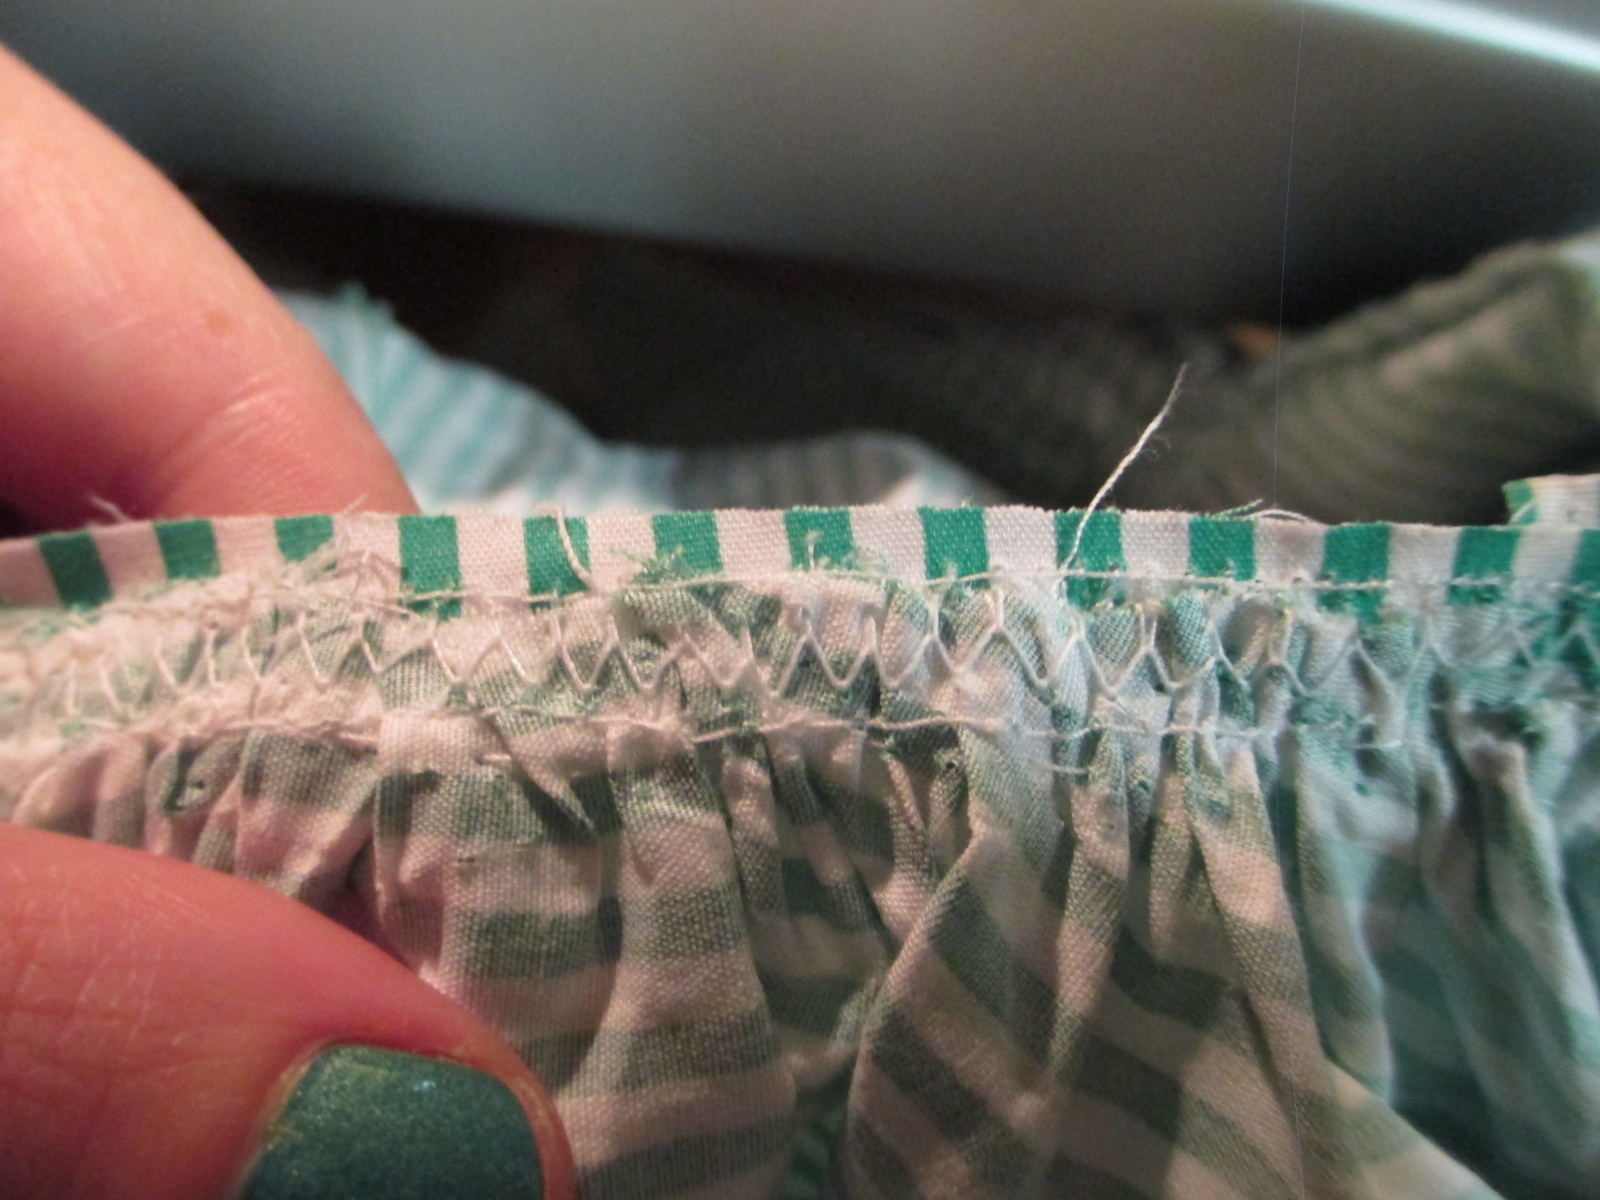
This is a step that would best be done with a serger—the machine that sews three rows at once. Look at the inner seam of the bottom of a tee shirt. That’s what a serger does. The serger’s stitches look nice, keep fabric from rolling, and allow for stretch.
Since I don’t have a serger, I’ll sometimes sew a straight stitch, then sew a zig-zag stitch along it, and then another straight stitch along the other side of the zig-zag. It doesn’t allow for stretch, but otherwise it gives almost the same effect. Since I wanted the gathered seam to match the rest of the pre-existing gathers as much as possible, and I wanted extra strength to hold the gathers together, this is what I did here.
After finishing with the skirt, I tacked the bust in place in the two spots I had pinned before. I also removed the bow because I thought it looked stupid and was ruining the nice effect of the gathered bust. I might attach it to the back of the skirt, though. Here’s the final product:
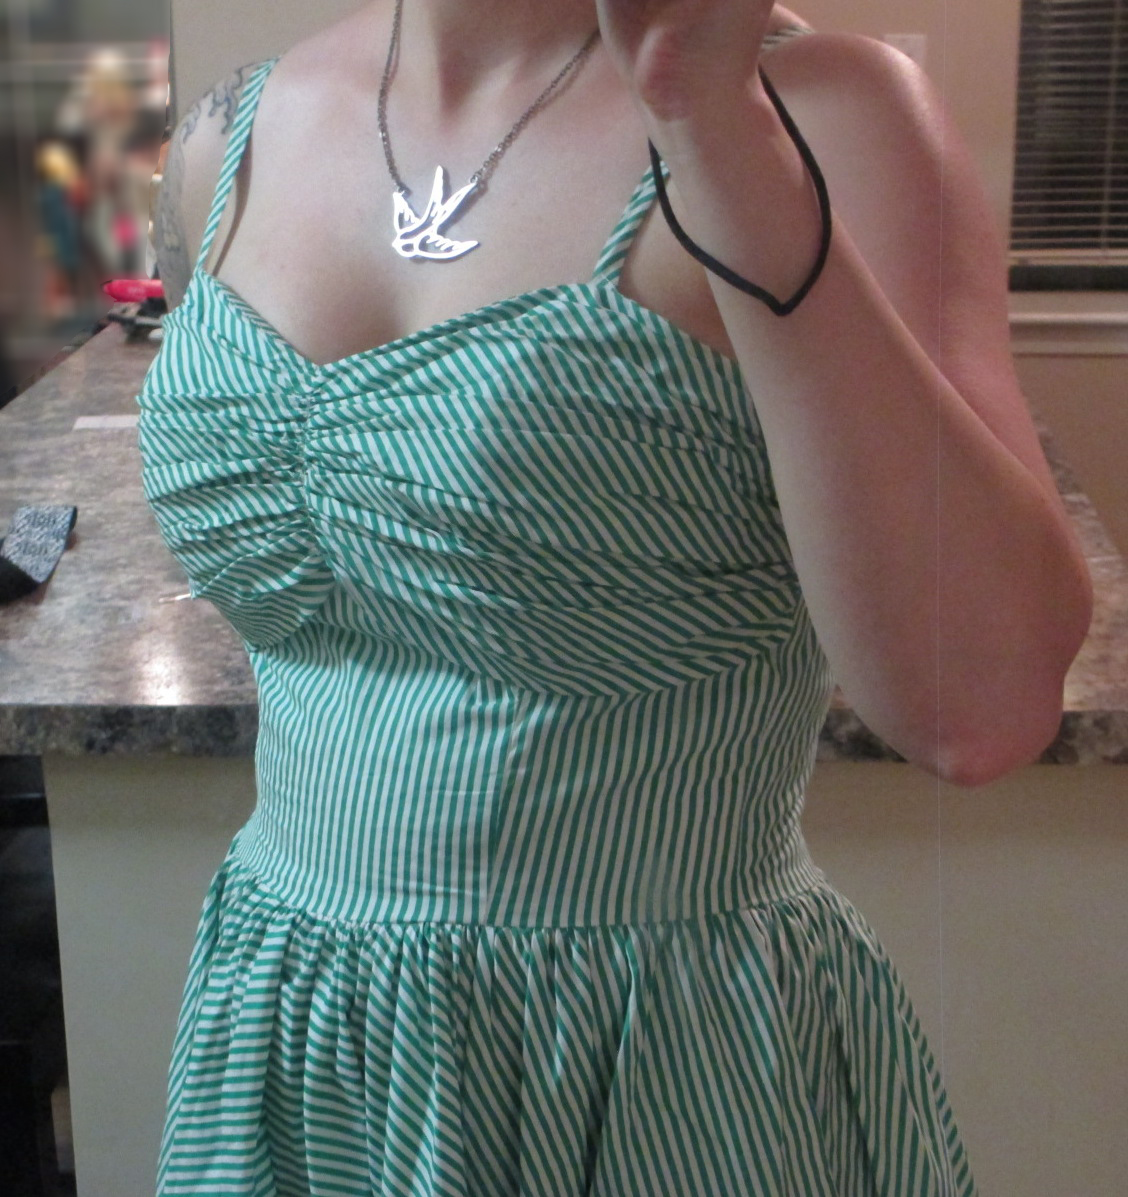

It may not look like that much of a difference from the way the dress started, but it feels completely different and looks much more flattering, in my opinion. Clothes that are tailored to my body really feel great!
By the way, that H&M dress that I replaced will be at the Busty Swap Darlene is hosting August 2, in case anyone wants it!
Hi Leah, I think you did a great job with this alteration.
Please take a look to our Bolero beachwear facebook page and look for the Color-block dress, I think that would be a very good style for your body type…actually, I think all of our dresses can be perfect for you.
Would love to hear from you!
I am not a good sewer (I can do buttons and hems and that’s about it).
Would you be willing to do the same alteration again? I’d pay you, etc.
Sorry, I wouldn’t really be comfortable altering someone else’s clothes. I’d be afraid of mangling it! But this is a fairly simple alteration that any professional tailor should be able to handle.