Welcome to Leah’s fourth column, only this time we have a name for it: “Off the Rack”, a take off of “The Rack” from Tammy, and a reference to the fact that many of Leah’s posts will tell us how to buy something “off the rack” and alter it to fit a full-busted figure. You’re going to love her genius solution to the cami issue I wrote about yesterday.
All you big-busted girls out there are probably more than familiar with the plague that is v-neck dresses and tanks with a too-low neckline. Silhouettes that look conservative on a mannequin often balloon into cleavage-baring tops that are inappropriate for certain social situations. The worst is when the fabric is pulled so low that the tops of your bra cups start peeking out. I’ve spent many a day constantly yanking up my top.
The usual solution for this problem is to wear a simple camisole or bandeau under your dress. But if it’s a v-neck or wrap shape, a crew or square-necked tank tends to ruin the look of the top. And, of course, finding cheap v-neck camisoles somehow ends up being easier said than done.
But there’s an easy solution. Simply turn those square or round-necked tanks into v-necks! You can use this alteration on bandeaus, plain camisoles, tanks with thin ribbing at the top—pretty much anything vaguely tank top-shaped made of smooth fabric and without thick trim or ribbing along its top edge.
Materials: plain camisole, needle, thread
Project time: 5 minutes
Click below to read the illustrated instructions.
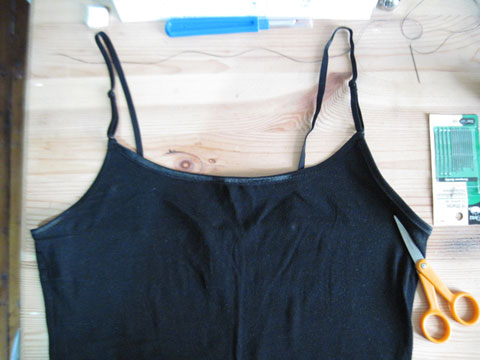
1. Here’s a photo of the original tank. It already has a bit of a curve, but it’s still the wrong shape for a v-neck top.
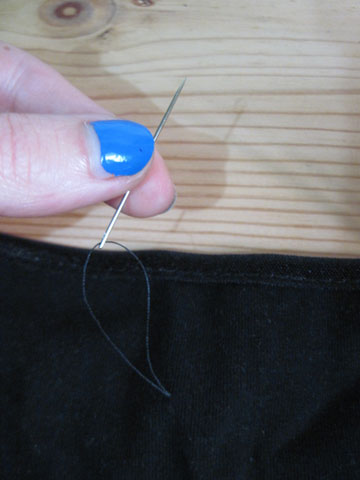
2. Start by deciding how low you want the v to go. Your sewing start point will be where the v stops. I’ll be lowering the v by only a couple inches. Now thread your needle and bring it through your tank from the back to the front where you want the base of the v. Keep a few inches of thread hanging from the fabric at the non-needle end.
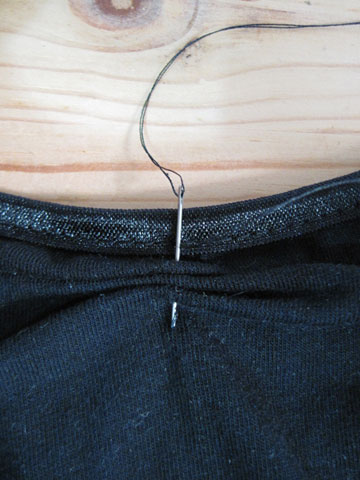
3. Sew loose stitches vertically up to the top of the shirt. Try to keep the stitches as even as possible, and keep it to four visible stitches. Try to finish with your thread coming out the backside of the fabric. If you end up on the front side, just thread the needle back through in the same spot that the last stitch came through.
4. Next, hold the non-needle end of the thread so that it doesn’t accidentally get pulled through, and pull the needle end so that it gathers the fabric into a little accordion.
5. Then bring your needle through the fabric from back to front, and sew through your little accordion to tack it in place. Make sure the spot where your final stitch goes from the front side to back is at the point where you first started sewing. Pull it tight on the backside and tie the needle end of thread to the non-needle end.
6. You’re done! Here is a photo of my finished camisole (disregard the deodorant stains!), followed by a photo of it on me. It really doesn’t get any easier than this!


that’s brilliant
Thanks for this very easy, but really effective idea! That´s great!
Just tried this on a high necked jersey dress and it worked! I’m so pleased and it has transformed the dress. Thanks for the idea!
Wow, simple, but excellent idea. Gotta try this one soon!
Exactly what I was looking for & so easy! Thank you!