Back at Mark Ingram for my muslin fitting, my seamstress Bernice first fitted me in my corset, pinning it in to make it the right band size. Then, we fitted the muslin over the corset. She fitted the muslin to my body and then made more adjustments to the corset to make it fit the pattern of the muslin, ensuring it formed a low enough V in the back and was hidden in the front.
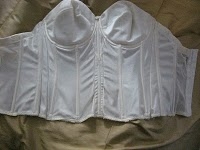
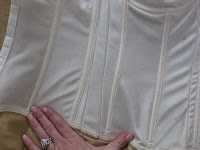
See what my corset ended up looking like after the alterations after the jump. I provide all the details on how it was altered in case you need to do something similar.
 Bernice added two new seams in the center, seams on the sides, and reattached the sides for a lower V in the back.
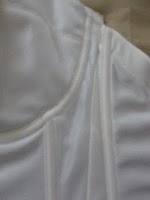
 Here are the side seams.
 If you look carefully at the top of the side, you can see how it was reattached lower to the side so it would sit lower on my back.
 Here’s how much she took in the fabric with each seam. Isn’t it interesting how it gets larger on the bottom, so that she gets the right shape?
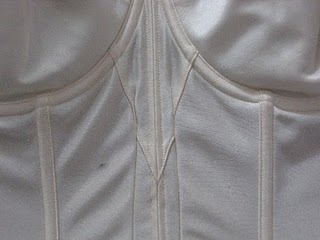
 Here are the two center seams.
The front of the corset. Note where the seams begin in regards to the cups.
On my dress, we raised the neckline so I felt comfortable with the amount of cleavage I’d be showing. We also raised the fabric under my arms to make sure my chest had all the support it needed to prevent any popping out on the wedding day.
Although having a muslin made adds an additional step, it doesn’t necessarily add too much time to the whole process. Ulla-Maija is based in New York, which my consultant knew. She recommended them because we could get the dress made, with a muslin, on a deadline. I ordered my dress right before Christmas, the muslin fitting was a month later in January, the first dress fitting was in March, the second in April, and the final dress was ready in mid-May. 4 1/2 months from start to finish!
Tip #5: If you are on a deadline, ask your consultant if they carry designers who are based near you that offer half-muslins.