
Find the rest of the Sew-a-Long series here!
Are you ready for the 4th installment of the Mandarin top?! Fitting can be intimidating. Just remember to go slow, take it one step at a time, and do tiny adjustments until you get it where you want it to be! And don’t over-fit! If you try to get a garment to lie completely flat with zero wrinkles, chances are you won’t have enough wearing ease left and it’ll be terribly uncomfortable. There are many great articles on the internet that can help you learn how to fit! Even if you’re nervous, go ahead and give it a try. Hands on experience is the best teacher 🙂
For this step you will need:
- Mandarin pattern instructions
- Both fabric AND paper pattern pieces
- Sewing machine + thread + scissors + pencil
- Pins or Wonder clips (my favorite!)
- Seam gauge, measuring tape
- Full length mirror or camera w/self timer to check the fit
- Seam ripper!
First, assemble your shirt according to pattern instructions. They are really terrific! I love the illustrations of each step. And I was pleasantly surprised by how easily and quickly the top came together! Truly the most time consuming part of this pattern is the fitting. But that’s the whole point of sewing for yourself, isn’t it?
It was a dream working with all of these pattern pieces – they aligned perfectly. I imagine this is why quilting is satisfying for so many people….everything fitting together so nicely! I am an extremely sub-par quilter, so quilts don’t really do it for me, but I LOVE a well-cut, non-slippery woven clothing pattern!
As mentioned before, for the muslin I omitted the collar and cuffs. I even omitted the buttons and buttonholes at first, but I did add them in later.
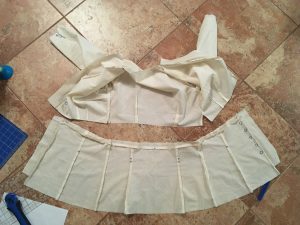
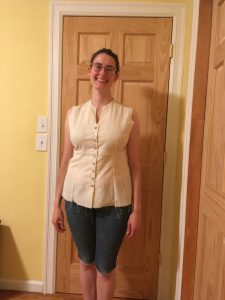
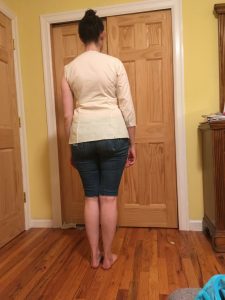
Once it’s together, try the top on. I pinned together the buttonhole markings for the initial fittings.

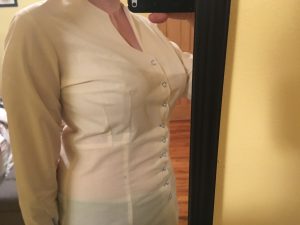
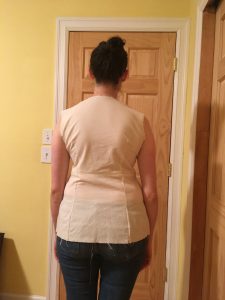
If you need fitting adjustments, take note, and fix one at a time. From this fitting, I could see that I needed to:
- Raise the empire waist
- Add ease in the hips
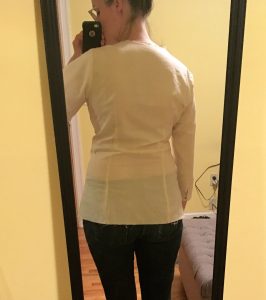
- Remove bulk from the shoulders
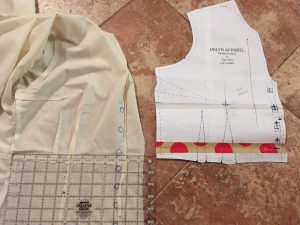
For my first pass, I raised the waistline. I had added an extra 1” to the length of my pattern piece, but it looks as though I didn’t need it for my waist! I did, however, need the depth because my breasts have a lot of forward projection. I liked where my lengthened darts ended…so I left the darts as-is and took an inch out of the waist right above the waist seam. I compared to my pattern piece to check seam allowances.
After I finished the waist, it looked great!

To reflect this adjustment on the pattern, I simply removed the lengthened portions on my top bodice pattern pieces and adjusted the darts accordingly.
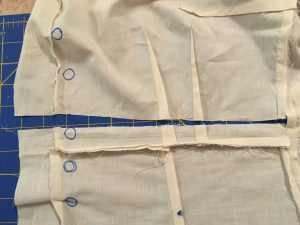
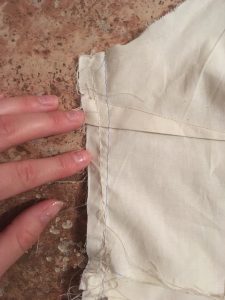
Now on to the hip adjustment. For this, I ripped out the center back and side seams. I started at the original 3/8” seam at the waist, and graded out to a ¼” seam allowance to add a touch more ease. It worked! I’d still like a smidge more ease in my final garment, so I’ll add to my paper pattern. I also decided to sew buttons and buttonholes to my muslin at this point – can’t really get an accurate fit on a button down top without buttons! Be sure to adjust buttonhole spacing so it’s even (this is why my sewn on buttons do not match my pattern markings)


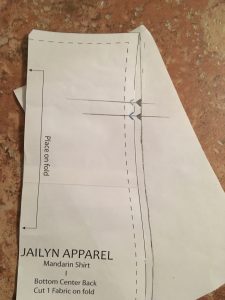
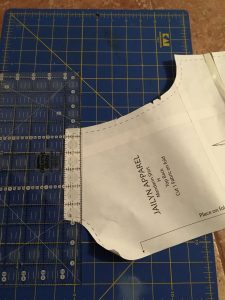
For the paper pattern adjustment on my hips, I taped paper to the edges of my center back, side back, and side front pieces. I measured out the desired amount from the original edge, drew a new edge, and cut!
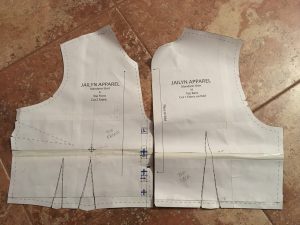
Lastly, and most tricky, was adjusting the shoulders. They were still baggy and it bothered me! My shoulders are fairly narrow. I ended up taking an entire inch off the top of the back shoulder! I graded the armhole out to accommodate this change. I removed the sleeves to better check the armhole fit at this step.

And the paper adjustment (the pencil line is my new seam allowance line for the graded arm hole):

I noticed that there was some extra bulk under my arm as well, so I took the top bodice side seams in a little bit (shown in blue thread). I didn’t adjust my pattern piece for this adjustment – I’ll assemble my final shirt and assess what needs to be done at the very end! Taking in this seam is easy, especially with how the Mandarin top is constructed. You set in the sleeves before sewing up the sides.
Lastly, I adjusted the curve on the sleeves to mimic my new armhole curve! I also took in the sleeves just a bit, since my arms are narrower than the pattern is drafted for. I only set in one sleeve to check the fit – but it turned out excellent! I am sooooo excited for my final finished top!


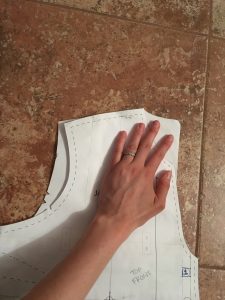
The final adjustment I made to my paper pattern was lengthening the sleeves by a tiny bit. My arms are long, and I wanted my final sleeves to hit lower on my arm. I didn’t check this adjustment on my muslin, but it is a simple one so I didn’t feel the need to do a test run. Again, the pencil line along the top is my new seam allowance line for the adjusted armsyce!
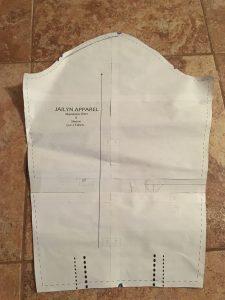
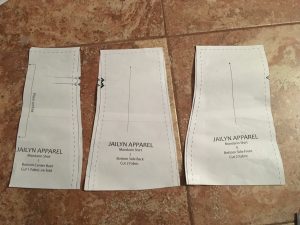
Et voila! Perfectly adjusted paper pattern. Now you can go on and make as many of these beautiful, perfectly fitted tops as you’d like!!