One of the tips you frequently read for busty gals is to buy clothing in a size up to fit your boobs, then get the waist tailored. Or, if you can’t get it tailored or the waist is only mildly big, then belt it. However, that belt tip requires that the belt actually stay snug. And unfortunately, several of the belts I own are fabric-covered slide belts with no grommets, so they don’t stay tight.
I got tired of constantly tightening those belts, and I can’t really replace them with grommet versions since most of them came with a dress that they perfectly match. So this week, I turned a slide belt into a grommet belt. Now I can adjust it bigger for bloated days, but it stays tight when I want to cinch in my waist.
Here’s how I did this easy and cheap project…
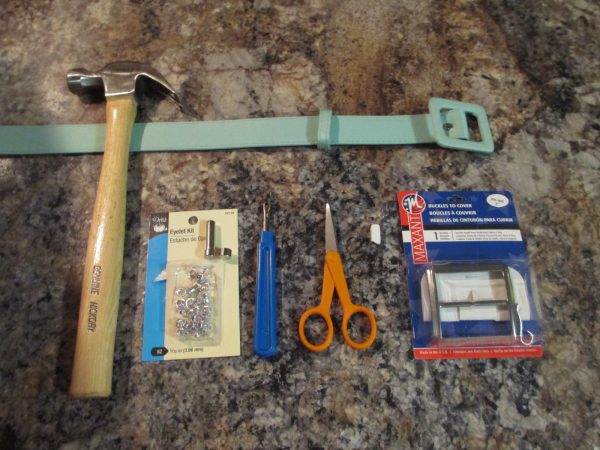
Supplies you’ll need:
Belt
Hammer
Eyelet/grommet tool and matching grommets (purchase the kit here, or just the tool here)
Seam ripper
Small, sharp sewing scissors
Chalk or marking tool of some sort
Belt buckle cover kit (this one was only $3.90 on Amazon)
Pliers (which I forgot to photograph below)
Here’s a closeup of the belt buckle kit:
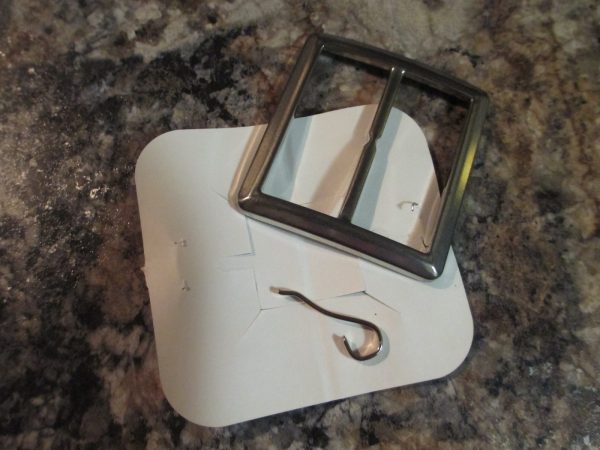
It includes a paper pattern to cut out the fabric for covering the buckle, a two-piece metal buckle, and a buckle prong. This buckle is 2” by 2”, which means the prong should be 1”. It doesn’t matter what size buckle you buy, it just needs to have a prong that’s the appropriate length for your existing belt. Since this buckle is 2”, I knew the prong would be half that. I ended up just tossing the buckle part into the recycling bin since all I needed was the prong. Unfortunately, I can’t find any brand that sells just the prong alone!
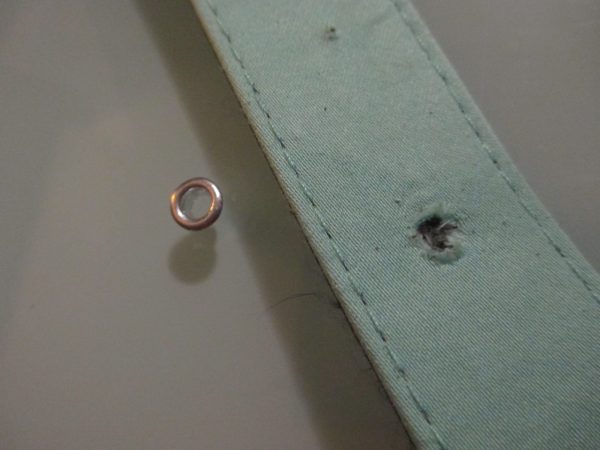
Here’s a closeup of the grommet setter, the grommet anchor, and a grommet that came with the kit:
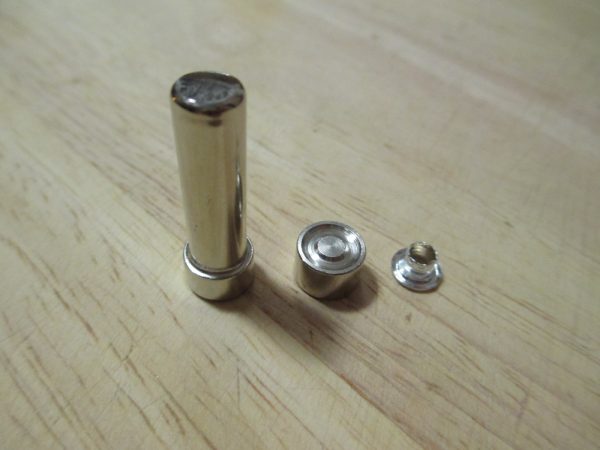
Once you’re ready to affix the grommet, you layer the anchor on the bottom, then the grommet, then your fabric, then the setter, and you hammer down on the top of the setter. The upper tube of the grommet is then smashed down; it splits along ridges on the top edge and folds over all around itself, leaving a clean edge.
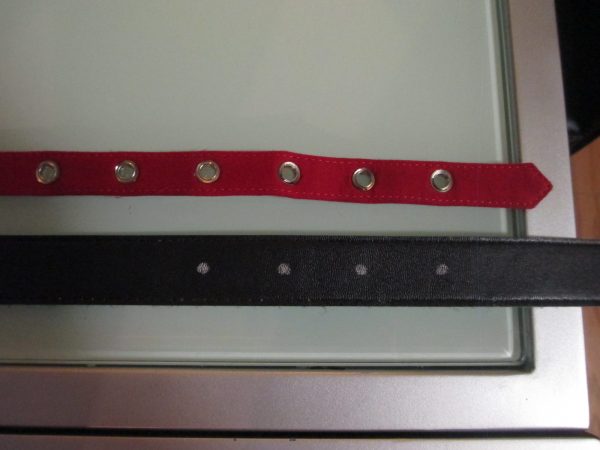
So to start the project, take a belt with grommets that fits you well, and use it as a guide to where you’ll affix the grommets on your new belt. Draw the spots where you want the grommets on the underside of the belt using chalk (or whatever marking utensil you have).
Next, take your seam ripper and poke holes on your grommet spots.
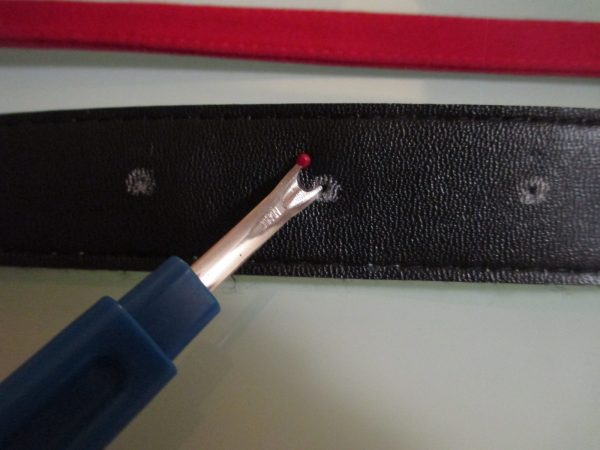
Then stab your small scissors through the hole. Push it further through while spinning it around to get an even, round hole rather than a line.
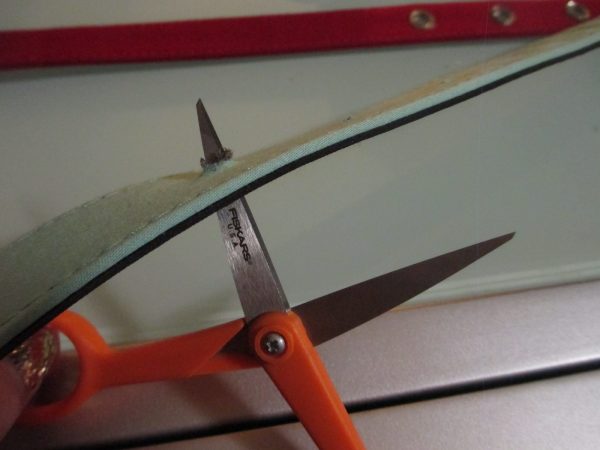
Keep the hole slightly smaller than your grommets. It’s better not to stab the scissors in too far, then snip at the hole edges to clean it up and enlarge it carefully and gradually as needed.
When your hole is ready, push the grommet through the hole, with the clean side of the grommet on the front side of your belt. Then place the grommet on the anchor, as described above, followed by the setter. Hammer away! Try to do it in as few strokes as possible to keep from crushing the grommet so that the edge is mashed instead of simply folded over on itself. Also try to hammer straight down so that you don’t end up with crooked edges.
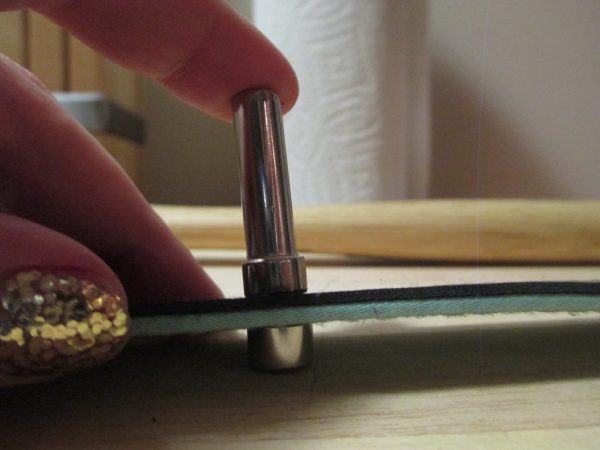
Here’s how it’ll look on the back side of the belt when you’re done:
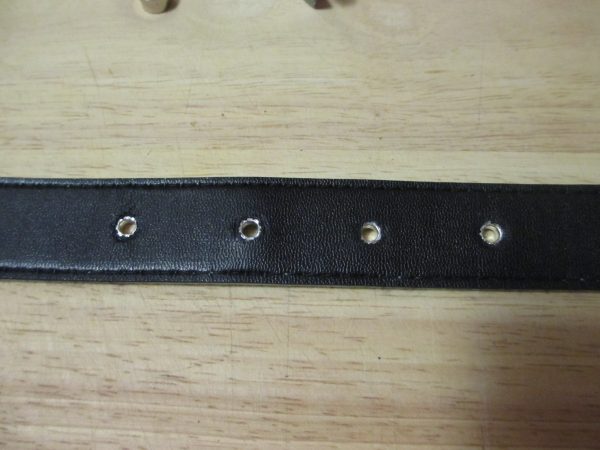
And on the front:
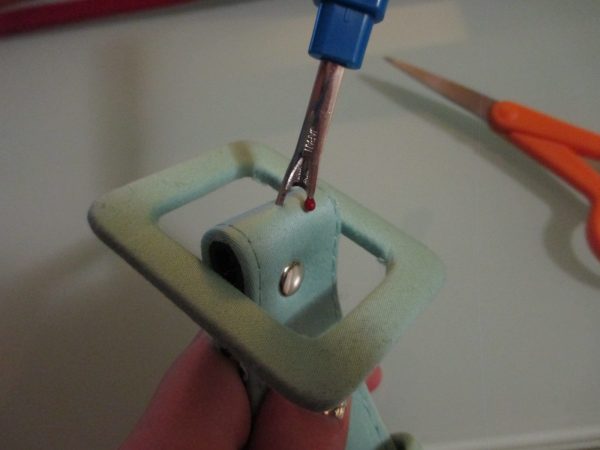
Next up, you need to add the prong to the buckle. My existing belt buckle is the exact same construction as the one that came with the prong: It’s a square with a bar going across its center, and the fabric of the belt is wrapped around that bar. The first step is to create a hole in the center of the fabric where it folds over the bar. Use your seam ripper to get it started:
Then once again take your small scissors and work at the hole until you make it bigger. The size of the hole you need will depend on how thick and pliable your belt is. You need it big enough that you can maneuver the curved end of the prong into the hole and around the metal bar. Since the underside of my belt is thick and heavy fake leather, I had to really dig at it to get a big enough hole that I could squeeze the prong in.
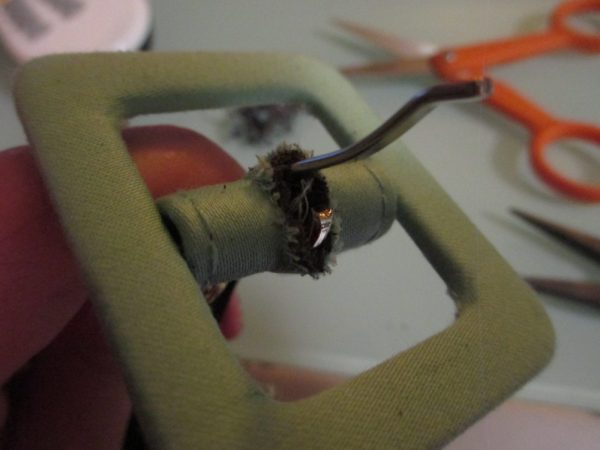
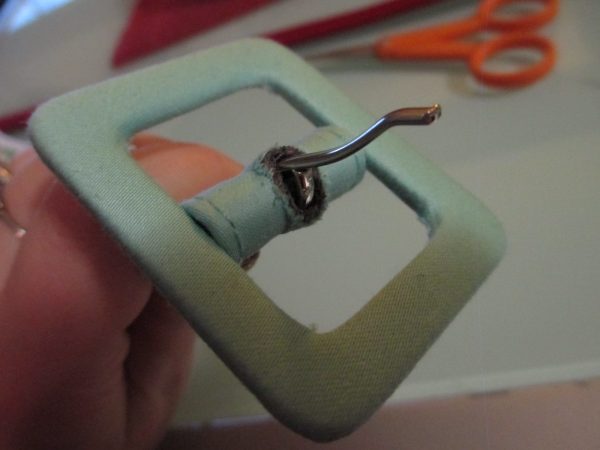
Once your hole is big enough, insert the curved end of the prong and maneuver it onto the bar. You may need to open up the curved end a little more, as I had to do. Once it’s on there, use your pliers to squeeze shut the looped end of the prong so it can’t pop off the bar.
You are now finished! If the edges of your prong hole are messy, you can trim down loose threads then coat the edges with clear nail polish or liquid stitch to keep it from fraying, or in a pinch you can use other permanent craft or hot glue. Just avoid getting any on the prong.
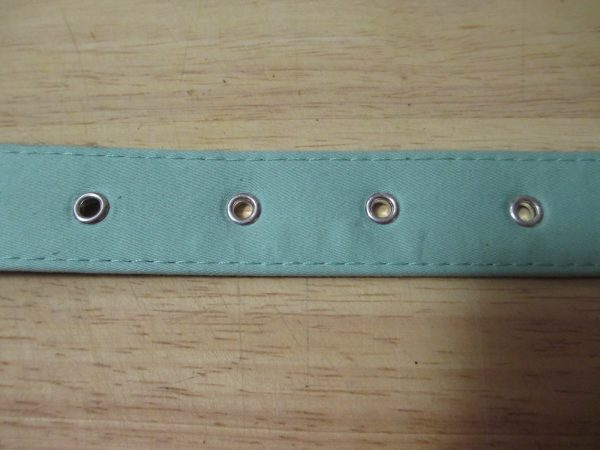
Here’s a photo of the completed product:
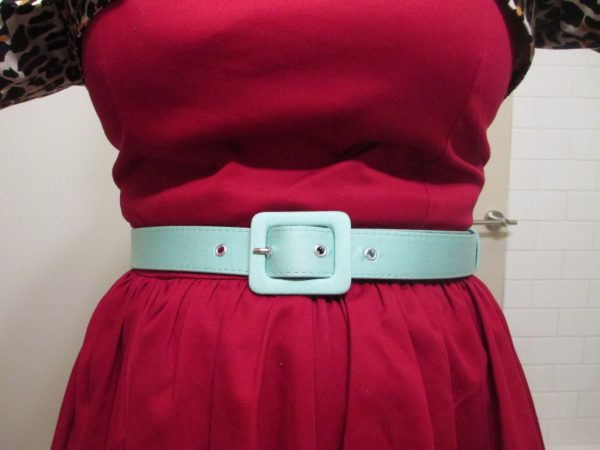
I should also note that technically the grommets I used aren’t really long enough for this belt. They just barely reach far enough to the reverse side that their edges manage to fold over and grip the fake leather. In fact, they may pop out after some use. But all I need to do to fix that is find some slightly bigger grommets (perhaps some that are similarly sized to my red belt that I used as a guide), loosen up the holes a bit, and attach the new ones. However, that requires a bigger grommet tool, which I have yet to purchase.