I bought swimsuit spandex on a whim a couple of years ago, when I was in a very ambitious mood and thought I could make my own cup-sized swimwear. But once I had it at home in my sewing room, I panicked. Spandex scares me!
Then in May of this year, I came across this awesome tutorial about how to sew a built-in shelf bra. The bra shown in the tutorial is definitely not supportive enough for larger busts, but I figured I could make some adjustments and get it to work. There are some things I would definitely improve next time, but overall I am happy with the final result!
I’m not going to do a full tutorial, since the Burda Style tutorial is really great at explaining how to make the built-in bra. I will tell you the supplies you need in order to do this yourself and provide photos of the full-bust adjustments I made!
SUPPLIES:
- Sewing machine with a zig-zag, triple stretch, or elastic overlock stitch (or a serger). Any of these stitches will work just fine.
- Ball Point/stretch sewing machine needles
- Tank top sewing pattern, or a well-fitting shirt to make a pattern from (I drafted my own pattern, and will show how I did it)
- Spandex swimsuit material
- Swimsuit lining, if desired
- 3-4 yards of strong 1″ elastic
- Foam cups, either purchased from a garment supply retailer (they typically go up to a E/F cup) or cut from an old bra
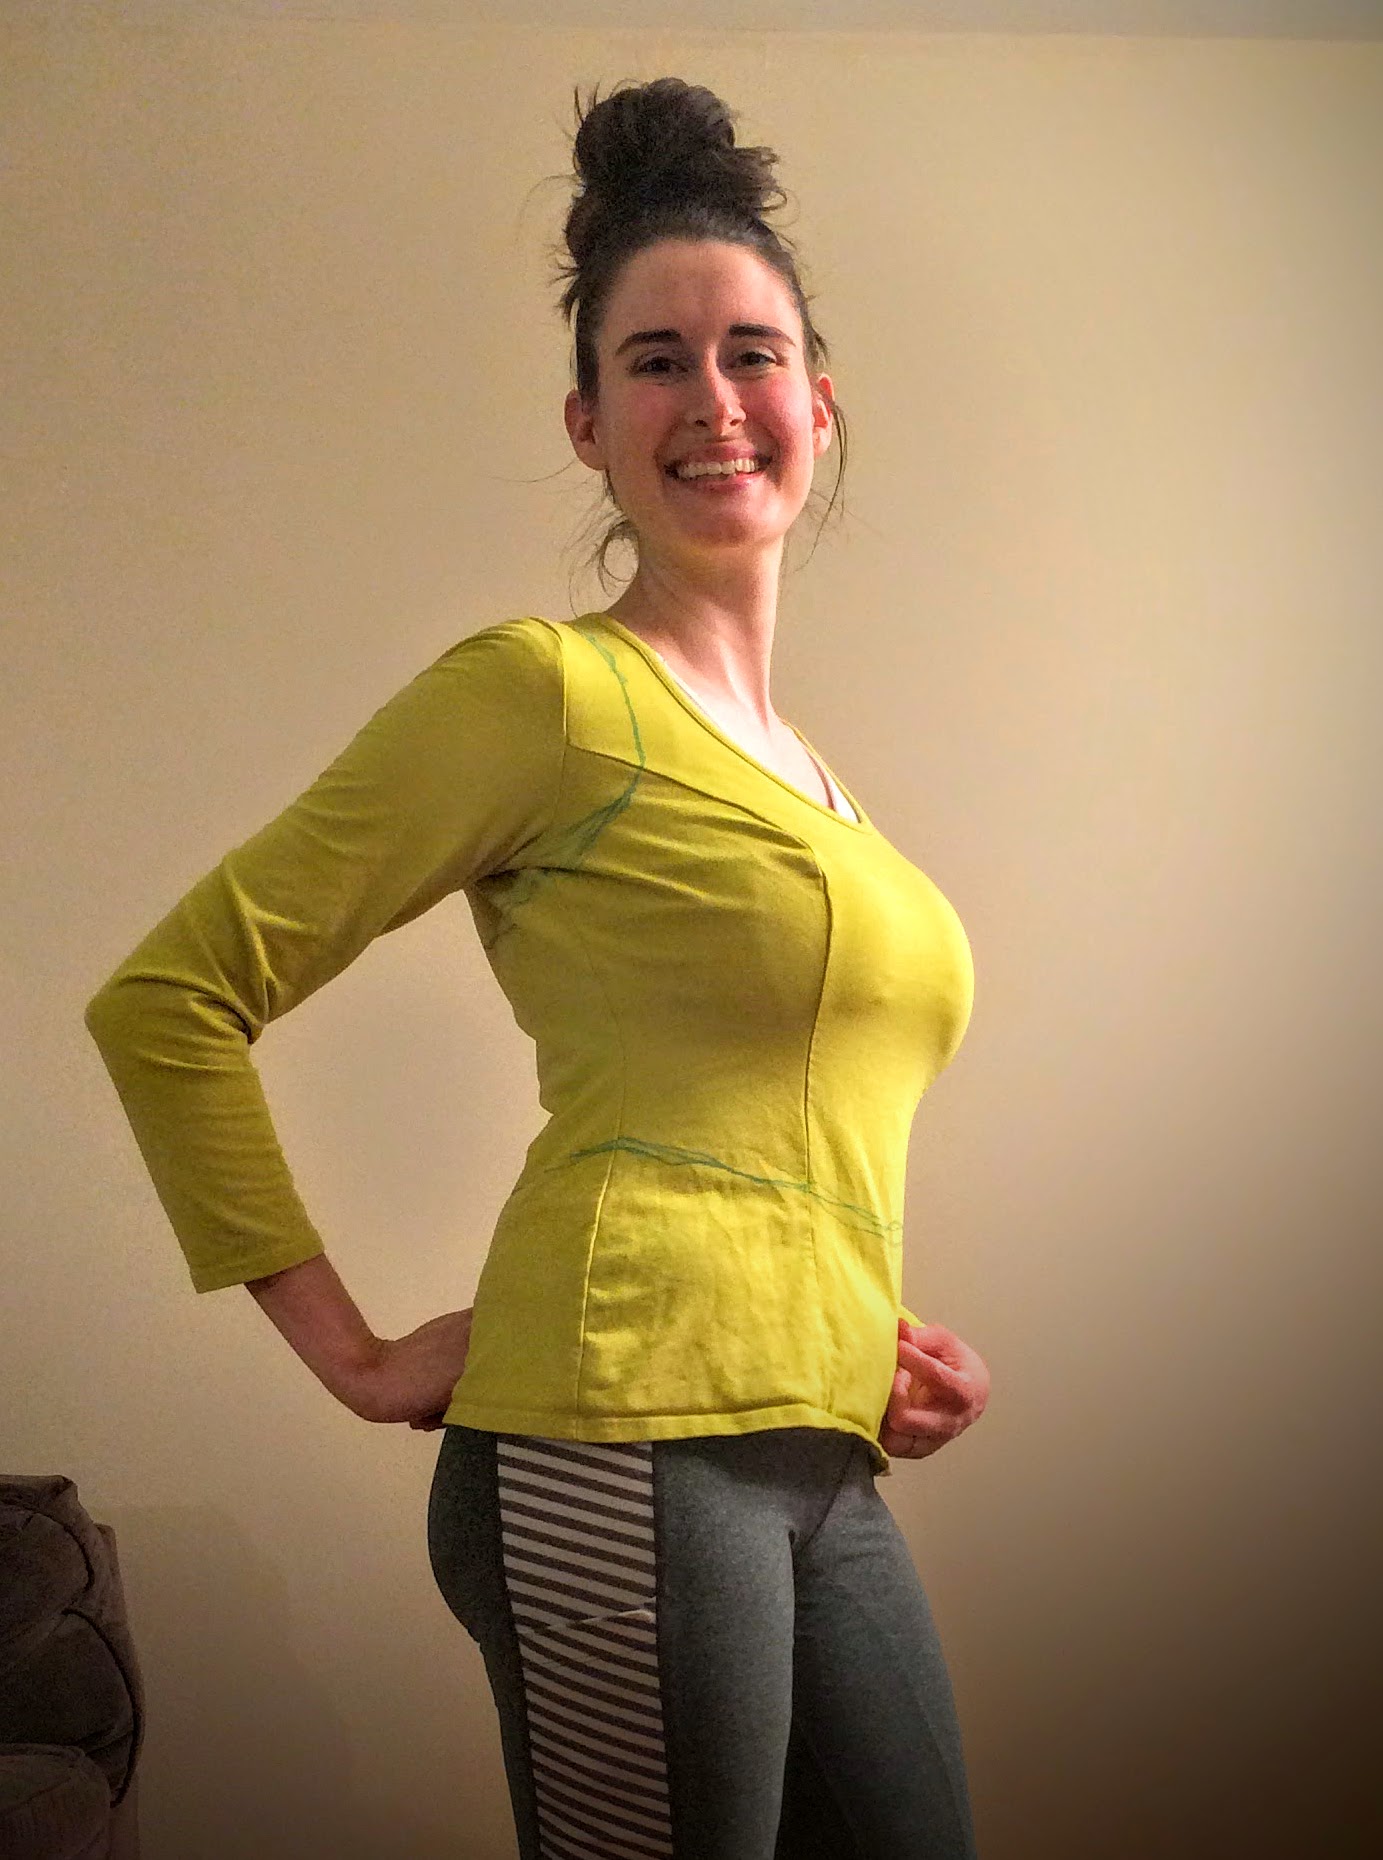
I actually used an Urkye top that I own in order to draft a pattern. It has a princess-seamed bodice, which I thought would make for a great fit on a peplum tankini. It definitely did help, but if you’ve never sewn a princess seam before, a swimsuit may not be the best place to start. They’re a little tricky to copy from existing shirts, and they are a little funky to sew on spandex. That being said . . . I know I never listen when people tell me something is difficult and I should start with something easier, so do whatever you want 😉
Here is how I got the pattern for my swimsuit top (don’t worry, I drew on my shirt with this awesome erasable highlighter — it disappears when you iron it. It’s my favorite sewing tool!):
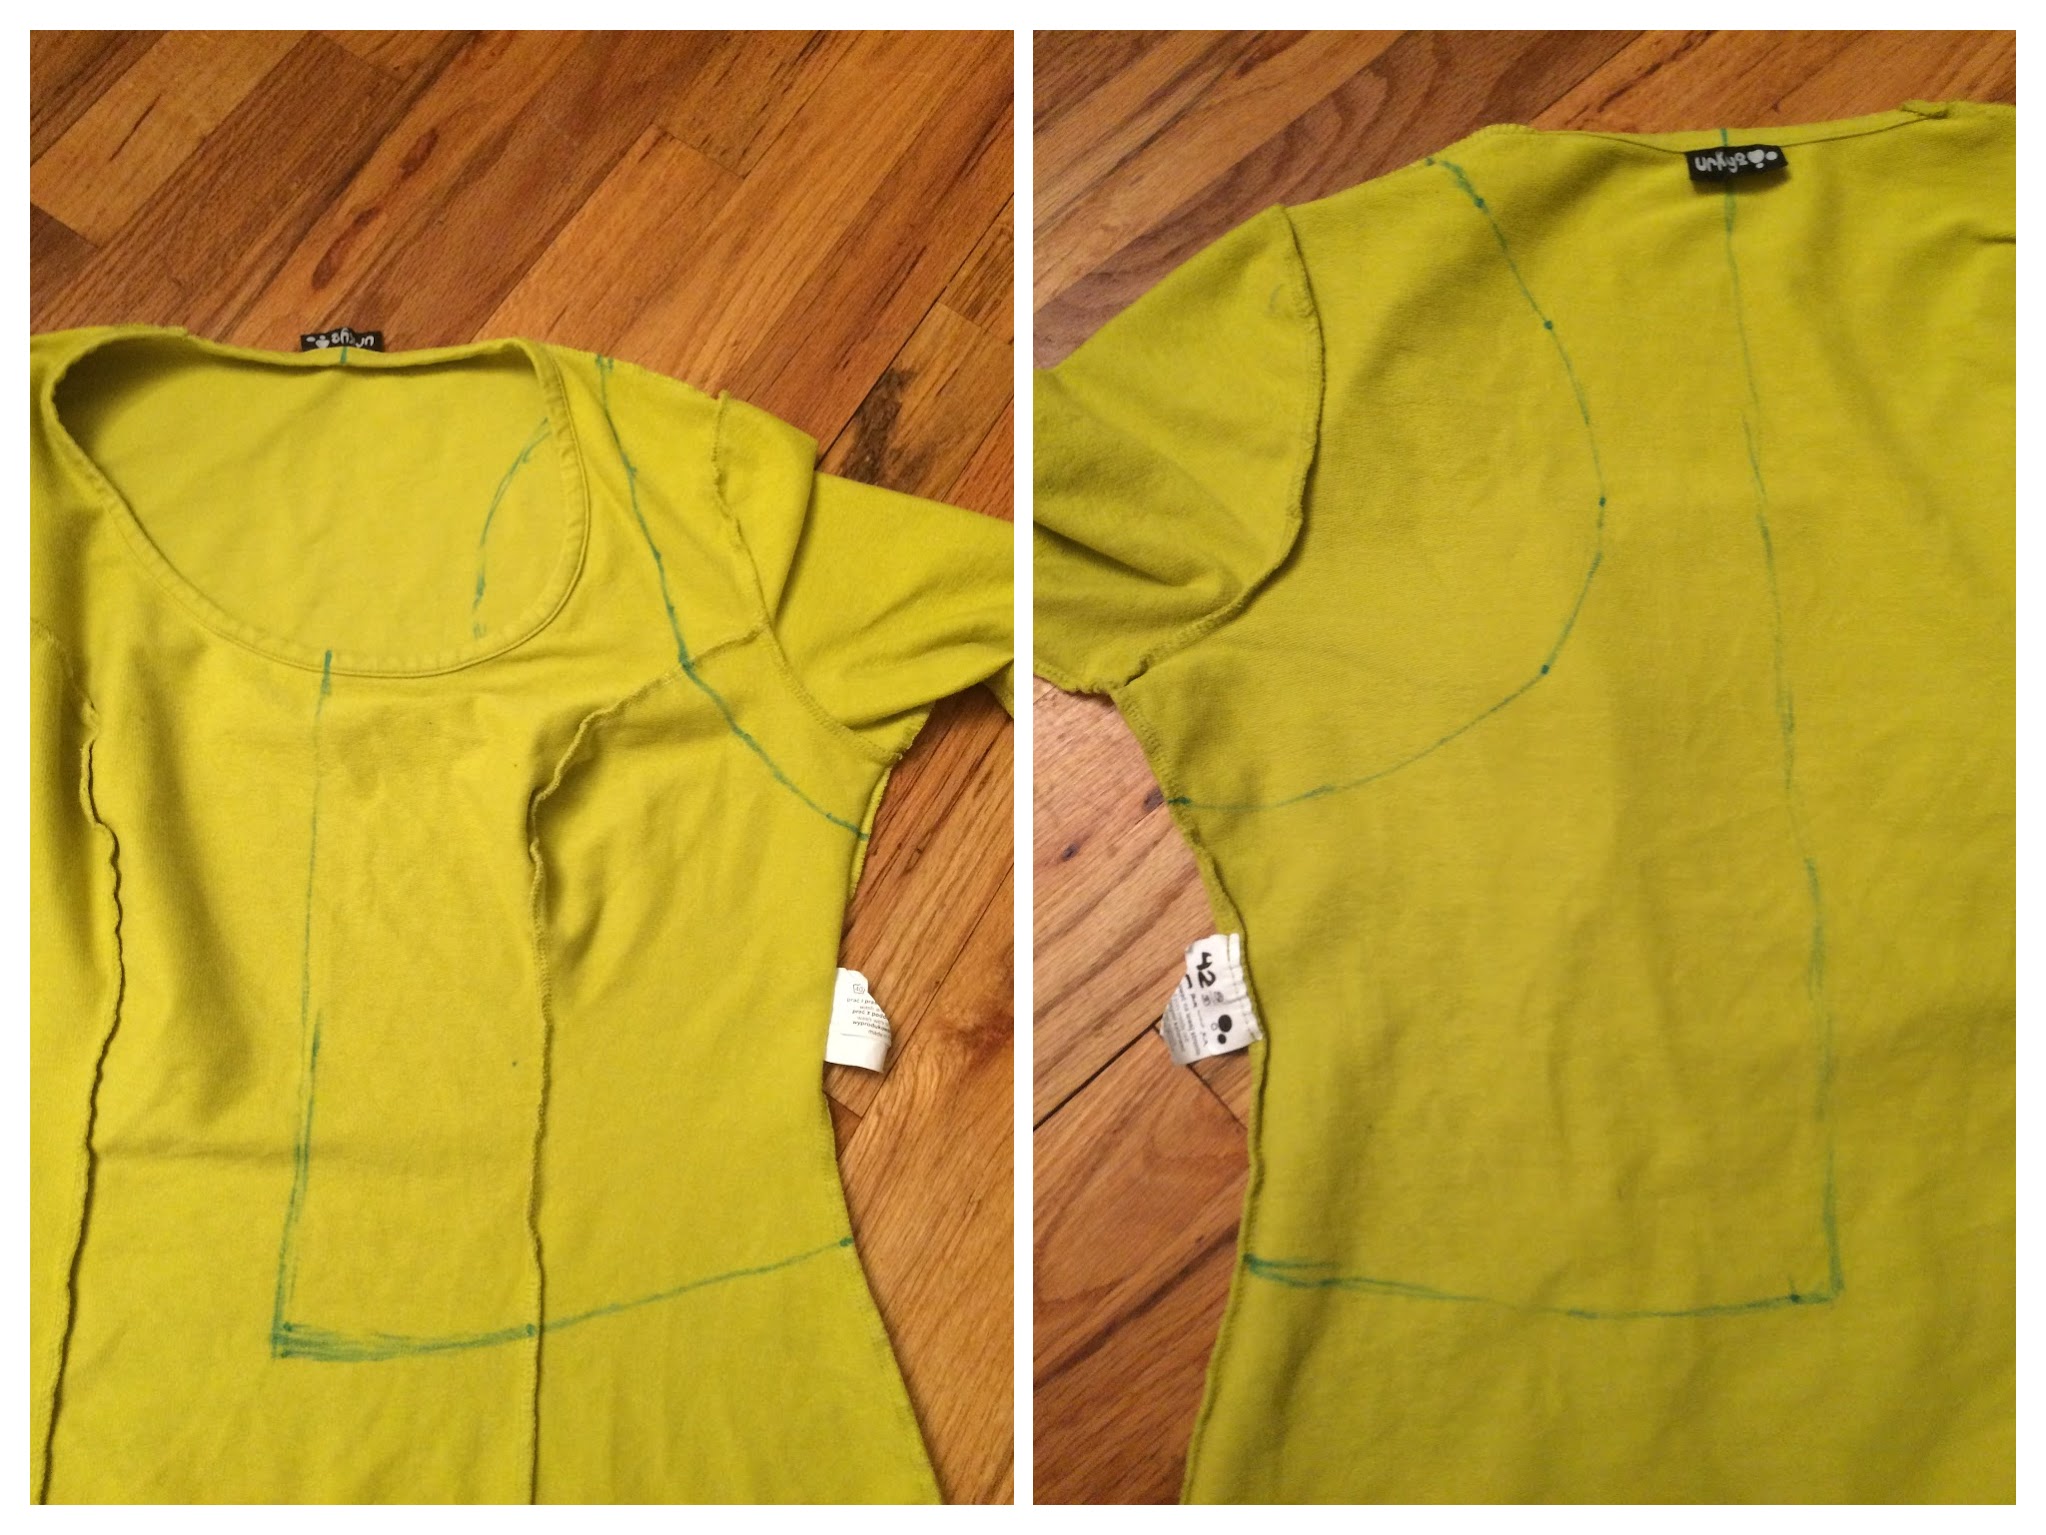

I didn’t add a seam allowance – except on the arm holes, neck line, and waist – in order to make the fit snug enough for a swimsuit. I wish I had taken the pattern in even more! It fits snugly enough, but it does shift slightly more than I’m used to with swimwear.
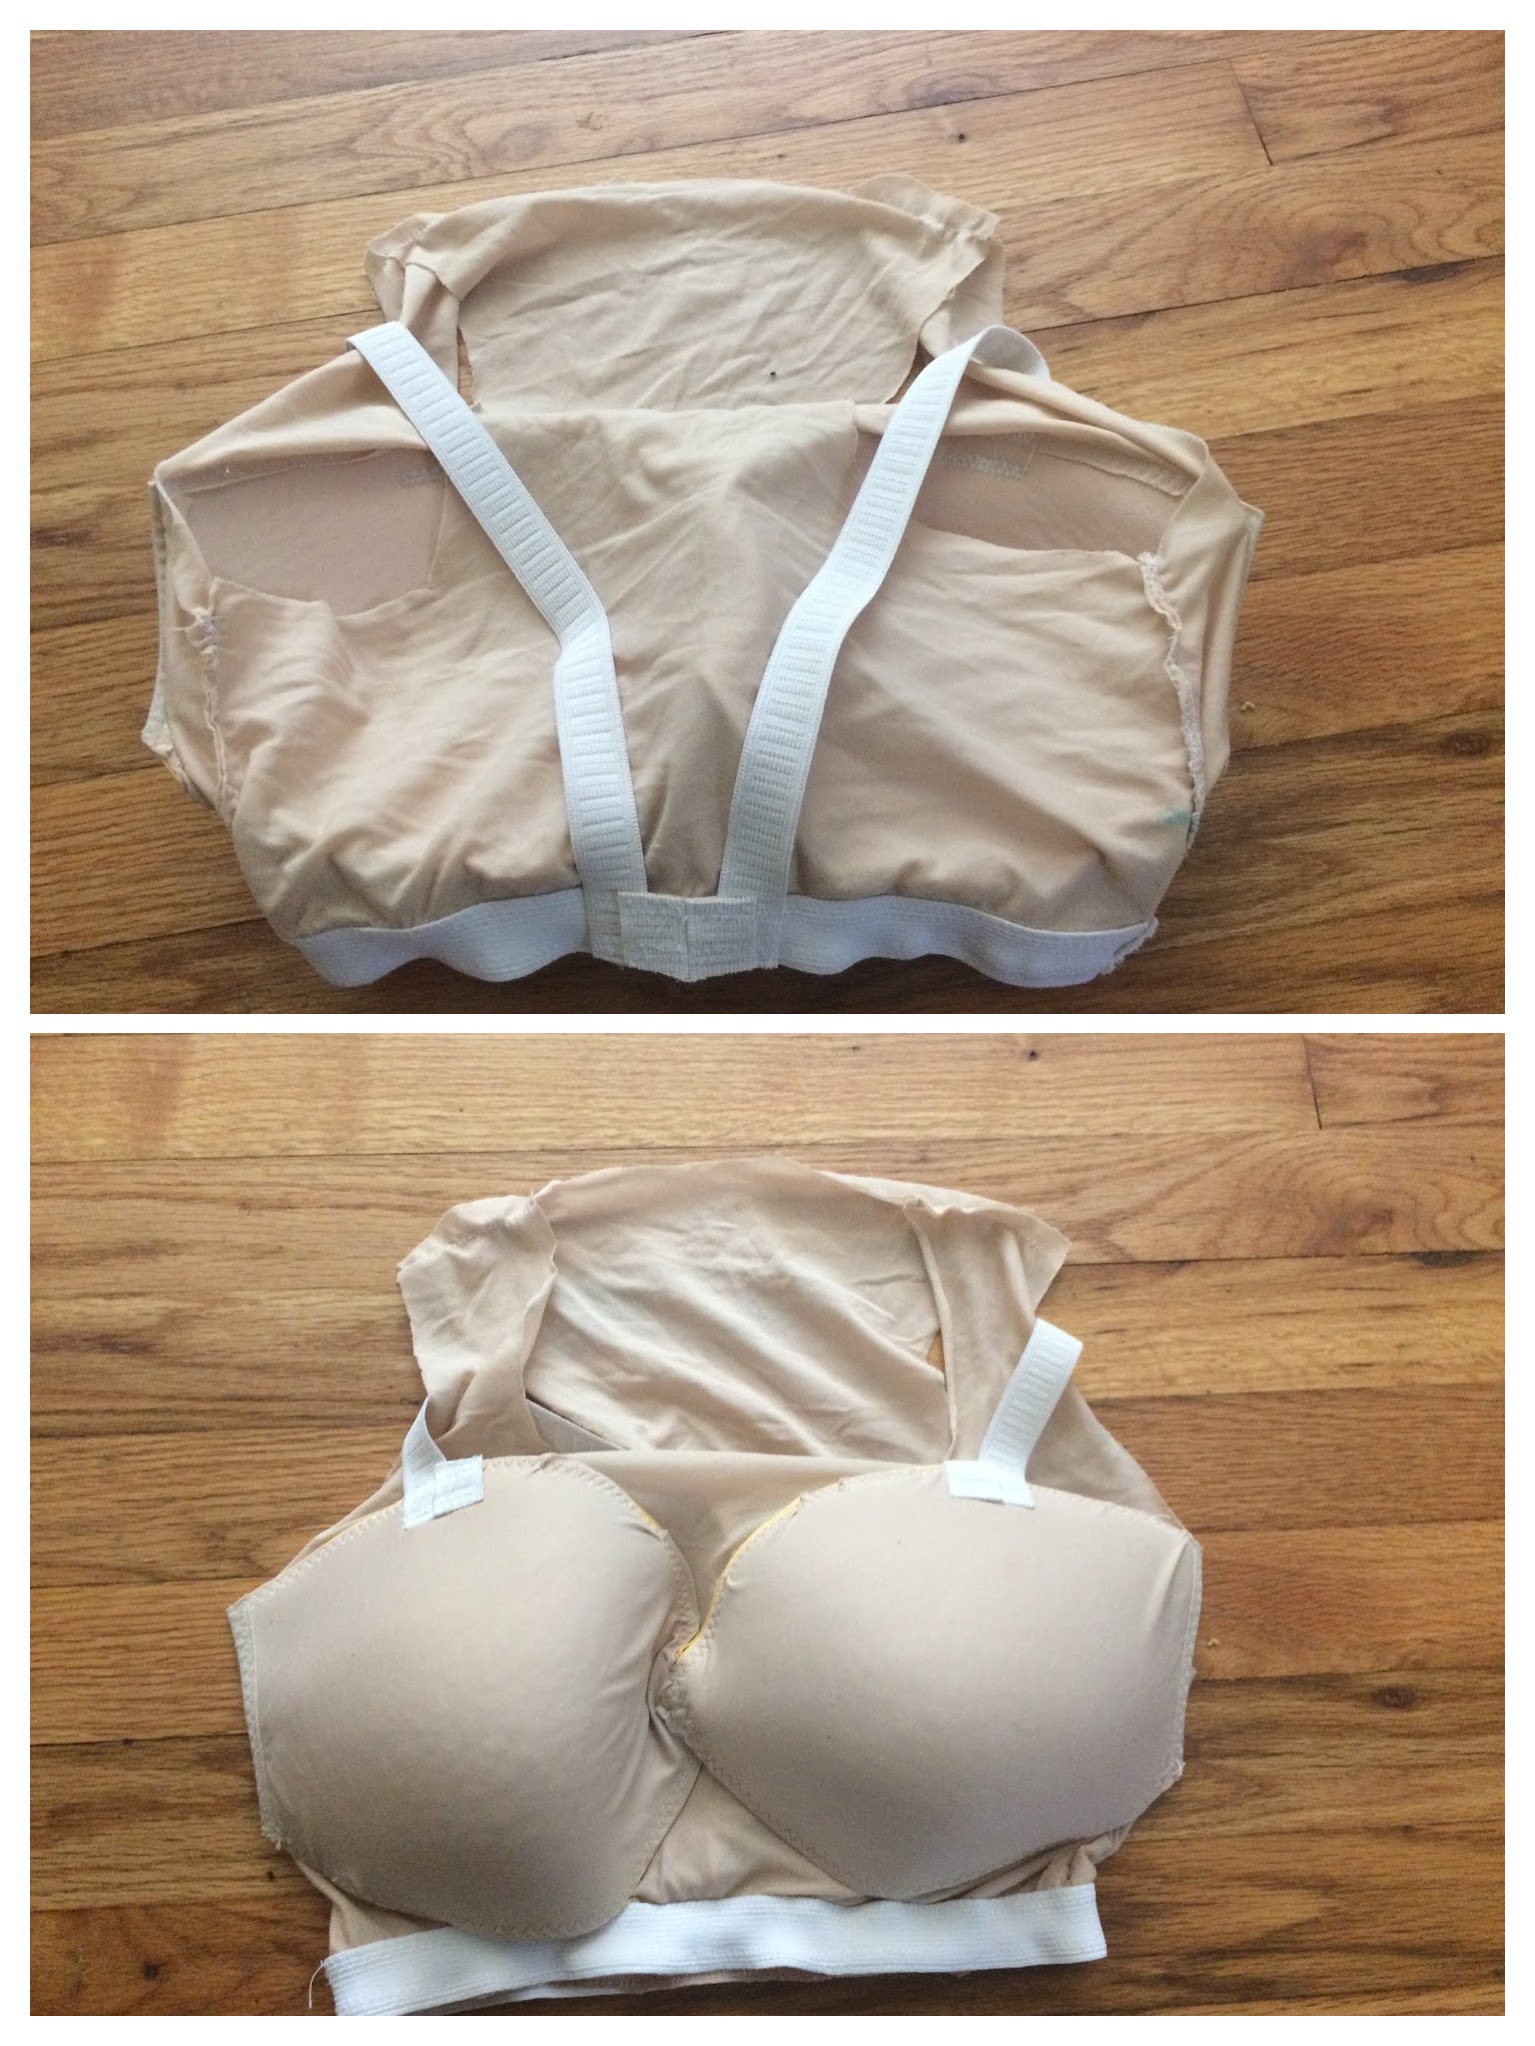
For the built-in bra, I used cups from an old Freya Deco that was falling apart. The cups were still in tact, so it worked for my purposes! Instead of joining the cups with a piece of bias tape, as outlined in the Burda Style tutorial, I overlapped them slightly in the center. This worked fairly well and suited the shape of the cups. If I did it again, I would probably trim the cups and join them with bias tape instead, but this works fine. I used a sturdy 1″ wide elastic for the band, and attached straps directly to the back center of the band (trying to align with the racerback I had cut). Originally I had used 2 sets of straps per side, but that was overkill and totally hurt my shoulders. Haha!
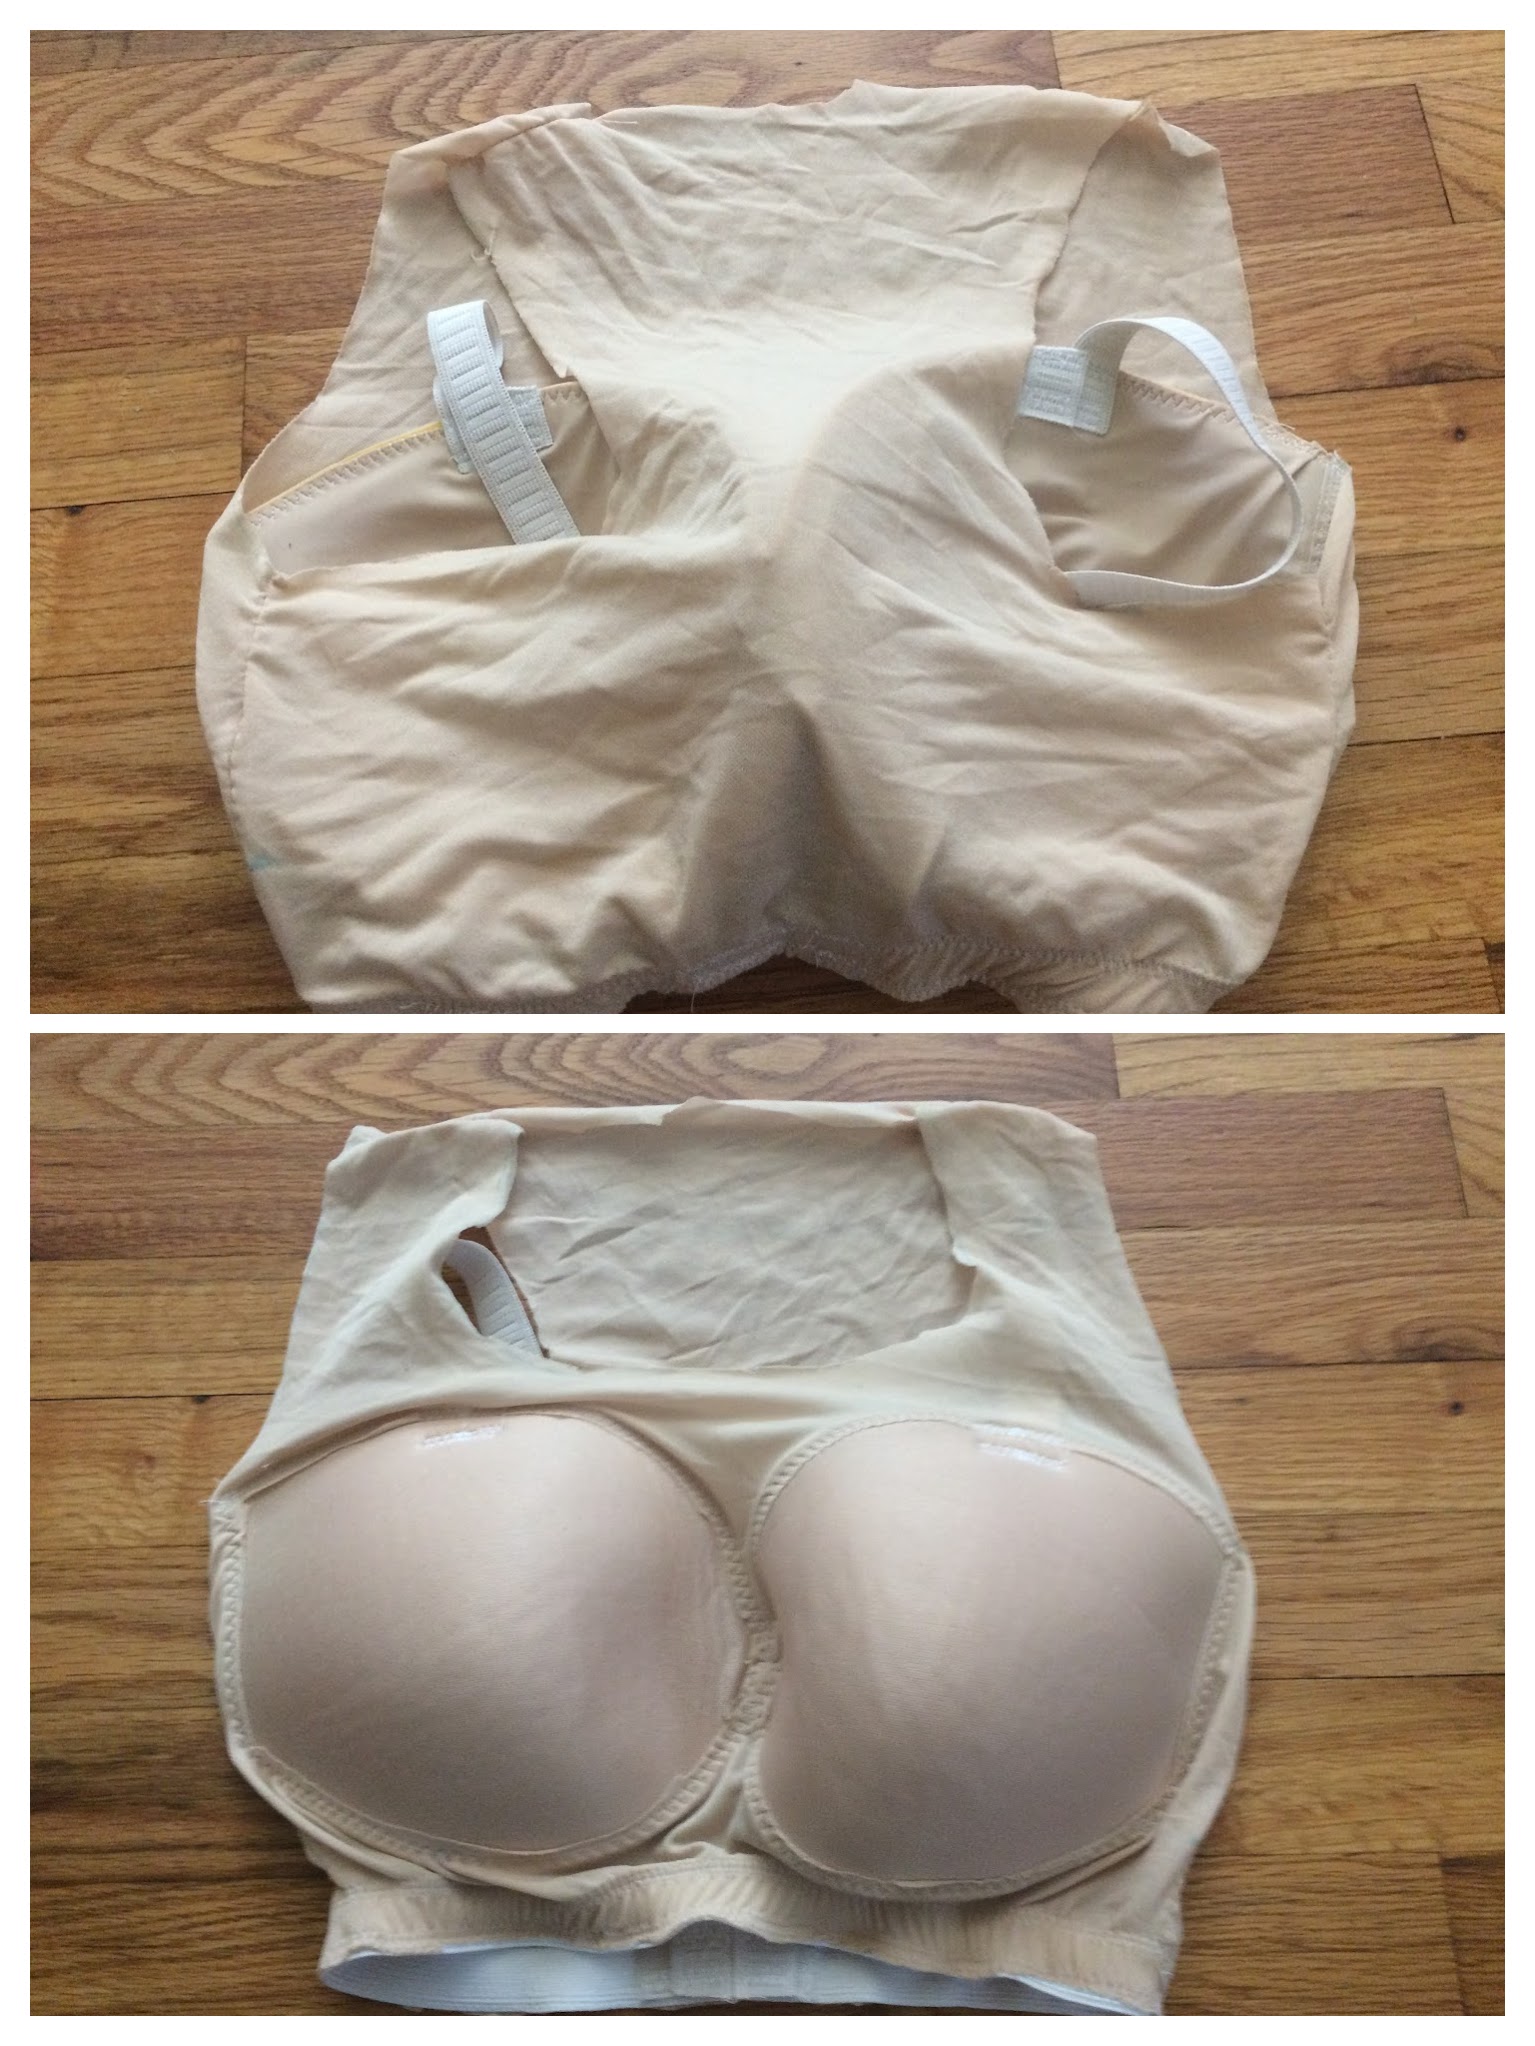
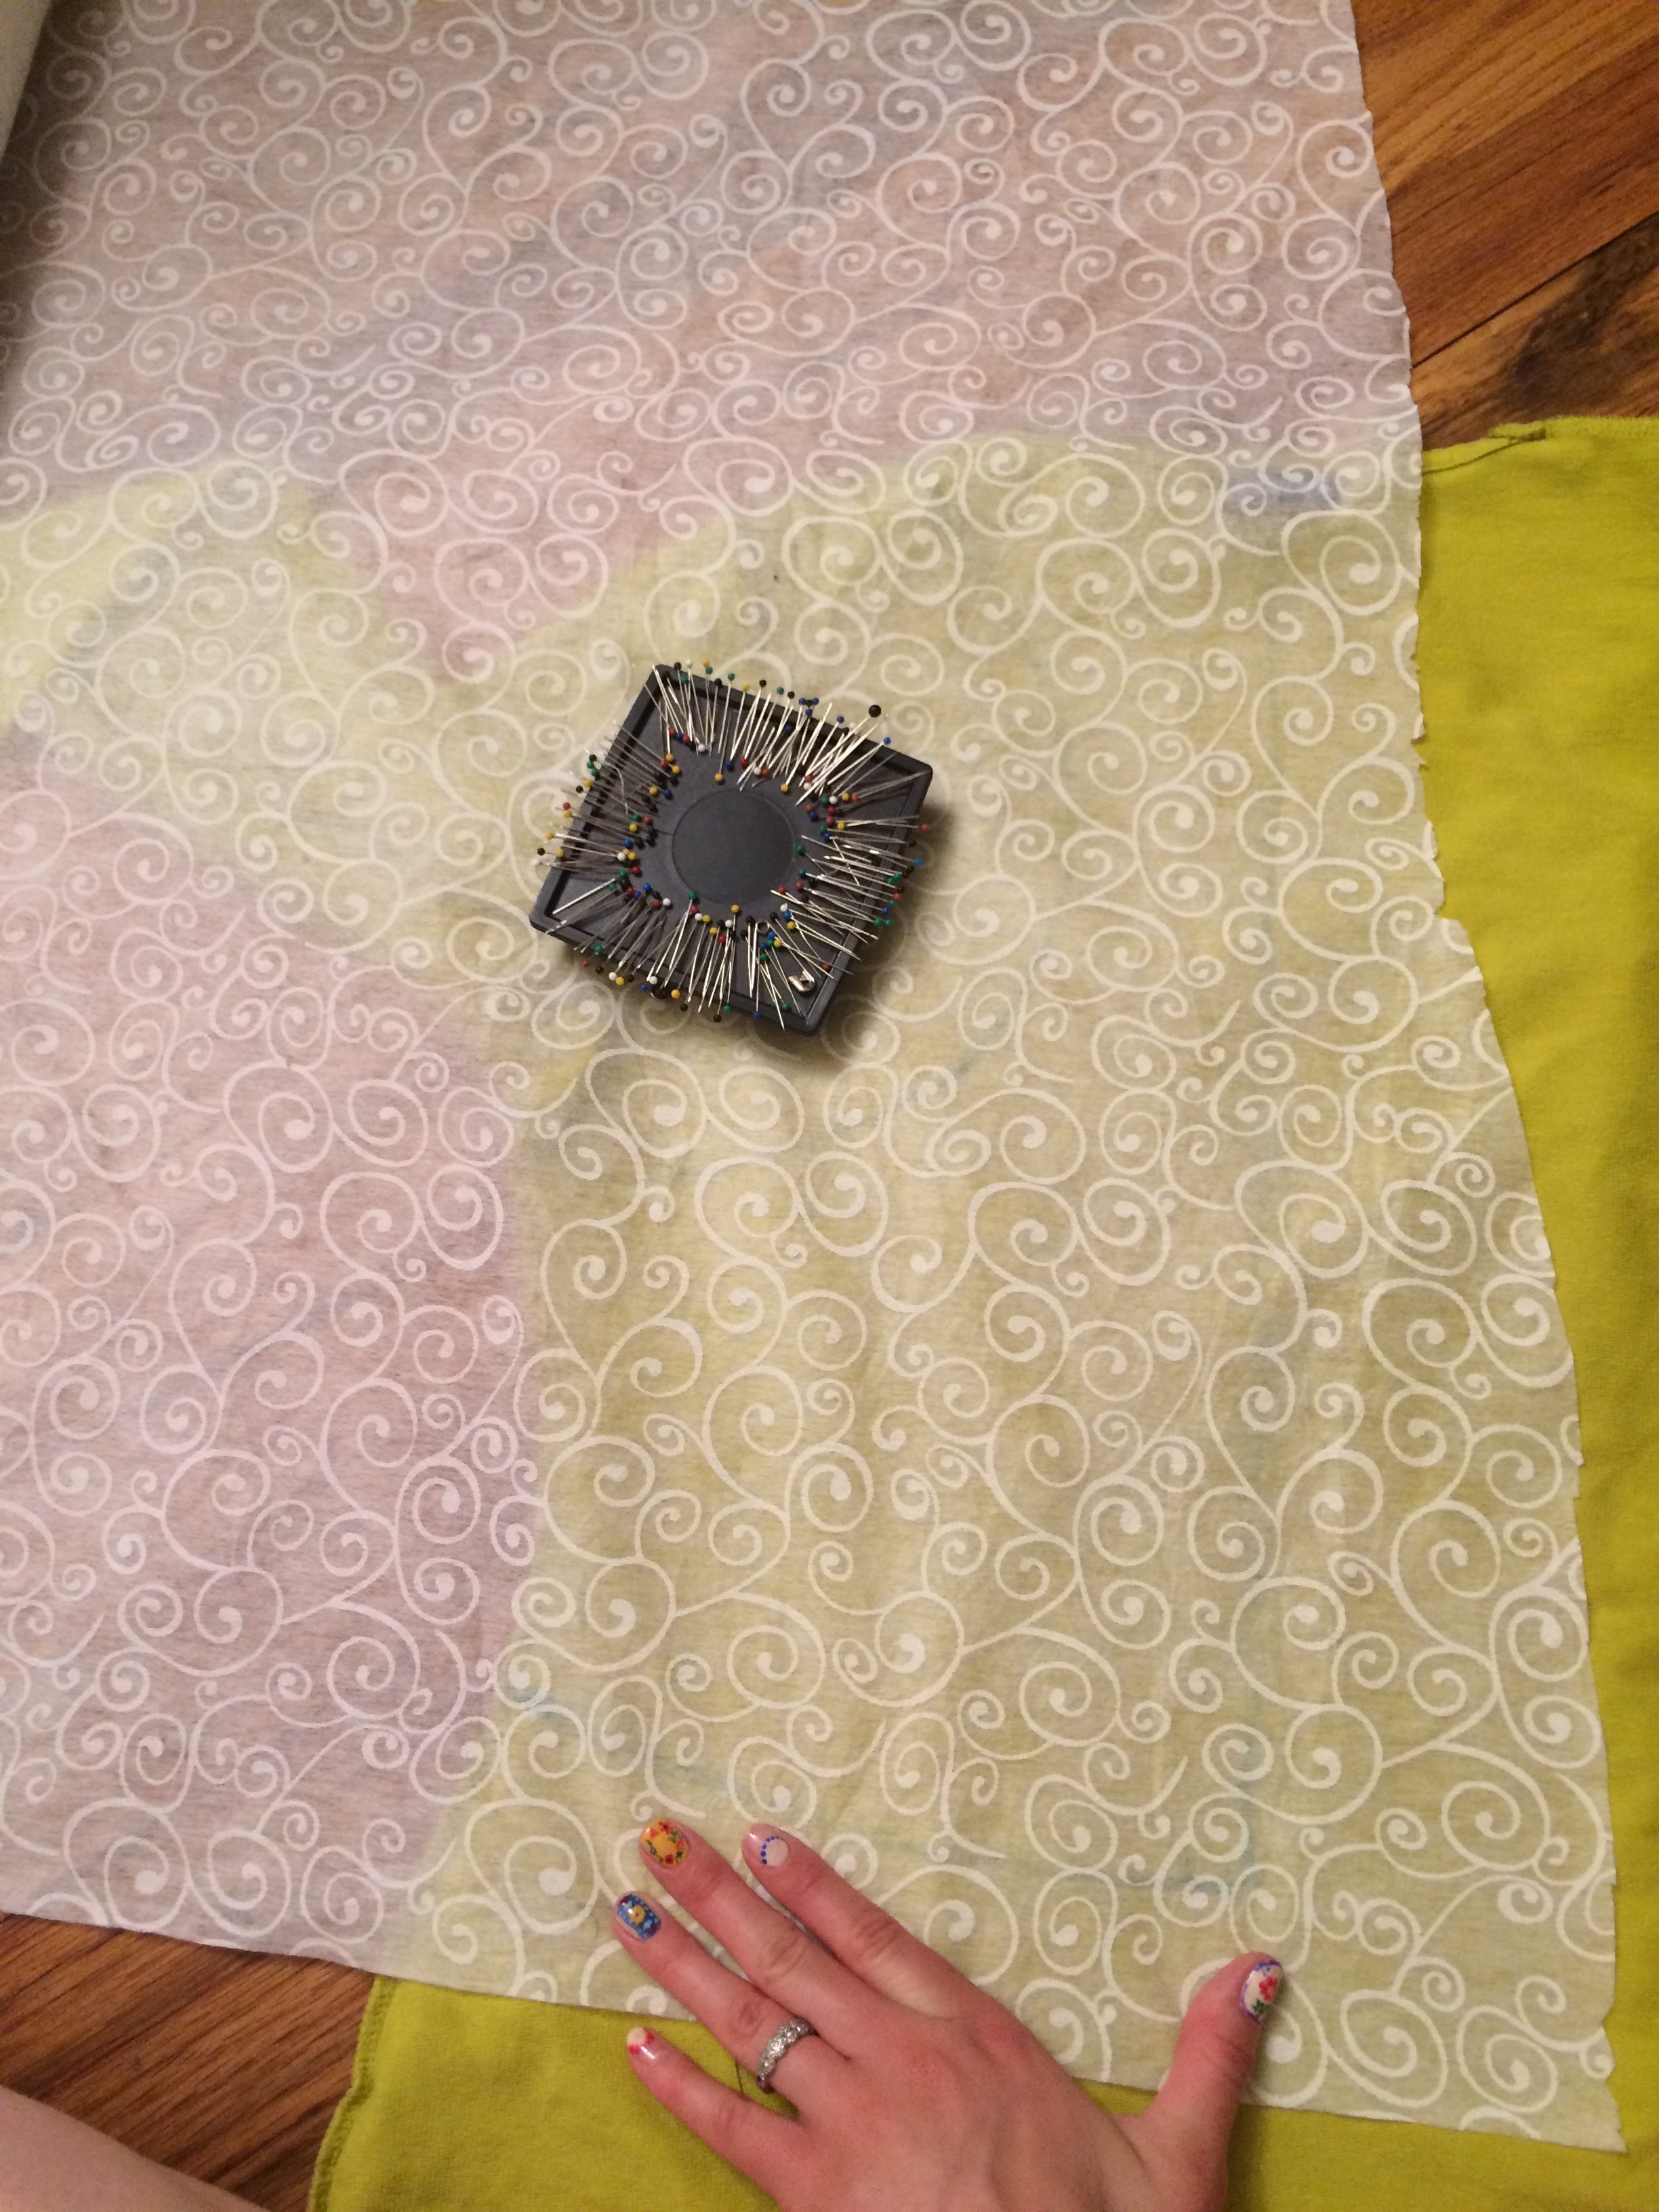
I had a HUGE struggle with the swimsuit lining that I chose to use. It was flimsy and provided ZERO support. I actually added two strips of thin elastic across the back, parallel to the band, in order to help with support. I chose the lining so I wouldn’t have to cut and sew another princess seam top (it was stretchy enough to fudge the seams a bit). Next time, I would definitely stick to using the outer spandex as a lining, and I would make an exact replica of the outside top to attach the cups to. This would provide much more inner support.
I added a 6″ peplum skirt using a basic circle skirt calculation (there are many amazing circle skirt tutorials out there!) . . . and then I discovered a problem on the back. The lack of support from the swimsuit lining also led to a lot of bunching from the straps/inner support elastic. I solved this by adding a gathering band around the back, to make it look intentional! No way was I going to waste all of the work I’d done and start over from scratch. Haha.
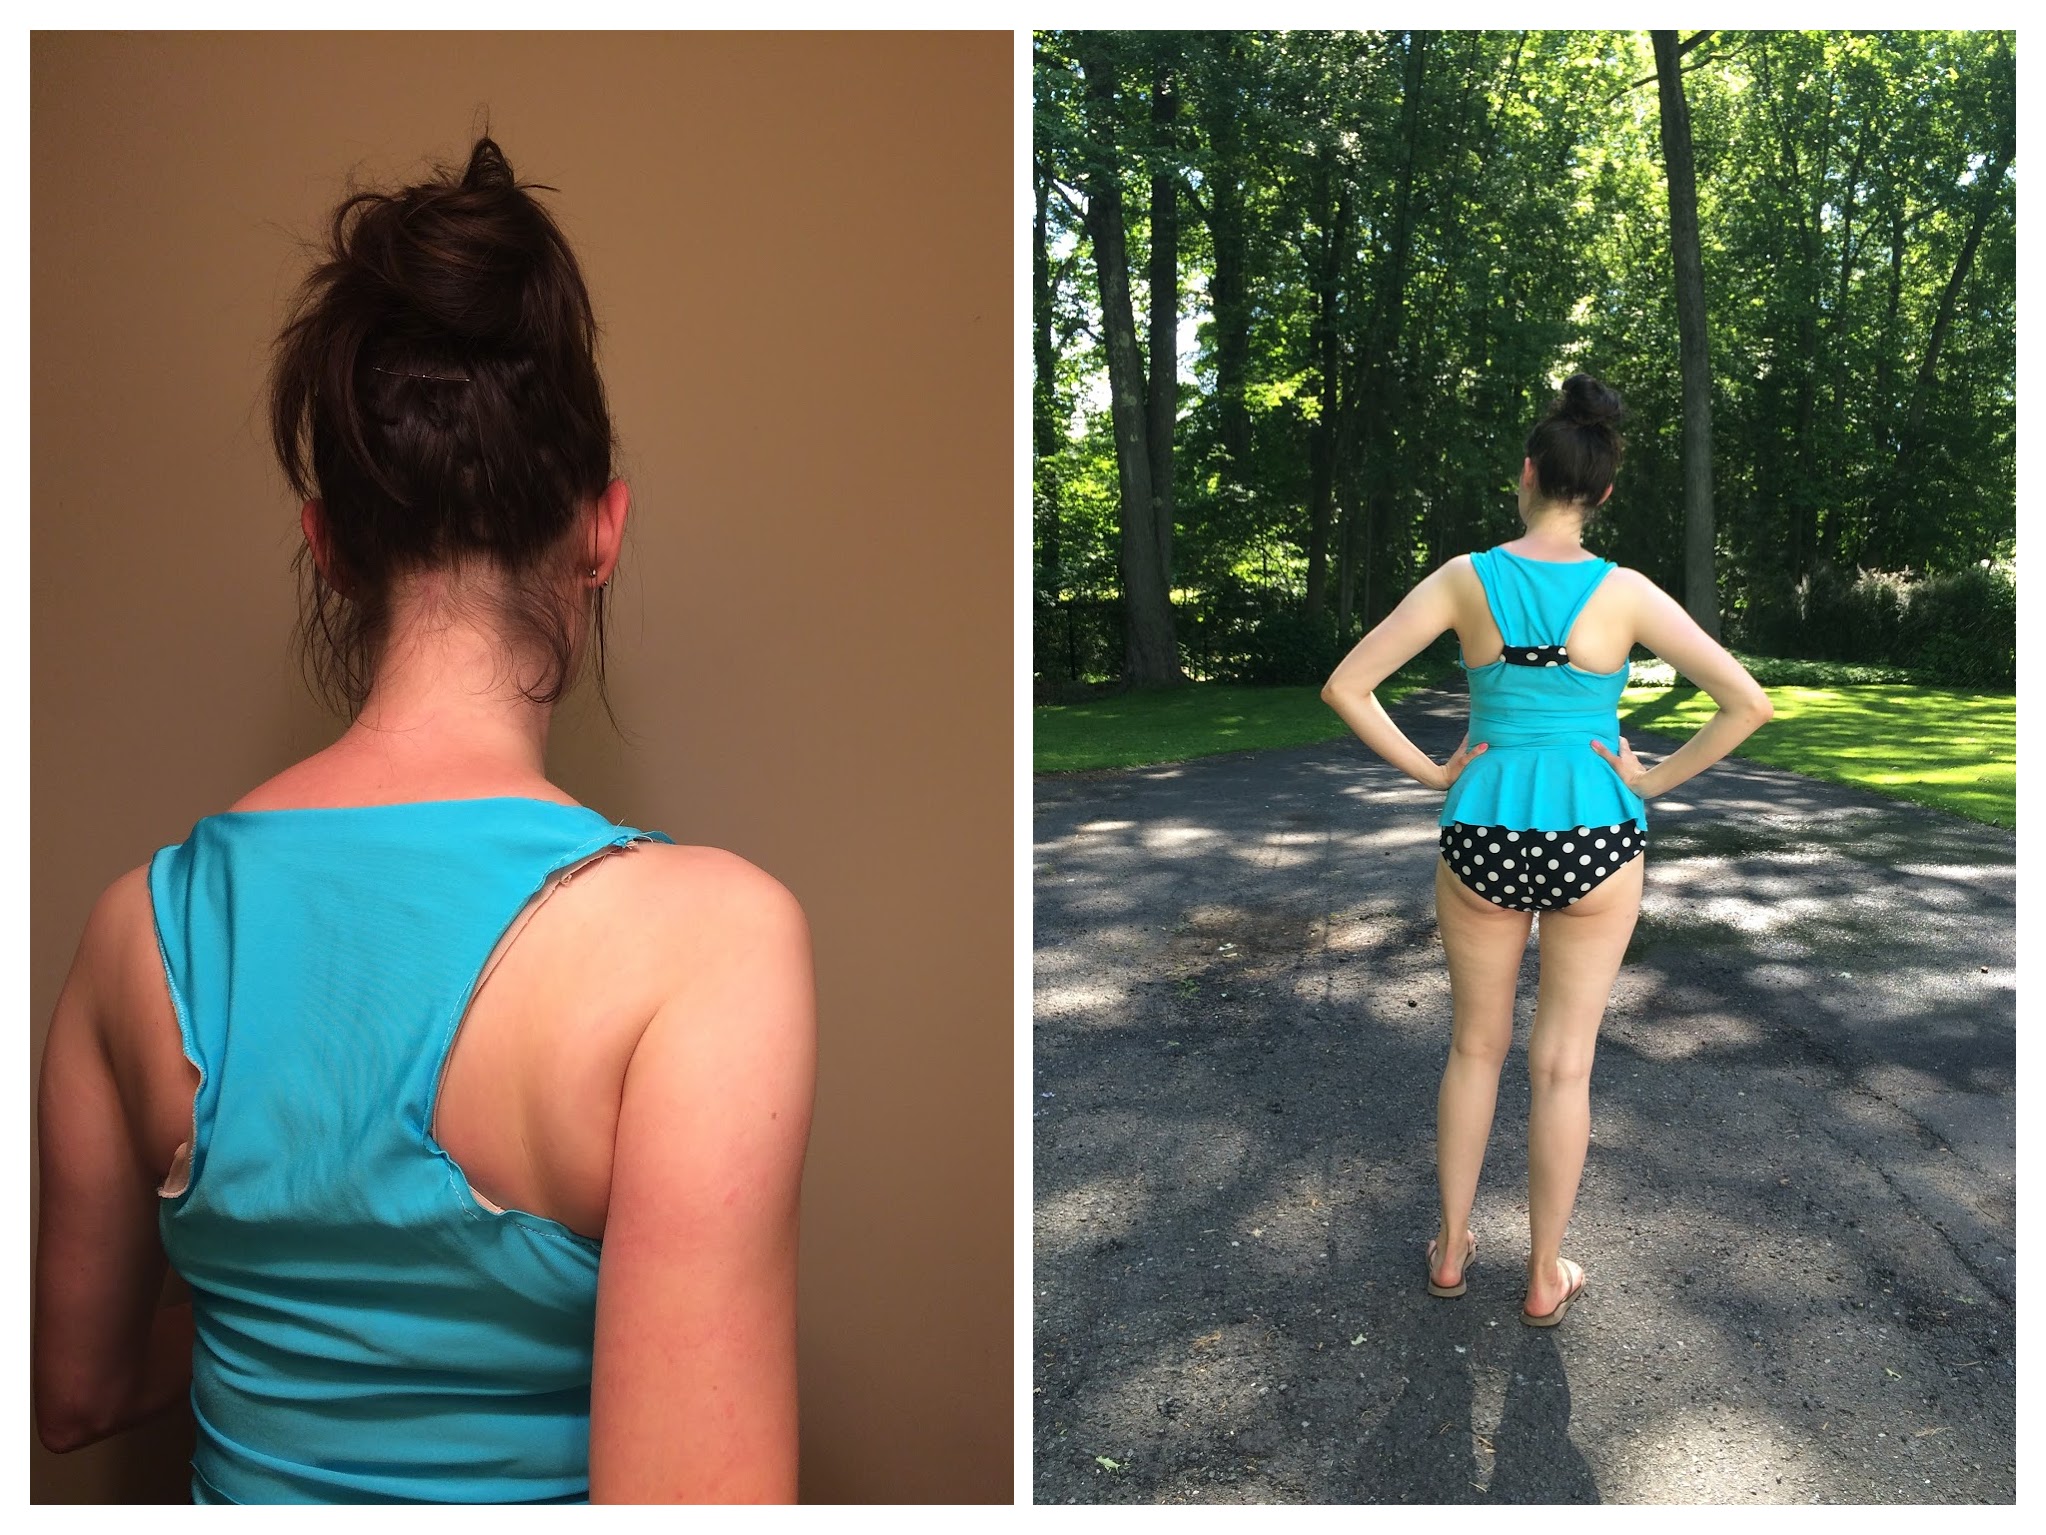
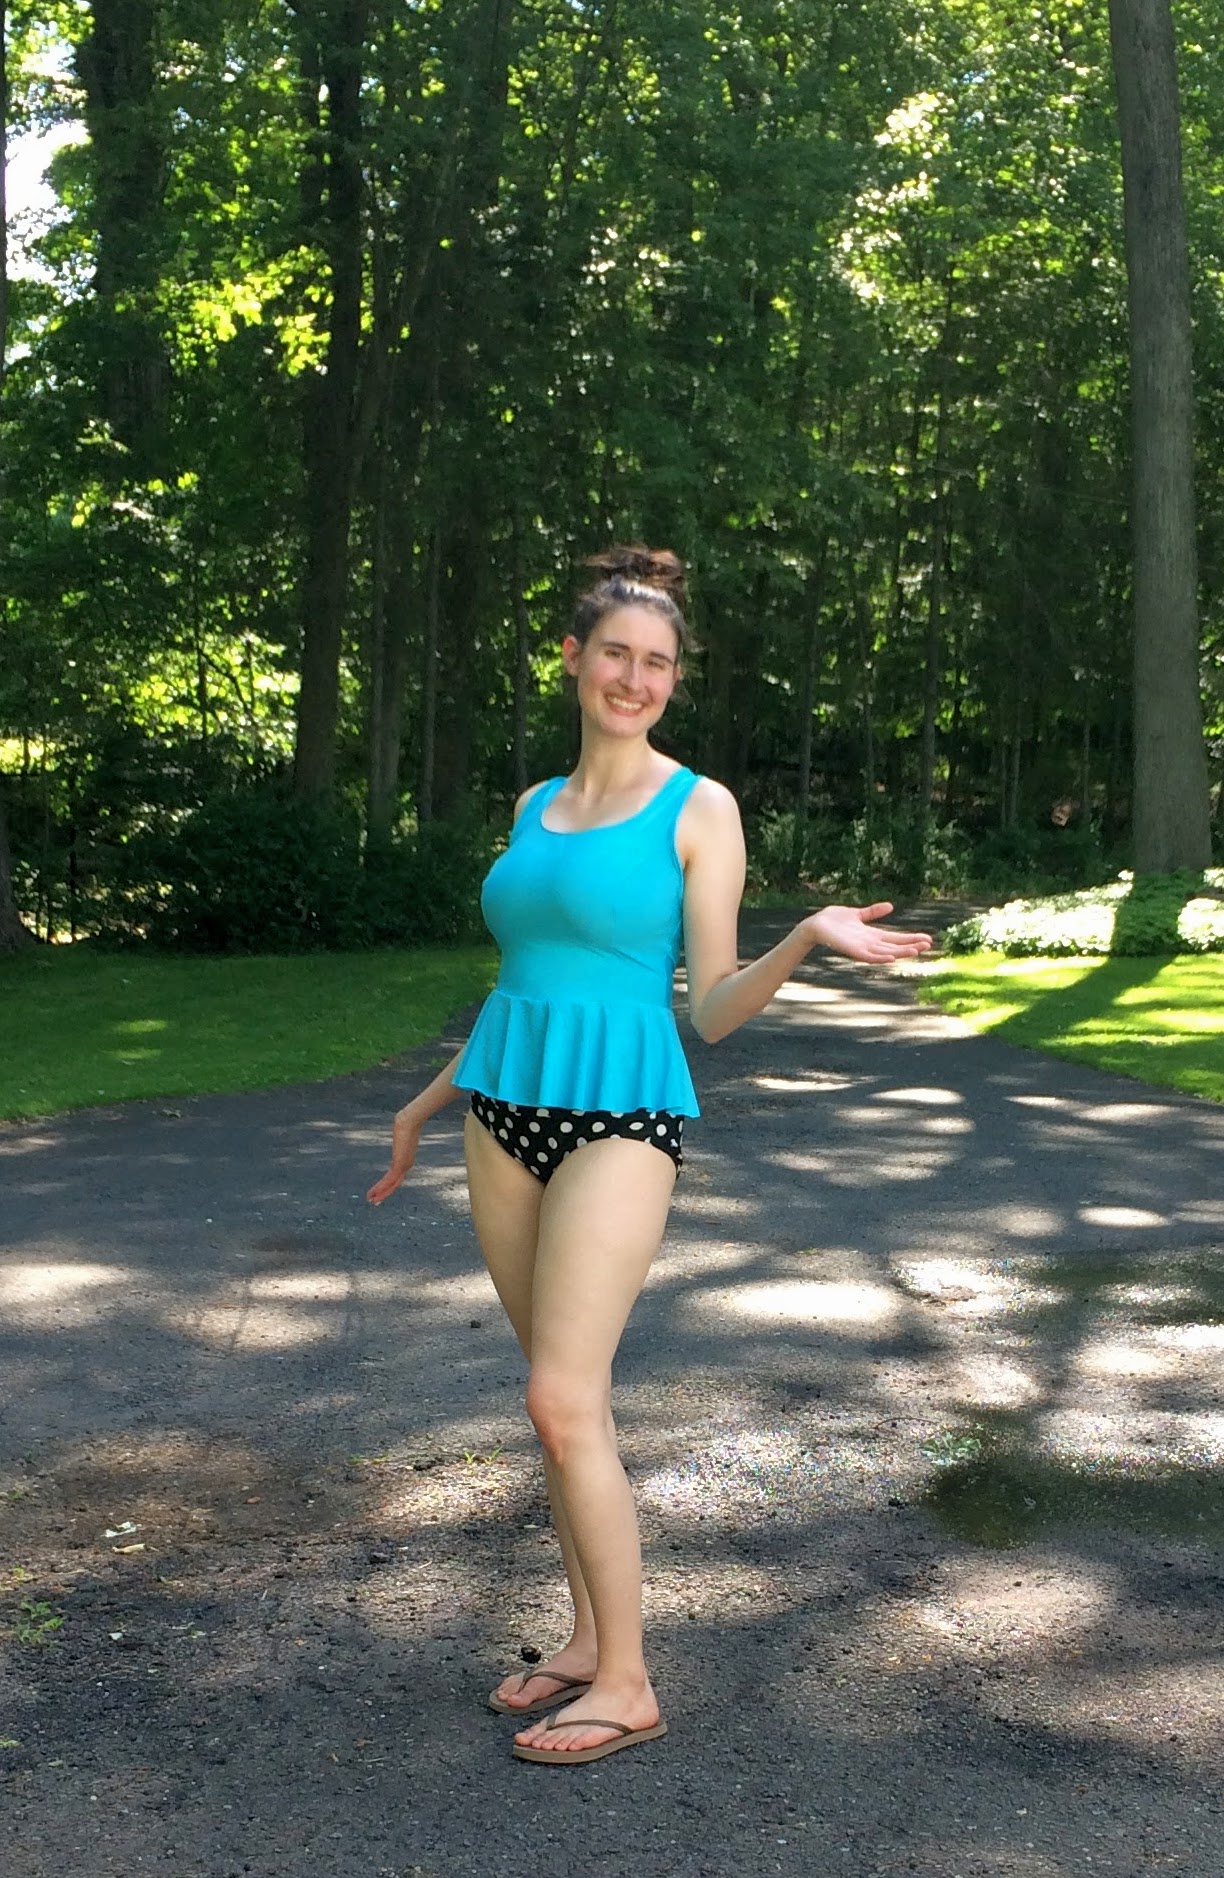
Et voila, it is finished! The polka dot bottoms were salvaged from an old one piece suit that didn’t fit me anymore. I chopped off the top and added an elastic waistband, to make some quick high-waisted bottoms.


I feel GREAT in this suit, and love wearing it! Unfortunately I still haven’t had a chance to give it a complete trial run in a pool/body of water. But when I wear it to chase my kids through the sprinkler, I feel totally contained and supported! Nothing is falling out or jiggling more than is comfortable. I call that a success 🙂
The only other minor issue is that it’s just a bit difficult to pull on over my head . . . as with all small band/large cup items designed to pull on. Next time I may try to add an interior hook to the band, so it could be looser when taking it on/off but still tight enough while being worn. It was such a fun project, I can definitely see myself trying this again soon!
Let me know if you attempt to make your own swimwear this summer–I would love to see it! Let me know if you have any questions.
Great job Rosalind! Not only you created a beautiful bathing suit, but also, the fit on you is perfect and that is something very difficult to accomplish, specially working with stretch materials.
I remember studying at the Art Institute of Fort Lauderdale for my Fashion degree, Swimwear was a very scary and difficult class, so much that at that time, almost twenty percent of the students didn’t pass the class the first time. Designing and making a garment with spandex, elastics, linings and trims in not easy. And just because a finished bathing suit looks nice in the hanger, doesn’t mean the fit will be ok…and you got everything right!
I totally understand your disappointment about the lining, is not easy to find the right quality for each project, I know it because we lined the bodice of your dresses and we have to use different linings for almost every style and trust me, it’s not easy. But once you find the right lining, you will be very pleased with the final product.
With my experience designing and manufacturing products with stretch materials, I suggested, trying to find the right lining for your next bathing suit instead of using double layers of spandex because it will make even more difficult for you to pull the top over your head. Just make sure the lining has the same stretch at your spandex. I assume the spandex you are using is a four ways stretch so the lining should be the same way.
This is the third time I try to post my comments here, I hope this time I get it right ? So happy for Hourglassy for such a talented new blogger, welcome and if you think I can help you in any ways, please let me know.
Until your next project!