Are you wondering where Best Breast Forward is today? We’re playing musical columns this week. Look for Mia’s post tomorrow!
Apologies for my Hourglassy absence. I have missed writing these Fit Picky posts.
Today, I bring you a quick waist fix on a button-down shirt. The idea came from a reader who wrote in to ask about altering a boxy button-down with underbust darts or tucks.
One thing I’ll tell you about fitting, is that you want to alter the back and then the front– especially when you’re dealing with Ready-to-Wear (RTW). If you have a larger bust, your front is wider than your back, in which case, you could take out some of the back fullness and create easy shaping.
I’m going to show you how I added shirring to the back waist to create shaping in the front. I’ll say it again, this is gentle shaping. There’s only so much magic you can do with RTW. Here’s a great shirring tutorial by Made by Rae that will help you navigate shirring your button-down.
What you’ll need
I started with a men’s shirt, size Medium, from my husband’s closet. The thing to remember about a boxy shirt is that it’s going to be hard to create a fitted shirt. The opening for the sleeve will be too low (most of the time) so you want to gently create shaping. Anything too dramatic and it’ll start looking off.
You’ll also need elastic thread, regular thread, an empty bobbin and an erasable marker or chalk.
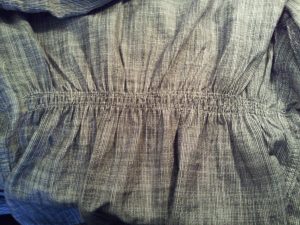
I’ve stacked the before (top) pics with the after (bottom) pictures so you can see the difference. The before doesn’t bother me that much until I see the back and the side. I was tempted to do bust darts on those drag lines you can see in the before side pic, but the back needed to be altered first.

The back shirring got rid of a lot of the fullness in the front as well as in the back. You can really do as many rows of shirring as you want. I’m debating whether I want to go back and add more rows above the top row I started with.
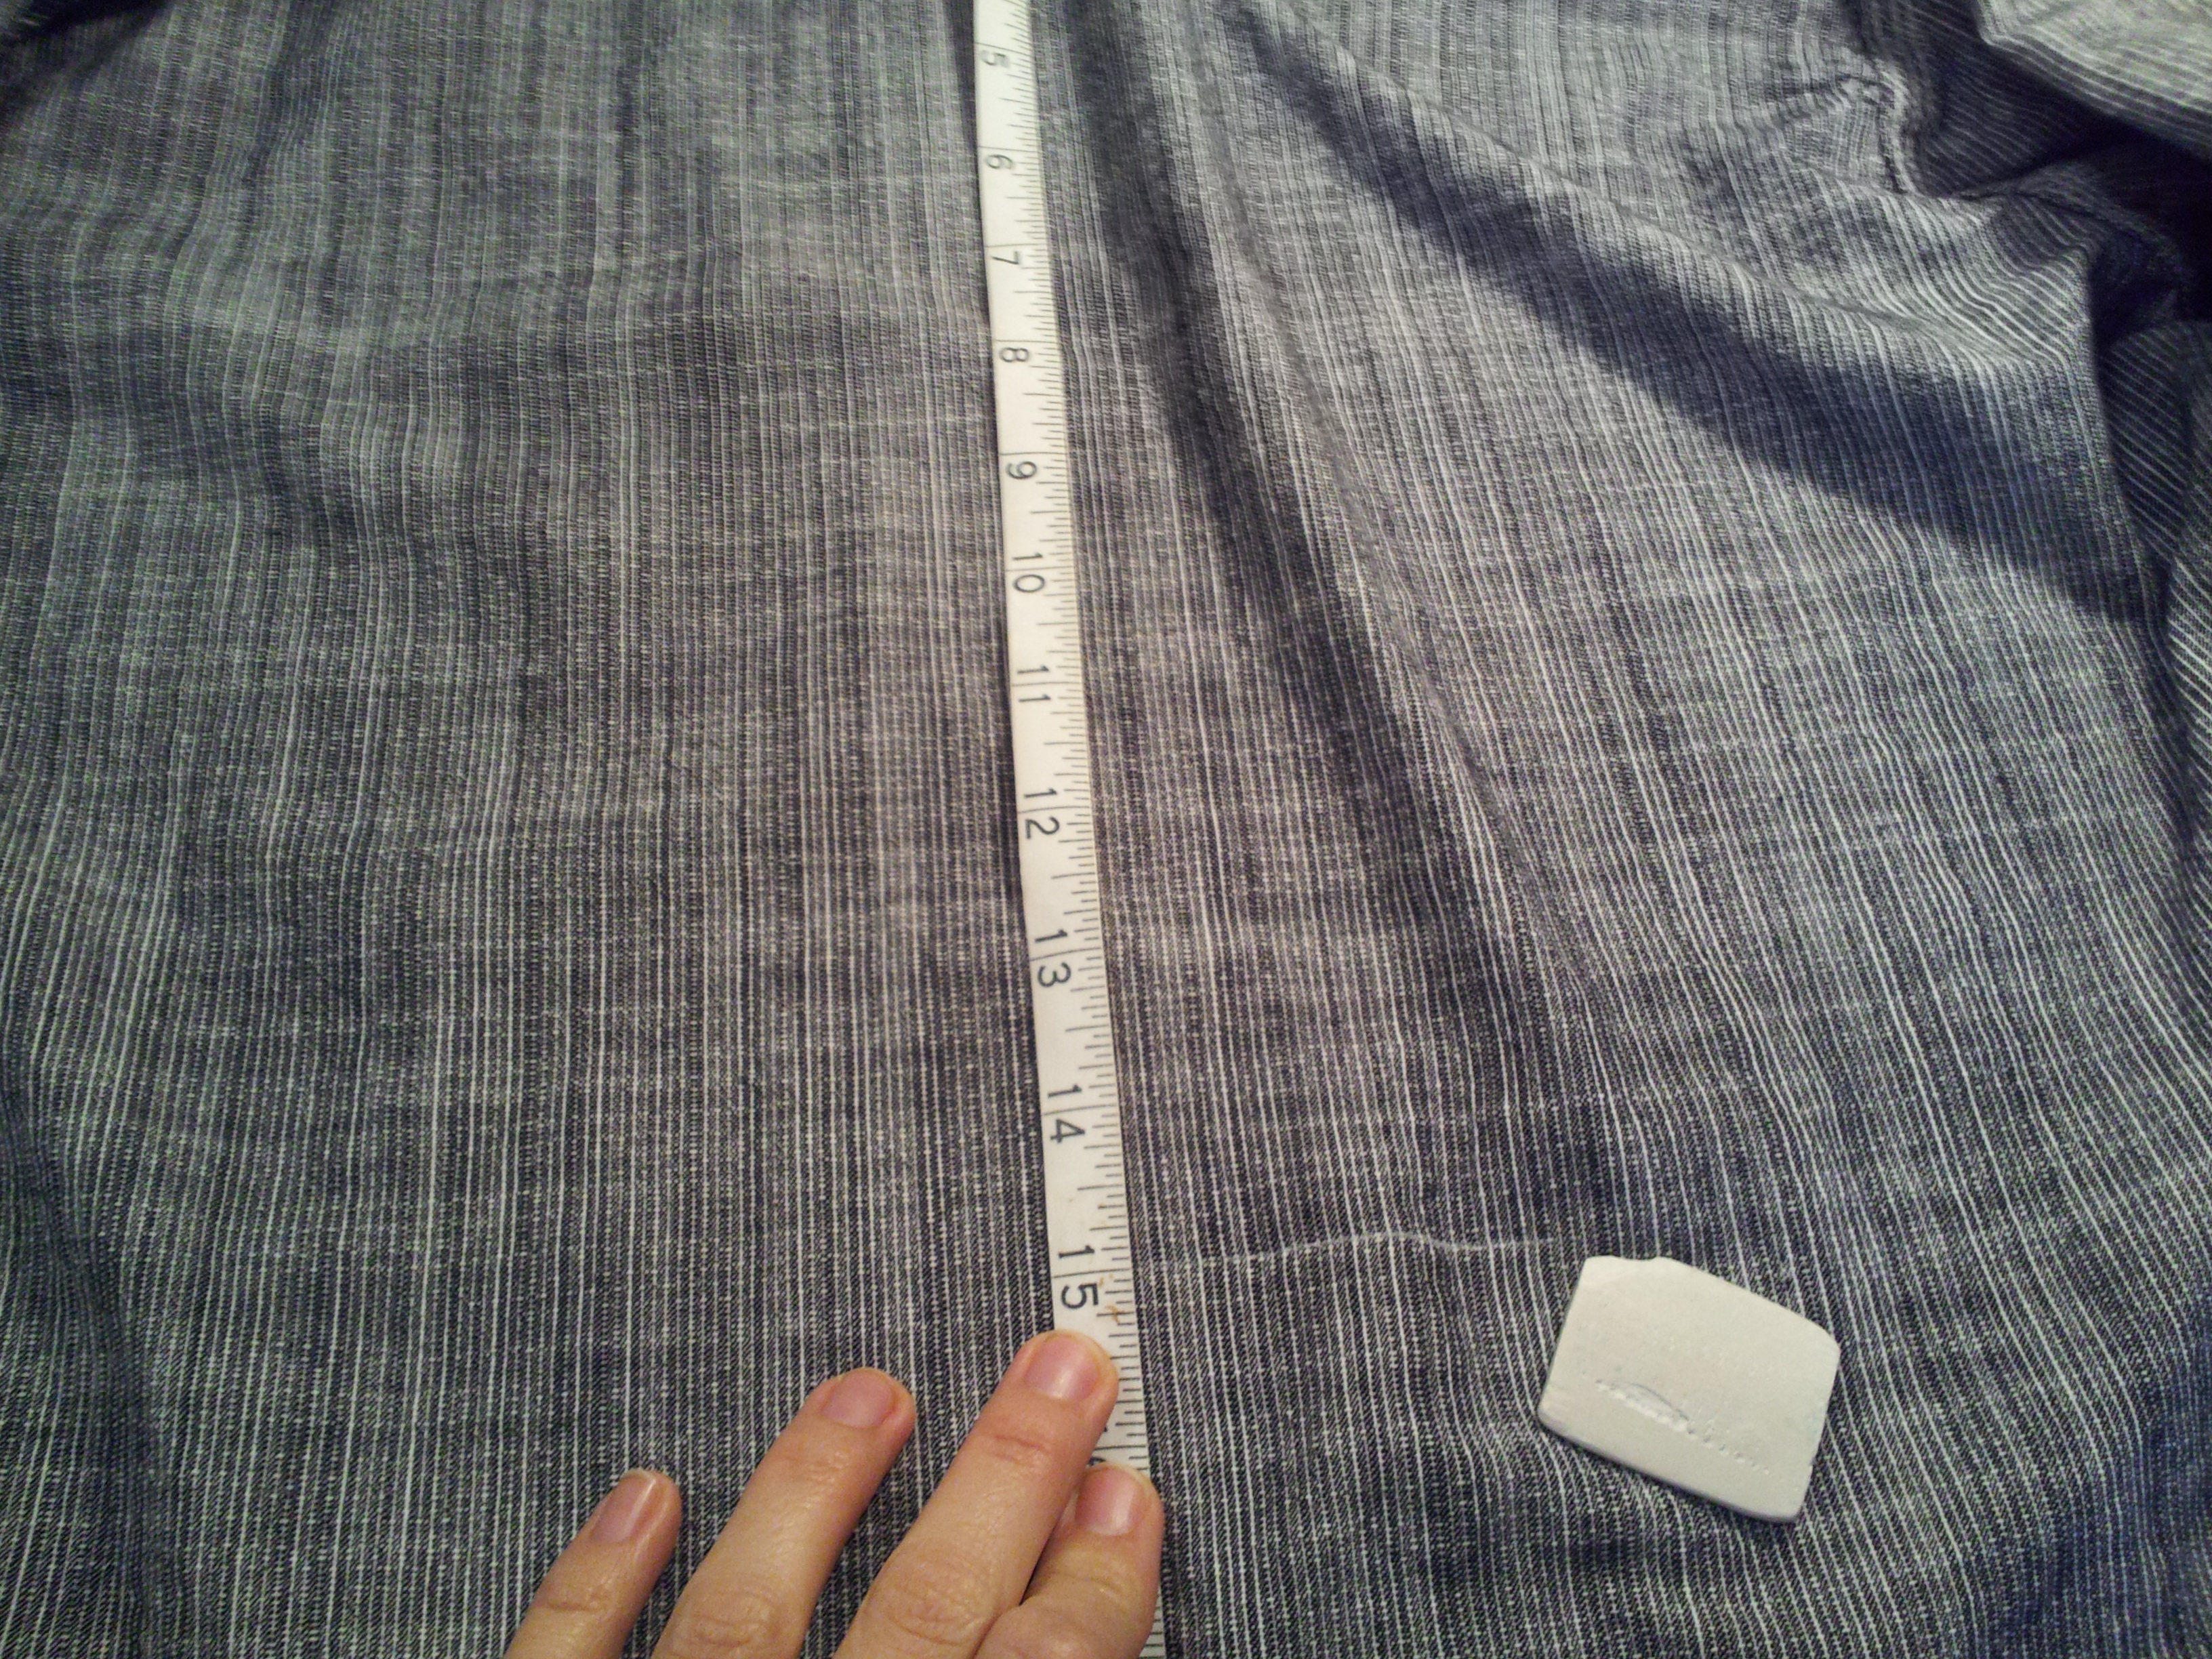
How to measure your shirt for shirring?
Have someone measure from the back of your neck (where the shirt sits) down to your natural waist. You’re going for the smallest part of your body here so it’s really your choice. Then take a tape measure and mark a line where your waist begins. Mark this line on the right side of your shirt so you can see it while you’re shirring.
Feel free to draw as many rows of shirring as you want. I chalked mine about 1/2″ apart but you can mark the first row and then use your presser foot to make the next row straight.

Following the tutorial by Rae, stitch your shirring and steam your stitches and try on your gently gathered button-down.
What do you think of this alteration? Any button-down shirts you’d like to add shirring to?
I’ve been sewing for quite some time and love it, but for some reason I’ve always been afraid of shirring!! This has totally inspired me to try it 🙂 I have a button down I’ve stolen from my husband that would be a perfect candidate! Thank you for this post!
I’m so glad this has inspired you to sew with shirring! It makes my day to hear this.
Very usefull!! Been wanting to do something like this for a long time – I especially find that with dresses I need to do something about the back. Combination of small waist, big breasts and a very arched back cries out for action 😉 thank you!